Extractor Fan Troubleshooter
Follow the steps below to diagnose your extractor fan issue. Select the option that best matches your situation at each step.
Is the fan making noise or trying to run?
Does the fan sound like it's struggling against resistance?
Listen for grinding, rattling, or a strained hum versus a smooth but weak hum.
Have you checked the power supply?
Ensure the wall switch is ON and check your circuit breaker/fuse box.
Can you see obvious dirt or grease on the blades?
Do the blades spin freely when pushed by hand (power off)?
Does the fan smell burnt or show scorch marks?
Check the basics:
- 1. Is the wall switch definitely ON?
- 2. Check the consumer unit for tripped breakers.
- 3. If using a pull cord, ensure it is fully engaged.
Is there debris blocking the external vent flap?
Check outside for bird nests, leaves, or paint sealing the flap shut.
Diagnosis & Fix
There is nothing quite like the smell of dampness creeping into your bathroom or kitchen because the extractor fan has decided to take a permanent break. It’s annoying, it can lead to mold growth, and it makes cooking smells linger way longer than they should. But before you call in a professional or rip the unit out of the ceiling, take a breath. Most extractor fan issues are surprisingly simple to fix, often requiring nothing more than a screwdriver, a multimeter, and about thirty minutes of your time.
Is It Actually Broken or Just Dirty?
Here is the most common mistake people make: they assume the motor is dead when the real culprit is just grime. Extractor fans work by pulling air through a grille, across blades, and into a duct. Over time, dust, hair, and cooking grease build up on the blades and the housing. This buildup weighs down the motor, making it struggle to spin. If your fan sounds like it’s trying hard but barely moving air, or if it hums loudly without spinning, start with a deep clean.
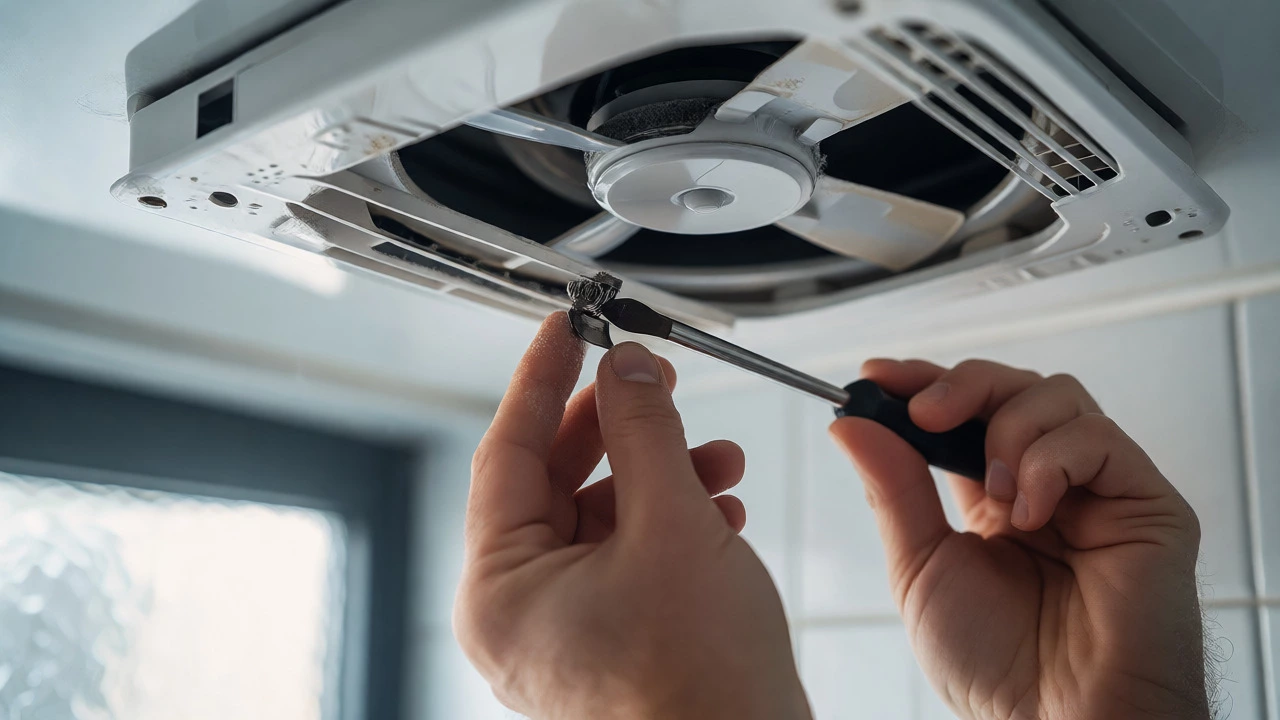
You don’t need fancy chemicals. Warm soapy water and an old toothbrush work wonders. Turn off the power at the circuit breaker first-this is non-negotiable. Remove the cover (usually held by spring clips or screws) and wipe down the blades. If you have a kitchen extractor over a hob, expect sticky grease. Use a degreaser here. Once everything is dry, put it back together. You’d be surprised how many "broken" fans start working perfectly after a good wash.
Check the Power Supply and Switches
If cleaning didn’t help, the next logical step is checking if electricity is actually reaching the unit. Fans don’t run on magic; they need power. Start with the obvious: is the wall switch turned on? Sometimes switches wear out internally. A flickering light nearby might hint at a loose connection, but not always.
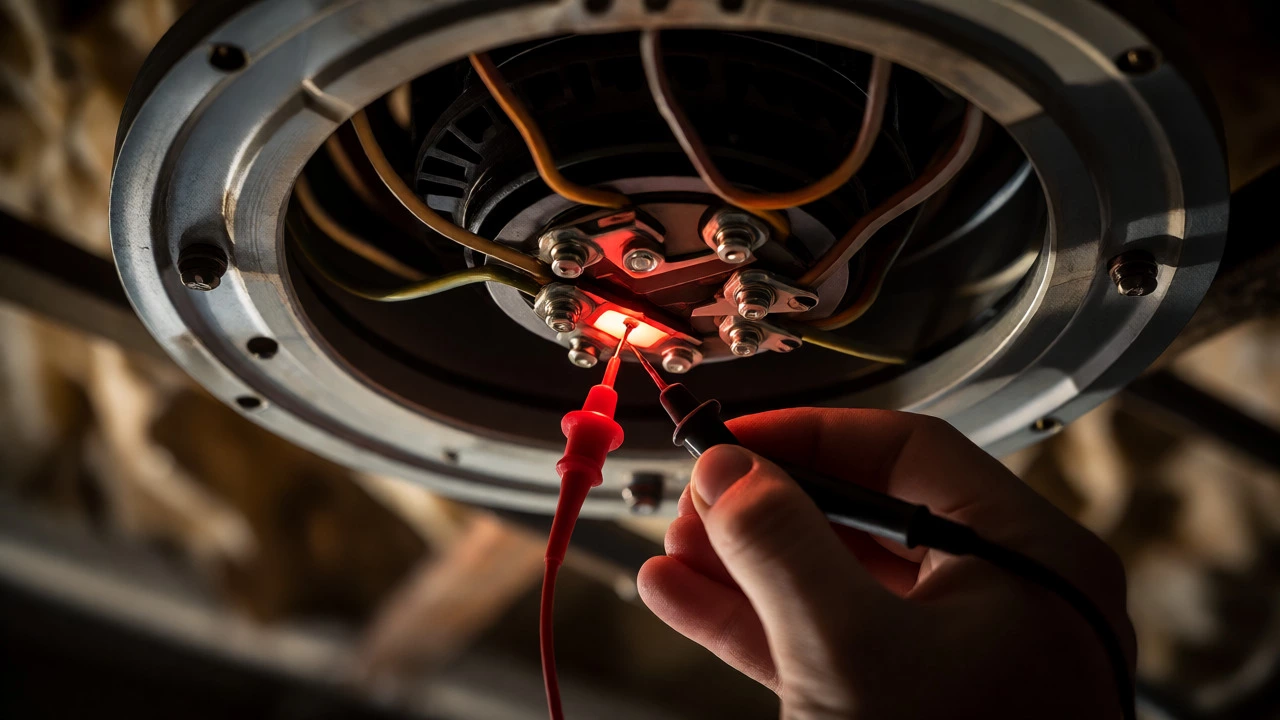
For a definitive check, you’ll need a multimeter. Set it to measure AC voltage. With the fan switched on, test the terminals where the live and neutral wires connect to the fan motor. You should see around 230V (standard in New Zealand). If you get zero voltage, the problem isn’t the fan-it’s upstream. This could mean a blown fuse in your consumer unit, a tripped RCD, or a faulty wall switch. Replacing a standard wall switch is a cheap and quick job that solves the issue instantly.
The Motor Test: Does It Spin Freely?
Let’s say power is getting to the unit, but the fan still won’t move. Now we look at the mechanical side. With the power off, try to spin the fan blades by hand. They should turn freely with very little resistance. If they feel stiff, gritty, or stop immediately when you let go, the bearings are seized or the shaft is obstructed.
Sometimes, a small object like a piece of plastic from the ducting or even a dead insect gets stuck behind the blades. Clearing this obstruction is easy. However, if the blades spin freely but the motor doesn’t start when powered, the motor itself might be burned out. Motors have capacitors that help them start. If the capacitor fails, the fan might hum but not rotate. Replacing a capacitor is possible for DIY enthusiasts, but often, replacing the whole fan unit is more cost-effective unless you’re handy with electronics.
Inspect the Ducting and Ventilation Path
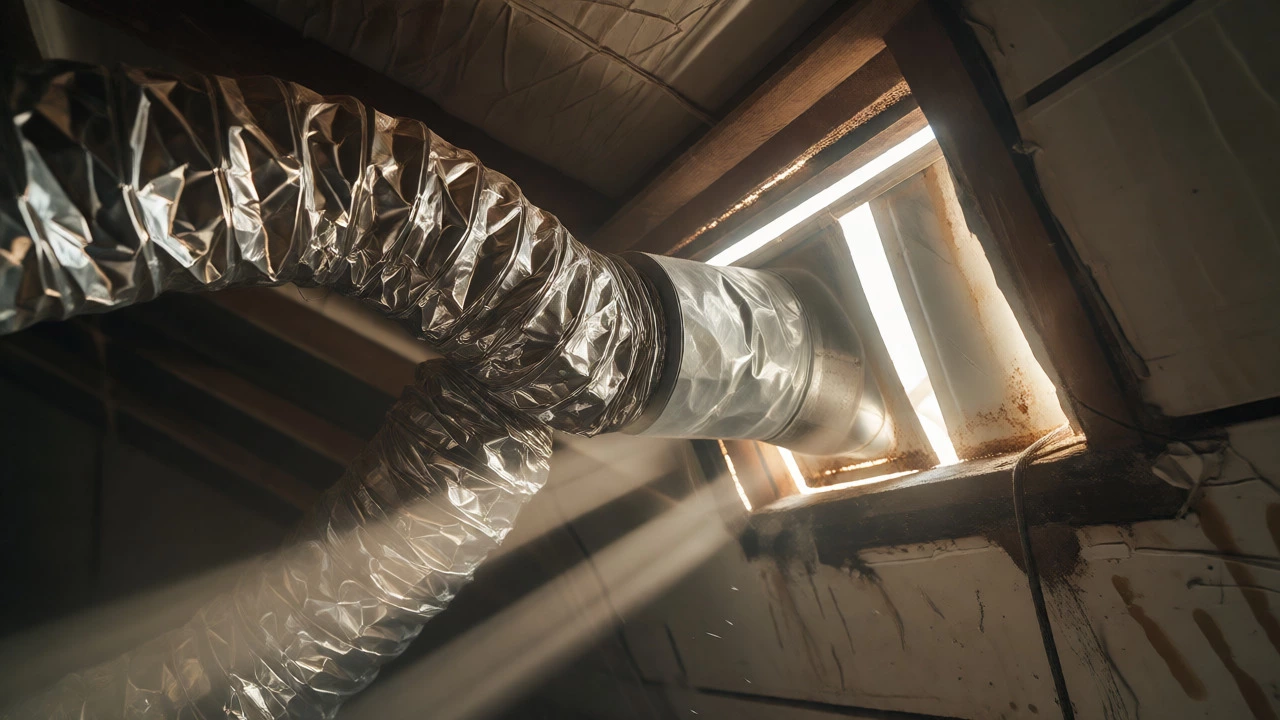
A fan can work perfectly but fail to ventilate if the path for the air is blocked. This is especially common in older homes or bathrooms renovated recently. Check the flexible ducting connected to the fan. Is it crushed? Is there a bird’s nest outside the vent? Is the external flap stuck shut due to rust or paint?
| Blockage Type | Symptoms | Quick Fix |
|---|---|---|
| Crumpled Duct | Fan runs but no airflow; loud noise | Re-route or replace flexible ducting |
| Stuck External Flap | Air pushes against closed door; vibration | Clean hinge or replace flap mechanism |
| Paint Sealed Grille | Newly painted room; weak suction | Scrape paint off grille slots carefully |
| Bird Nest/Debris | Rattling sound; poor extraction | Remove debris from exterior vent |
In Wellington, where moisture levels are high, ensuring your external vent flaps open fully is critical. If the flap doesn’t open, hot humid air hits a cold surface and condenses right back into the house. Lubricating the hinge with silicone spray can often free up a stuck flap.
When to Call a Professional
So, when do you give up? If you’ve cleaned the unit, confirmed power is present, checked the ducting, and the motor still refuses to cooperate, it’s likely an internal motor failure. While some people replace motors, modern extractor fans are relatively inexpensive. Buying a new unit and installing it yourself takes about an hour. However, if you notice burning smells, scorch marks on the wiring, or if your home’s wiring is old cloth-insulated cable, call a registered electrician. Safety comes first, and messing with mains electricity without confidence is a risk not worth taking.
Maintenance Tips to Prevent Future Breakdowns
To avoid this headache again, set a reminder every six months to clean the grille. For kitchen extractors, do this monthly. Also, run your bathroom fan for at least 15-20 minutes after showering. This ensures all moisture is expelled, reducing strain on the motor and preventing mold. If your fan has a timer or humidity sensor, use it. These features prevent users from forgetting to leave the fan on, which is the leading cause of damp-related repairs.
Why does my extractor fan make a loud humming noise but not spin?
This usually indicates a failed start capacitor or seized bearings. The motor receives power and tries to start (humming), but lacks the torque to overcome friction or initial inertia. Cleaning may help if debris is the cause, but often requires component replacement or a new fan unit.
How long do extractor fans typically last?
Most residential extractor fans last between 7 to 10 years. Kitchen units exposed to heavy grease may fail sooner due to buildup, while bathroom units in low-use households can last longer. Regular cleaning significantly extends lifespan.
Can I replace just the motor instead of the whole fan?
Technically yes, but it’s rarely practical. Replacement motors often cost nearly as much as a new complete unit, and sourcing exact matches for older models can be difficult. Unless you have a high-end integrated appliance, replacing the entire fan is usually more economical and reliable.
What size extractor fan do I need for my bathroom?
Calculate your bathroom volume in cubic meters (length x width x height). Multiply by 6-8 (air changes per hour required). Divide by 60 to get liters per second (L/s) needed. Choose a fan rated slightly higher than this figure. Standard NZ bathrooms usually require fans between 15-25 L/s.
Is it dangerous to use a broken extractor fan?
Using a fan that sparks or smells burnt is dangerous due to fire risk. A silent fan is safe but ineffective, leading to health issues like mold exposure. Always disconnect power if you suspect electrical faults until repaired.
I am an expert in the services industry with a focus on appliance repair. My passion lies in understanding how things work and educating others in simple, engaging ways. This enthusiasm fuels my writing, where I delve into topics around appliance maintenance and troubleshooting. I aim to make these subjects clear and accessible to all readers.