Hot Water Heater Troubleshooting Checklist
Troubleshooting Steps
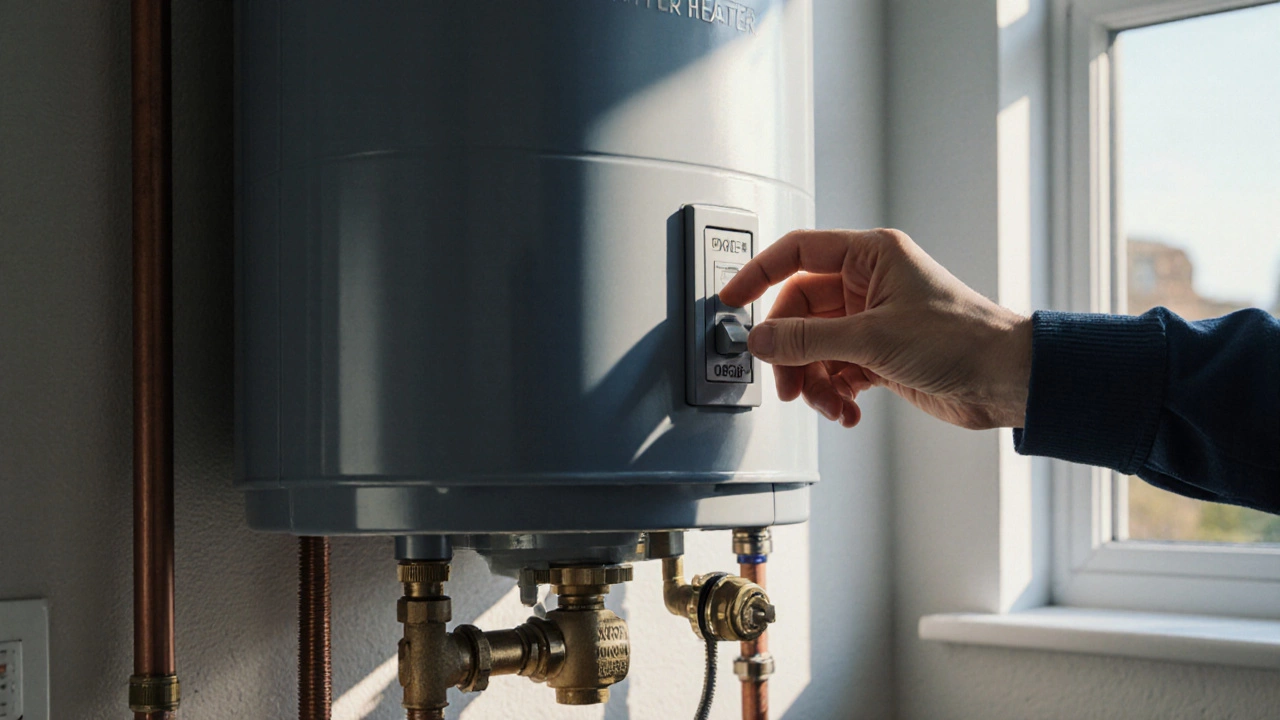
Safety First
Turn off power or gas supply and shut off water supply before proceeding.
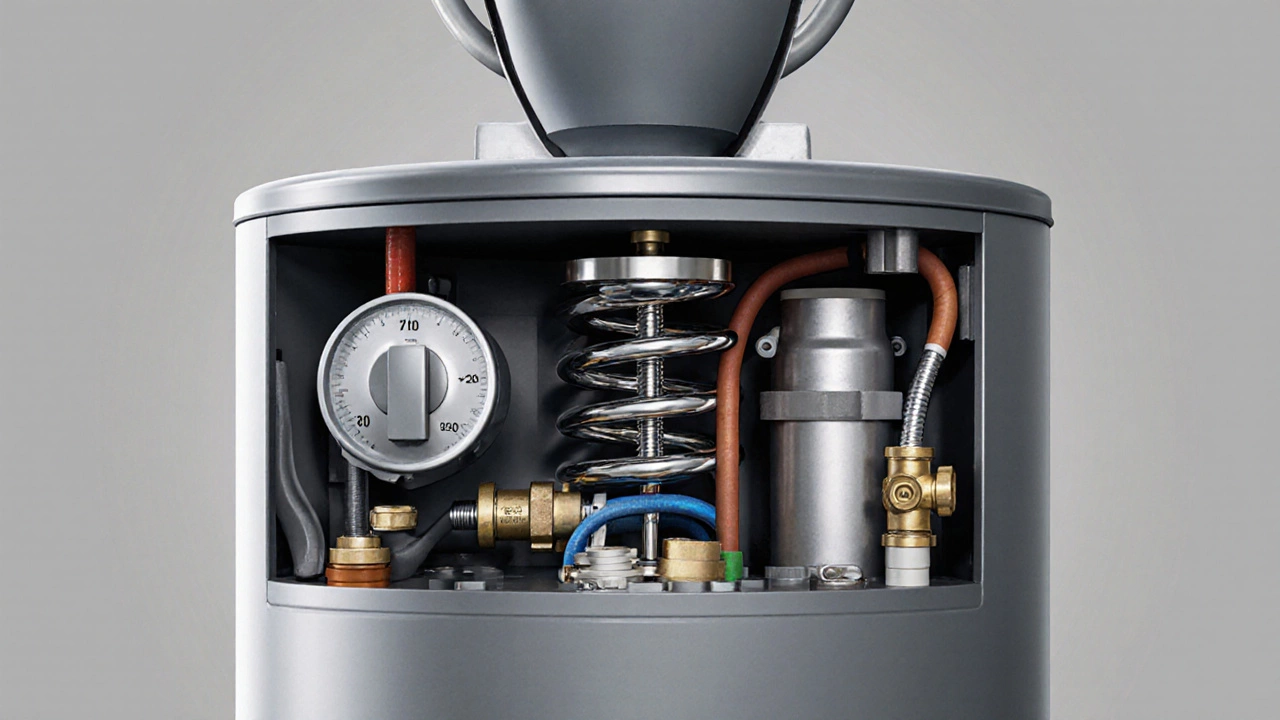
Thermostat Check
Verify thermostat is set to 120-140°F and test for continuity.
Heating Element/Valve
Test element resistance (electric) or listen for gas valve click (gas).
Pressure Relief Valve
Lift the lever to test function and replace if necessary.
Dip Tube & Anode Rod
Check for cracks in dip tube and inspect anode rod condition.
Ignition System (Gas)
Listen for clicks and inspect spark electrodes and flame sensors.
Circulation Pump (Tankless)
Listen for humming sound when hot water is demanded.
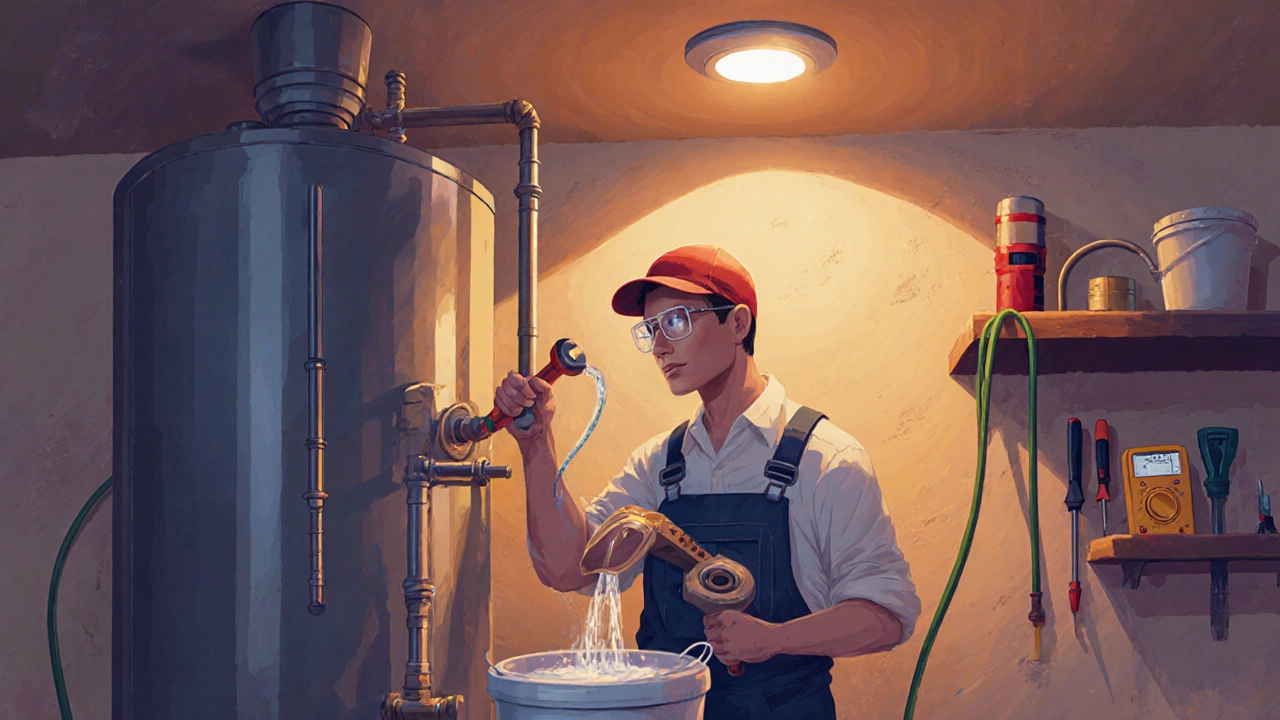
Maintenance Check
Drain and flush tank, inspect anode rod for corrosion.
Recommended Action
Quick Takeaways
- Turn off power or gas, then check the thermostat, heating element, and gas valve.
- Inspect safety devices like the pressure‑relief valve and dip tube for blockages.
- Listen for ignition clicks or burner sounds; silence may signal a faulty ignition system.
- If any step feels unsafe or you spot a gas leak, call a licensed plumber immediately.
- Regular maintenance-flushing the tank and replacing the anode rod-prevents most shutdowns.
When the hot water suddenly disappears, the first reaction is usually panic. Warm showers, clean dishes, and even heating your home can depend on a single appliance. Before you start tearing apart the unit or dialing every plumber in the neighbourhood, run through a systematic checklist. This guide walks you through the most common culprits, how to spot them safely, and when it’s time to hand the job over to a professional.
Hot water heater is a appliance that heats water for domestic use, typically powered by electricity or gas. Whether you own a traditional storage tank or a modern tank‑less model, the basic components-thermostat, heating element or burner, and safety valves-are the same. Understanding what each part does makes diagnosing a failure a lot less intimidating.
1. Safety First: Power, Gas, and Water Shut‑Off
Before you touch anything, make sure the unit is completely disengaged from its energy source. For electric heaters, switch off the breaker labelled “Water Heater” at the main panel. For gas‑fired units, turn the gas supply valve to the “off” position and wait a few minutes for lingering gas to dissipate. Finally, close the cold‑water inlet valve to stop water flow during inspection.
2. Check the Thermostat Setting and Function
Thermostat is a device that senses water temperature and signals the heating element or gas burner to turn on. A common oversight is an accidentally lowered setting. Make sure the dial is set between 120°F(49°C) and 140°F(60°C). If the thermostat feels warm to the touch, it may be stuck in the “off” position. Using a multimeter, test for continuity; a lack of continuity usually means the thermostat is dead and needs replacement.
3. Inspect the Heating Element (Electric) or Gas Valve (Gas)
For electric units, the heating element is a metal coil that converts electrical energy into heat. Remove the access panel, disconnect the wires, and test the element with an ohmmeter. A reading of infinite resistance indicates a burnt‑out element.
In gas models, the gas valve is a solenoid that releases gas to the burner when the thermostat calls for heat. Listen for a faint click when the thermostat demands heat. No click often points to a malfunctioning valve or a faulty pilot assembly.
4. Look at the Ignition System and Flame Sensor (Gas)
Modern gas heaters use an electronic ignition system that creates a spark to light the burner. If you hear clicking but no flame, clean the spark electrode with fine sandpaper and ensure the flame sensor isn’t coated with soot. A dirty sensor can’t detect the flame, causing the unit to shut down as a safety measure.
5. Test the Pressure‑Relief Valve (PRV)
The pressure‑relief valve is a safety valve that opens if internal pressure exceeds safe limits. Lift the lever gently; water should flow out steadily. If it sticks or leaks, replace the valve-otherwise the heater may shut off to prevent an explosion.
6. Examine the Dip Tube and Anode Rod
A cracked dip tube can cause cold water to mix with hot water at the outlet, giving the illusion of a non‑functioning heater. Pull the tank’s cold‑water inlet pipe and look for a long plastic tube inside the tank. If it’s broken, replace it.
The anode rod is a sacrificial metal rod that prevents corrosion inside the tank. Over time it erodes; a heavily corroded rod can cause premature heater failure. Remove it with a socket wrench and inspect-if more than 6inches of the core is gone, swap it for a new one.
7. Verify Water Flow and Circulation Pumps (Tank‑less)
Tank‑less models rely on a circulation pump to push water through the heat exchanger. If the pump fails, the unit won’t ignite. Listen for a humming sound when hot water is demanded; silence suggests a pump issue that usually needs a professional’s touch.
8. Compare Common Issues: Electric vs. Gas
| Component | Electric Heater | Gas Heater |
|---|---|---|
| Thermostat | Often fails due to corrosion; easy to test with multimeter | Same issue, but also affected by gas‑valve interaction |
| Heating Element / Gas Valve | Element burns out; resistance goes infinite | Valve may stick; no click or gas flow |
| Ignition System | Not applicable | Spark electrode dirty; flame sensor fails |
| PRV | Leaking or stuck open | Same risks, plus potential gas leak indication |
| Dip Tube / Anode Rod | Both can corrode; dip tube cracks cause cold water | Similar wear patterns; anode rod is critical for longevity |
9. When to Call a Licensed Professional
If you encounter any of the following, stop DIY attempts and contact a plumber:
- Smell of natural gas or a hissing sound near the gas valve.
- Water leaking from the top of the tank-suggests a ruptured pressure‑relief valve or a cracked tank.
- Repeated tripping of the circuit breaker after resetting.
- Burnt smells, sparks, or visible damage to wiring.
Licensed technicians have the tools to perform pressure tests, replace sealed components, and certify that your heater meets local codes-especially important in NewZealand where standards require proper venting and gas safety checks.
10. Simple Maintenance to Avoid Future Shutdowns
Regular upkeep can keep the heater humming for years. Follow this easy routine twice a year, preferably before summer and winter peaks:
- Turn off power or gas and shut off the water supply.
- Drain the tank by connecting a garden hose to the drain valve and opening it; let the tank empty completely.
- Flush the tank with fresh water to remove sediment that insulates the heating element.
- Inspect and replace the anode rod if it’s heavily corroded.
- Close the drain valve, refill the tank, and restore power or gas.
Adding a water‑softener if you have hard water reduces scale buildup, which is a major cause of heating element failure.
11. Pro Tips & Common Pitfalls
Hot water heater troubleshooting often trips on small details:
- Never bypass the PRV- it’s a life‑saving device.
- When testing electrical components, always use a multimeter set to the correct range; misreading can mislead you.
- Document the model number and serial before disassembly; this helps a pro locate exact replacement parts quickly.
- Keep a spare anode rod on hand; replacing it can be done in under an hour with basic tools.
Frequently Asked Questions
Why is my water heater making a loud banging noise?
Banging, also called “water hammer,” occurs when sediment settles at the bottom of the tank and the heating element repeatedly heats and cools it. Flushing the tank removes the buildup and quiets the noise.
Can I replace the heating element myself?
Yes, as long as you turn off the breaker, drain the tank, and use a correct‑size element (usually 4500W for 40‑gal tanks). Keep a photo of wiring connections to re‑attach correctly.
What does the pilot light look like on a gas heater?
A steady, blue flame about ¼‑inch tall is normal. A yellow or flickering flame means incomplete combustion-turn off the gas and call a professional.
How often should I replace the anode rod?
Typically every 3‑5years, but if you have hard water or notice rust in the tank, replace it sooner.
My electric heater trips the breaker every time I heat water. What’s wrong?
A blown heating element or a shorted thermostat can draw excess amperage, causing the breaker to trip. Test the element’s resistance; replace if it reads infinite or far below the rated value.
By walking through each step-shutting off power, checking the thermostat, inspecting the heating element or gas valve, and verifying safety components-you’ll either fix the problem yourself or have a clear report for the plumber. Regular maintenance keeps the system efficient, saves energy, and ensures you never stand under a cold shower again.
I am an expert in the services industry with a focus on appliance repair. My passion lies in understanding how things work and educating others in simple, engaging ways. This enthusiasm fuels my writing, where I delve into topics around appliance maintenance and troubleshooting. I aim to make these subjects clear and accessible to all readers.