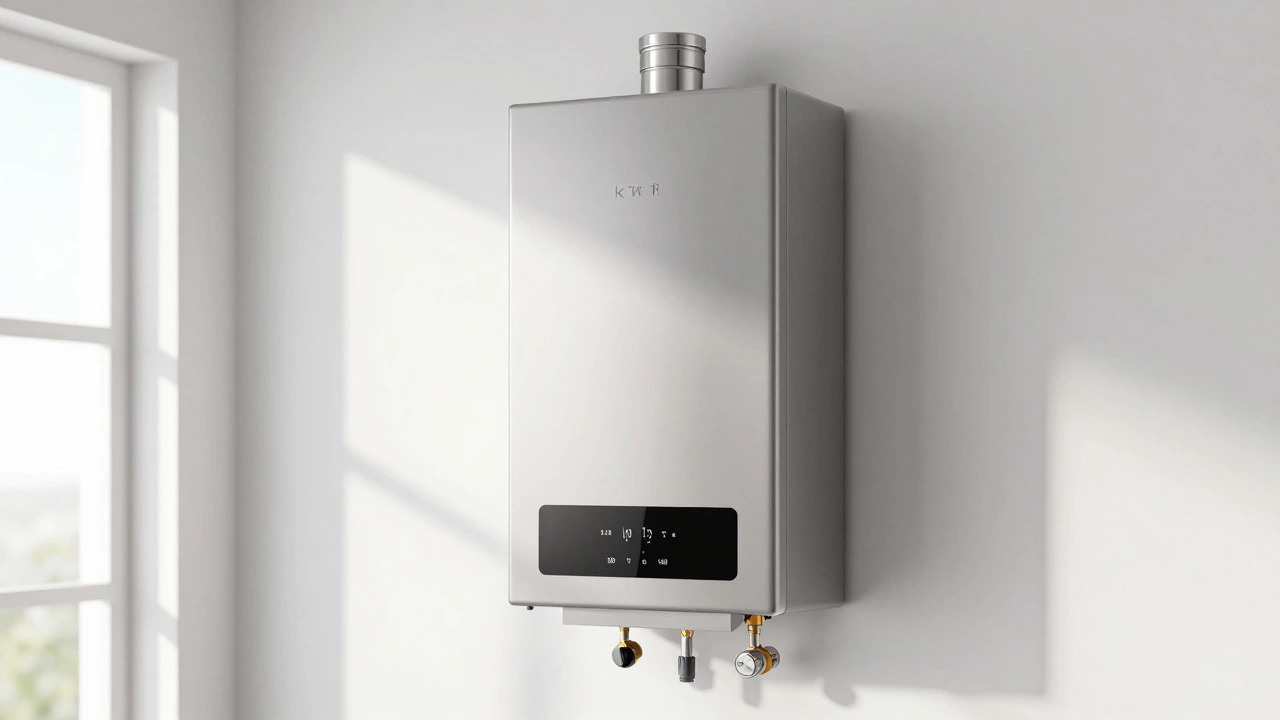
Water Heater Troubleshooting Guide
Diagnostic Steps
Step 1: Check Your Power Source
The most common cause of failure is a simple loss of power. Follow these checks based on your unit type.
Step 2: Inspect Thermostat Settings
Thermostats can get bumped or glitch over time. Ensure they are set correctly for safe, efficient operation.
Step 3: Look for Leaks & Pressure Issues
Check for pooling water around the base and inspect the T&P valve. Sediment buildup can also cause noise and pressure issues.
Step 4: Reset Buttons & High-Limit Switches
Modern units have safety switches that trip if water gets too hot. Resetting them may restore function.
Imagine stepping into a shower expecting warmth, only to be greeted by freezing water. It’s one of the most frustrating home emergencies you can face. When your water heater is a household appliance that heats water for domestic use stops working, it usually means one thing: you have no hot water. But before you call a professional and incur high service fees, there are several things you can check yourself. Most issues with electric or gas units are minor fixes involving thermostats, tripped breakers, or clogged filters.
Safety First: What to Check Before You Start
Before touching any wires or panels, safety is non-negotiable. Water and electricity don’t mix well, and gas leaks are dangerous. If you smell gas, leave the house immediately and call emergency services. For electric units, turn off the power at the main circuit breaker. For gas units, switch the gas valve to the "off" position. This prevents accidental shocks or fires while you inspect the unit. Always let the tank cool down if it has been running recently to avoid burns from hot surfaces or pipes.
Step 1: Check Your Power Source
The most common reason a water heater stops working is a simple loss of power. For electric models, check your home’s circuit breaker panel. Look for two breakers labeled "water heater." If either has tripped (moved to the middle or off position), flip them fully off and then back on. Sometimes, a surge in power can trip these switches. If they trip again immediately after resetting, you might have a short circuit inside the heating element, which requires a professional repair.
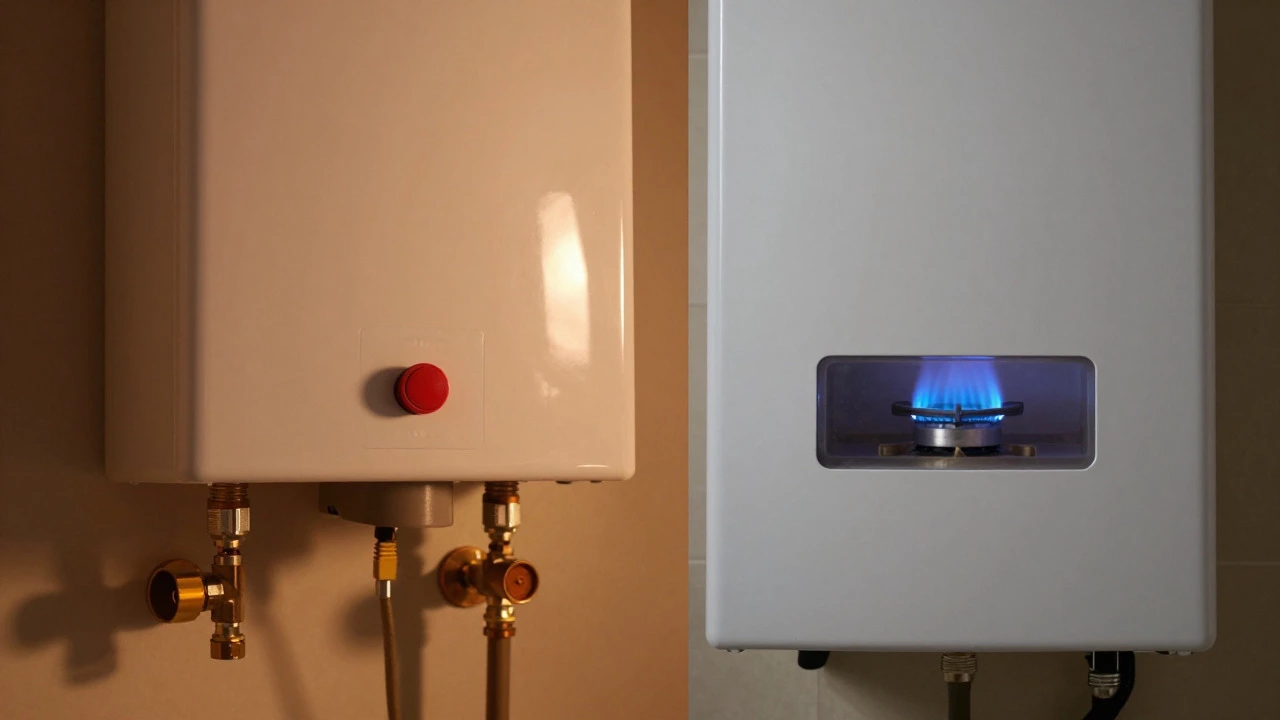
If you have a gas water heater, check the pilot light. Open the access panel near the bottom of the tank. You should see a small glass window where a blue flame is visible. If the flame is out, you need to relight it. Follow the manufacturer’s instructions carefully, as procedures vary between direct ignition systems and standing pilot lights. If the pilot won’t stay lit, the thermocouple-a small copper tube that detects the flame-might be faulty or dirty.
Step 2: Inspect the Thermostat Settings
It sounds obvious, but people often overlook this. Over time, thermostat dials can get bumped, or digital displays can glitch. For electric heaters, remove the insulation blankets covering the side panels to access the thermostats. There are usually two: one for the upper heating element and one for the lower. Ensure both are set between 120°F and 140°F (49°C-60°C). If they are set too low, your water will feel lukewarm. If they are set too high, you risk scalding and increased energy bills.
For gas units, the thermostat is typically behind the front control panel. Turn the dial to "Hot" or adjust the temperature setting accordingly. If the thermostat is stuck or unresponsive, it may need replacement. A multimeter can help test if the thermostat is sending power to the heating elements or burners, but this step requires some electrical knowledge.
Step 3: Look for Leaks and Pressure Issues
Check around the base of the water heater for pooling water. Small condensation is normal, especially in humid climates like Wellington, New Zealand, but active dripping indicates a leak. Inspect the pressure relief valve (T&P valve) located on the top or side of the tank. If water is leaking from here, the pressure inside the tank might be too high. Try lifting the lever on the valve slightly to release pressure. If water continues to flow steadily, the valve itself might be failing and needs replacement.
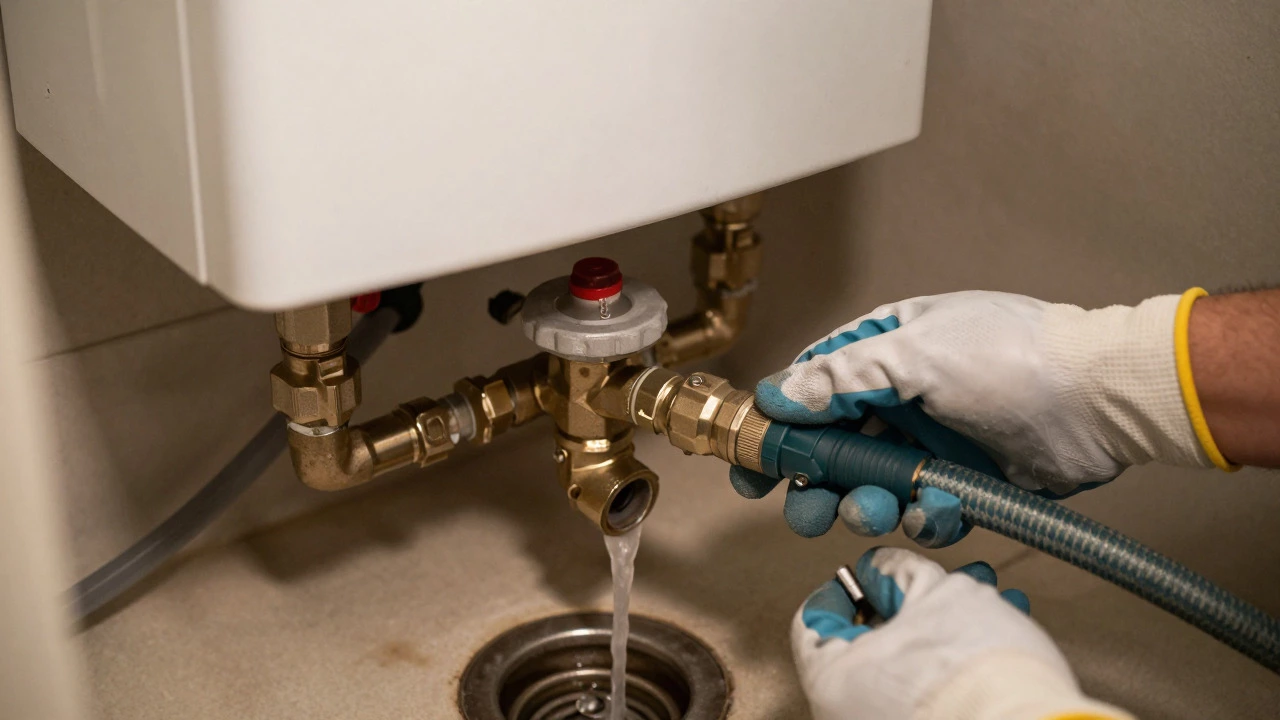
Low water pressure throughout the house could also point to a water heater issue. Sediment buildup at the bottom of the tank can restrict flow. Flushing the tank annually removes this sediment and improves efficiency. To flush, connect a garden hose to the drain valve at the bottom of the tank, run the other end to a floor drain, and open the valve. Let the water run until it flows clear. This maintenance task can extend the life of your unit by several years.
Step 4: Reset Buttons and High-Limit Switches
Many modern electric water heaters have a red reset button on the thermostat panel. If the water gets too hot due to a malfunction, the high-limit switch trips to prevent overheating. Pressing the reset button restores power to the heating element. However, if the button pops out again shortly after pressing, do not keep resetting it. This indicates a serious problem with the thermostat or heating element, and continuing to force it could lead to a fire hazard.
Gas units may have an igniter that fails over time. If the burner doesn’t ignite when the thermostat calls for heat, the igniter might be cracked or dirty. Cleaning it with fine sandpaper or replacing it is a relatively inexpensive fix compared to calling a technician. Always refer to your owner’s manual for specific part numbers and installation instructions.
| Symptom | Likely Cause | DIY Solution |
|---|---|---|
| No Hot Water | Tripped Breaker / Pilot Light Out | Reset breaker; Relight pilot |
| Lukewarm Water | Thermostat Setting Too Low | Adjust thermostat to 120-140°F |
| Banging Noises | Sediment Buildup | Flush the tank |
| Leaking Water | Faulty T&P Valve or Tank Corrosion | Replace valve; Call pro if tank leaks |
| Rotten Egg Smell | Bacterial Growth in Anode Rod | Replace anode rod with aluminum/zinc |
When to Call a Professional
While many issues are DIY-friendly, some require expert intervention. If the tank itself is leaking from the sides or bottom, the internal lining has likely corroded. In this case, replacement is necessary because tanks cannot be patched effectively. Another sign is persistent tripping of the circuit breaker despite checking the elements. This suggests a wiring fault or a failed ground connection.
In New Zealand, regulations regarding gas appliances are strict. If you’re unsure about relighting a pilot light or checking gas connections, hire a licensed gasfitter. They ensure compliance with local safety standards and prevent carbon monoxide leaks. Similarly, for complex electrical faults, an electrician can diagnose short circuits safely.
Maintenance Tips to Prevent Future Breakdowns
Preventative maintenance saves money and stress. Flush your tank every six to twelve months to remove sediment. Test the pressure relief valve annually by lifting the lever briefly. Inspect the anode rod every three to five years; if it’s heavily corroded, replace it to protect the tank from rust. Keep the area around the water heater clear of clutter to ensure proper ventilation, especially for gas units.
Consider upgrading to a tankless water heater if your current unit is over ten years old. Tankless models heat water on demand, offering endless hot water and higher energy efficiency. While the upfront cost is higher, long-term savings on energy bills and reduced maintenance make them a smart investment for many households.
How do I know if my water heater needs to be replaced?
If your water heater is more than 10-15 years old, frequently breaking down, leaking from the tank, or producing rusty water, it’s time for a replacement. Older units become less efficient, leading to higher energy bills.
Why is my water heater making popping noises?
Popping or banging noises are caused by sediment buildup at the bottom of the tank. As water heats, steam bubbles form under the sediment layer and pop when they escape. Flushing the tank resolves this issue.
Can I reset a water heater myself?
Yes, most electric water heaters have a red reset button on the thermostat panel. Press it gently if the high-limit switch has tripped. For gas units, relighting the pilot light is a common reset procedure. Always follow safety guidelines.
What should I do if I smell gas near my water heater?
Leave the house immediately. Do not turn lights on or off, as sparks can ignite the gas. Once outside, call your gas provider or emergency services. Do not re-enter until professionals declare it safe.
How often should I flush my water heater?
It’s recommended to flush your water heater once a year. In areas with hard water, consider flushing every six months to prevent sediment buildup, which reduces efficiency and causes noise.
I am an expert in the services industry with a focus on appliance repair. My passion lies in understanding how things work and educating others in simple, engaging ways. This enthusiasm fuels my writing, where I delve into topics around appliance maintenance and troubleshooting. I aim to make these subjects clear and accessible to all readers.