Water Heater Diagnostic & Cost Estimator
Problem Identified
Estimated Part Cost
$0 - $0
Professional Repair Cost
$0 - $0
You step into the shower, expecting a warm embrace, but instead get hit with a blast of freezing cold. Or maybe you notice a mysterious puddle forming under your tank that wasn't there yesterday. If you've ever dealt with a hot water heater acting up, you know it's one of those home issues that feels urgent immediately. But here is the truth: most water heater failures aren't random disasters. They follow predictable patterns.
So, what is the single most common problem? It depends on whether you have a gas or electric unit, but across the board, sediment buildup is the silent killer for storage tanks, while faulty heating elements top the list for electric models. Understanding these root causes saves you from calling a plumber for every little noise or temperature fluctuation. Let's break down exactly what goes wrong, why it happens, and how you can often fix it yourself before spending hundreds on a repair call.
The Silent Killer: Sediment Buildup in Storage Tanks
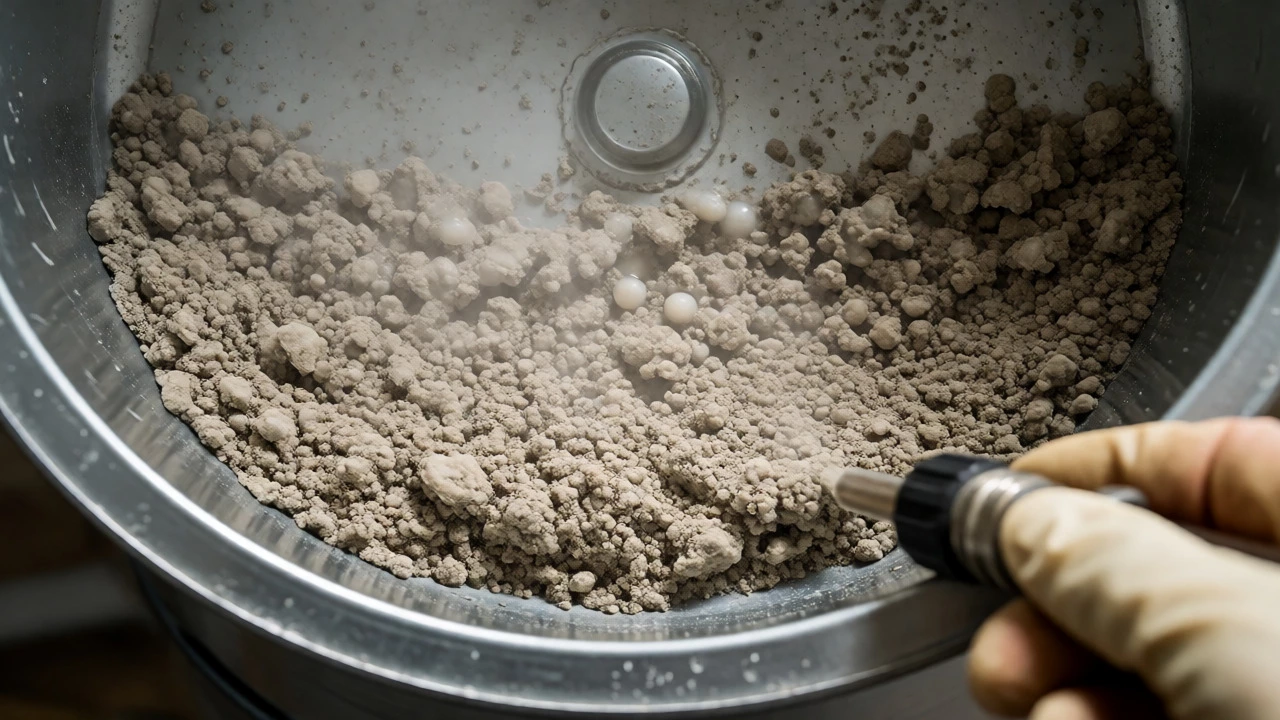
If you live in an area with hard water, you are fighting a losing battle against minerals. Calcium and magnesium don't just leave spots on your dishes; they settle at the bottom of your water heater tank. Over time, this layer of sediment acts like insulation between the burner (or heating element) and the water. The result? Your heater works harder to heat the same amount of water, driving up energy bills.
But efficiency isn't the only casualty. That thick layer of grit traps steam bubbles beneath it. When those bubbles finally escape, they create a loud popping or rumbling noise that sounds like a pot of boiling beans. Many homeowners mistake this for a dying heater, but often, it just needs flushing. If left unchecked, the trapped heat can overheat the metal bottom of the tank, leading to cracks and eventual leaks. A simple annual flush removes this debris and extends the life of your unit by years.
No Hot Water: The Electric Heating Element Failure
For owners of electric water heaters, the most frequent complaint is simply "no hot water." Unlike gas units, which rely on burners and thermocouples, electric heaters use two resistive coils called heating elements. These elements are consumables. They corrode and break over time, typically lasting 3 to 10 years depending on water quality.
Here is a quick diagnostic trick: if you have lukewarm water rather than none at all, one element might still be working. Most residential electric tanks have an upper and lower element. The upper one heats the initial draw of water, while the lower one keeps the bulk of the tank warm. If the upper element fails, you run out of hot water quickly because the cold incoming water mixes with the cooler stored water. Replacing a heating element is a straightforward DIY job involving a multimeter and a socket wrench, costing less than $50 in parts compared to a $200 service call.
The Drip Trap: Leaks from Pressure Relief Valves
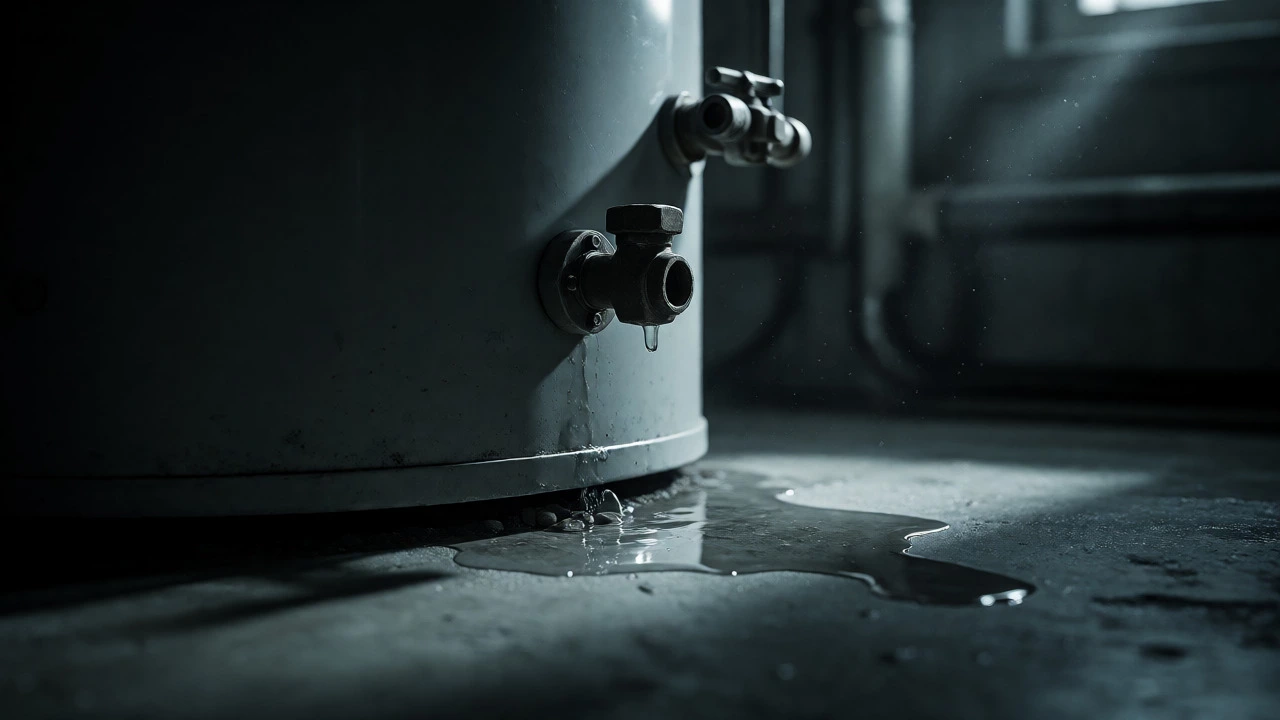
A small drip from the discharge pipe outside your house doesn't always mean your tank is cracked. In fact, the Temperature and Pressure Relief (TPR) valve is a safety device designed to open when internal pressure gets too high. This often happens due to thermal expansion. As water heats, it expands. If your home has a closed-loop plumbing system (common with backflow preventers), that expanded water has nowhere to go, forcing the TPR valve to release a trickle.
Before assuming the worst, check the valve itself. Sometimes debris gets stuck in the seat, preventing it from closing fully. Lifting the test lever on the valve can clear the obstruction. If it continues to leak, replacing the TPR valve is cheap and easy. However, if you see water pooling directly around the base of the tank where the pipes connect, that’s a different story. That usually points to loose fittings or a failing gasket, both of which need immediate attention to prevent corrosion.
Gas Heaters and Thermocouple Troubles
Gas water heaters have their own set of quirks. The most common reason a pilot light won’t stay lit-or the main burner won’t ignite-is a faulty thermocouple. This small copper rod senses the heat from the pilot flame. If it detects heat, it signals the gas valve to stay open. If it’s dirty, bent, or worn out, the system assumes the flame went out and shuts off the gas supply for safety.
Replacing a thermocouple is inexpensive, but diagnosing it requires care. Sometimes the issue isn't the part but the airflow. Drafts near the heater can blow out the pilot repeatedly. Check for vents nearby or windows that were recently opened. If the pilot stays lit but the main burner never kicks on, the issue might be the gas control valve itself, which is a more complex component to replace.
Running Out of Hot Water Too Fast
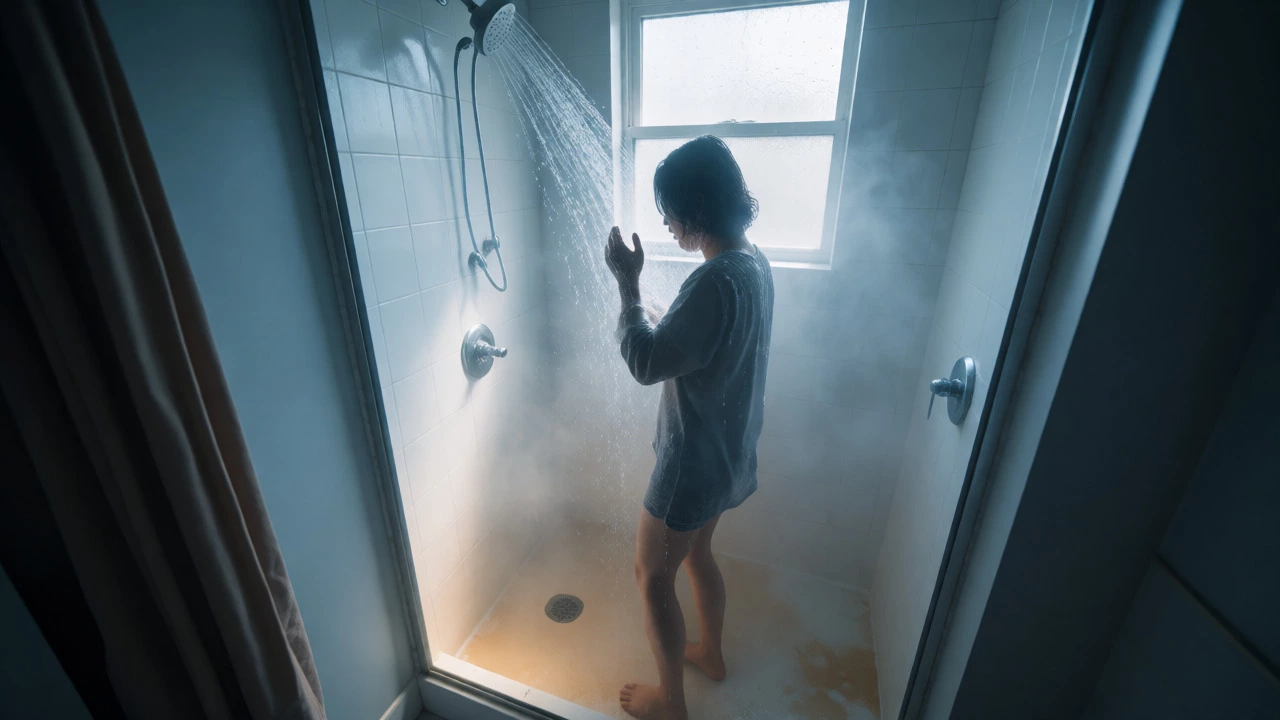
Your shower starts hot but turns cold after ten minutes. This isn't necessarily a broken heater; it might be a sizing mismatch. Standard residential tanks hold 40 to 50 gallons. If your household habits have changed-maybe you added a family member or started taking longer showers-you’ve exceeded the recovery rate. The recovery rate is how fast the heater can reheat cold water entering the tank.
Another culprit is a bypassed dip tube. This plastic pipe directs cold water to the bottom of the tank so it doesn't mix with the hot water at the top. If the dip tube cracks or disintegrates (common in heaters made between 1993 and 1997 due to defective materials), cold water shoots straight into the top outlet. You get lukewarm water immediately. Inspecting the dip tube requires draining the tank and removing the cold water inlet fitting, a task best done during a routine maintenance visit.
Comparing Common Issues by Heater Type
To help you diagnose your specific situation, here is a breakdown of the most frequent problems based on fuel type. Note that symptoms often overlap, but the underlying cause differs significantly.
| Problem Symptom | Electric Heater Cause | Gas Heater Cause | DIY Difficulty |
|---|---|---|---|
| No hot water | Faulty upper/lower heating element or tripped breaker | Pilot light out or faulty thermocouple | Moderate |
| Lukewarm water | One element failed; thermostat set too low | Sediment insulating burner; gas pressure low | Easy to Moderate |
| Rumbling noises | Sediment trapping steam bubbles | Sediment trapping steam bubbles | Easy (Flushing) |
| Leaking from bottom | Corroded tank or loose drain valve | Corroded tank or loose drain valve | Hard (Tank replacement) |
| Smell of rotten eggs | Anode rod reacting with sulfur bacteria | Anode rod reacting with sulfur bacteria | Moderate (Anode replacement) |
The Smell of Rotten Eggs: Anode Rod Issues
Have you noticed a sulfurous odor coming from your hot water tap? This is a classic sign of a depleted anode rod. This sacrificial metal rod sits inside the tank to attract corrosive ions, protecting the steel walls from rusting. When it wears out, bacteria in the water thrive and produce hydrogen sulfide gas, which smells like rotten eggs.
While not a mechanical failure, ignoring this smell means your tank is now vulnerable to corrosion. Replacing the anode rod is a smart preventive measure. If you switch to a zinc-aluminum alloy rod, you can also mitigate the odor. This is a cheap fix ($20-$30 per rod) that can save you from premature tank replacement.
When to Call a Professional
Not every problem is a weekend project. You should call a licensed plumber if you see significant water pooling around the base of the tank that persists after tightening connections. This often indicates a crack in the tank itself, which cannot be repaired-only replaced. Additionally, if you smell gas near a gas heater, shut off the gas supply immediately and ventilate the area. Do not attempt to light the pilot or troubleshoot electrical components until a professional has checked for leaks.
Regular maintenance is the best defense against these common headaches. Flushing your tank annually, checking the TPR valve, and inspecting the anode rod every few years will keep your hot water flowing smoothly. By understanding these typical failure points, you stop guessing and start fixing.
How do I know if my water heater is leaking from the tank or a pipe?
Dry the area completely with a towel. Place a piece of cardboard or paper towel under the suspected leak point. Check it after an hour. If the wet spot aligns directly with a pipe joint or the drain valve, it’s likely a loose connection or bad washer. If the water appears along the seam of the tank or from the center of the bottom, the tank itself is likely cracked and needs replacement.
Why does my electric water heater trip the circuit breaker?
A tripped breaker usually means a short circuit in one of the heating elements or a ground fault. Moisture can seep into the element terminals, causing a short. Use a multimeter to test the resistance of each element. If the reading is infinite (open loop) or zero (short), the element is bad. Also, check that the wiring isn't pinched or touching the metal tank casing.
Can sediment damage my water heater permanently?
Yes. While flushing removes loose sediment, long-term accumulation creates a hard crust that insulates the heat source. This forces the heater to run longer cycles, overheating the metal above the sediment line. This thermal stress leads to micro-cracks in the glass lining of the tank, eventually causing leaks that cannot be fixed. Regular flushing prevents this permanent damage.
How often should I flush my water heater?
Manufacturers generally recommend flushing once a year. However, if you live in an area with very hard water, every six months is better. If you hear popping noises, flush it immediately regardless of the schedule. Skipping this maintenance step is the primary reason many tanks fail before their expected 8-12 year lifespan.
What is the average cost to replace a heating element?
The part itself costs between $15 and $40. If you hire a professional, expect to pay $150 to $300 total, including labor and diagnostics. Doing it yourself requires turning off power, draining some water, and using a specialized socket wrench. Always ensure the power is completely off at the breaker panel before opening the access panels.
I am an expert in the services industry with a focus on appliance repair. My passion lies in understanding how things work and educating others in simple, engaging ways. This enthusiasm fuels my writing, where I delve into topics around appliance maintenance and troubleshooting. I aim to make these subjects clear and accessible to all readers.