Refrigerator Troubleshooting Assistant
Diagnosis Summary
You walk into the kitchen, open the fridge, and hit a wall of warm air. Your milk is lukewarm, your leftovers are sweating, and panic starts to set in. Before you grab your phone to call an expensive technician or start pricing out new units, pause. In my years fixing appliances here in Wellington, I’ve seen that 80% of "dead" fridges aren’t actually dead-they’re just confused.
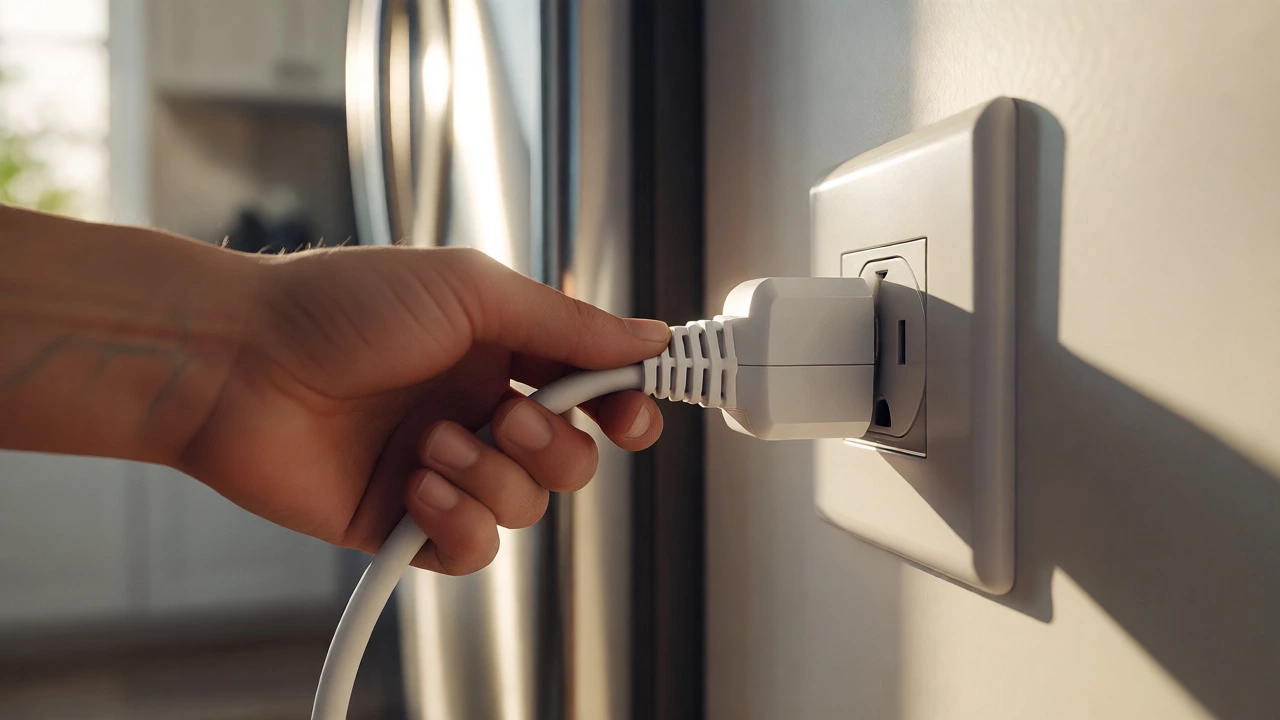
The first thing you must check isn’t the compressor, the gas levels, or the circuit board. It’s the most boring, obvious thing in the world: the power supply. Sounds too simple? You’d be shocked how many service calls I book because someone bumped the plug loose while cleaning behind the unit, or tripped a GFCI outlet in the garage without realizing it was on the same circuit. But checking the plug is just step one. To truly diagnose why your refrigerator stopped working, you need a systematic approach that saves you time and money.
Start with the Power Supply and Circuit Breaker
Let’s get the basics out of the way so we can move to the real diagnostics. If your fridge has no lights, no fan noise, and no hum, it’s almost certainly a power issue. Here is exactly what to do:
- Check the wall outlet: Plug a lamp or phone charger into the socket. If it doesn’t work, the outlet is dead.
- Inspect the breaker panel: Look for a tripped breaker. Sometimes a breaker looks fine but has tripped internally. Flip it fully off, then back on.
- Examine the cord: Is the power cord pinched behind the fridge? Rodents love chewing through insulation in older homes. If the cord is damaged, stop using it immediately.
If the light turns on but the fridge still isn’t cooling, the problem shifts from electricity to mechanics or electronics. This distinction is critical because it changes where you look next.
Verify Temperature Settings and Control Locks
Modern refrigerators are smart, sometimes too smart. Many models come with digital interfaces that allow users to lock controls or accidentally change modes. I once fixed a "broken" fridge for a client who had accidentally switched her unit to "Vacation Mode," which raises the internal temperature to save energy while emptying the shelves.
Check your control panel. Ensure the temperature is set between 3°C and 4°C (37°F-40°F) for the fresh food compartment and -18°C (0°F) for the freezer. If you have a dual-zone model, make sure both zones are active. Also, look for a child lock icon. If the buttons don’t respond when you press them, the lock might be engaged. Usually, holding the lock button for three seconds disables it.
| Compartment | Target Temp (Celsius) | Target Temp (Fahrenheit) | Risk if Too Warm |
|---|---|---|---|
| Fresh Food | 3°C - 4°C | 37°F - 40°F | Bacterial growth, spoilage |
| Freezer | -18°C | 0°F | Ice cream softens, food burns |
| Cooler Drawer | 1°C - 2°C | 34°F - 36°F | Meat spoils quickly |
Inspect Airflow and Ventilation Blockages
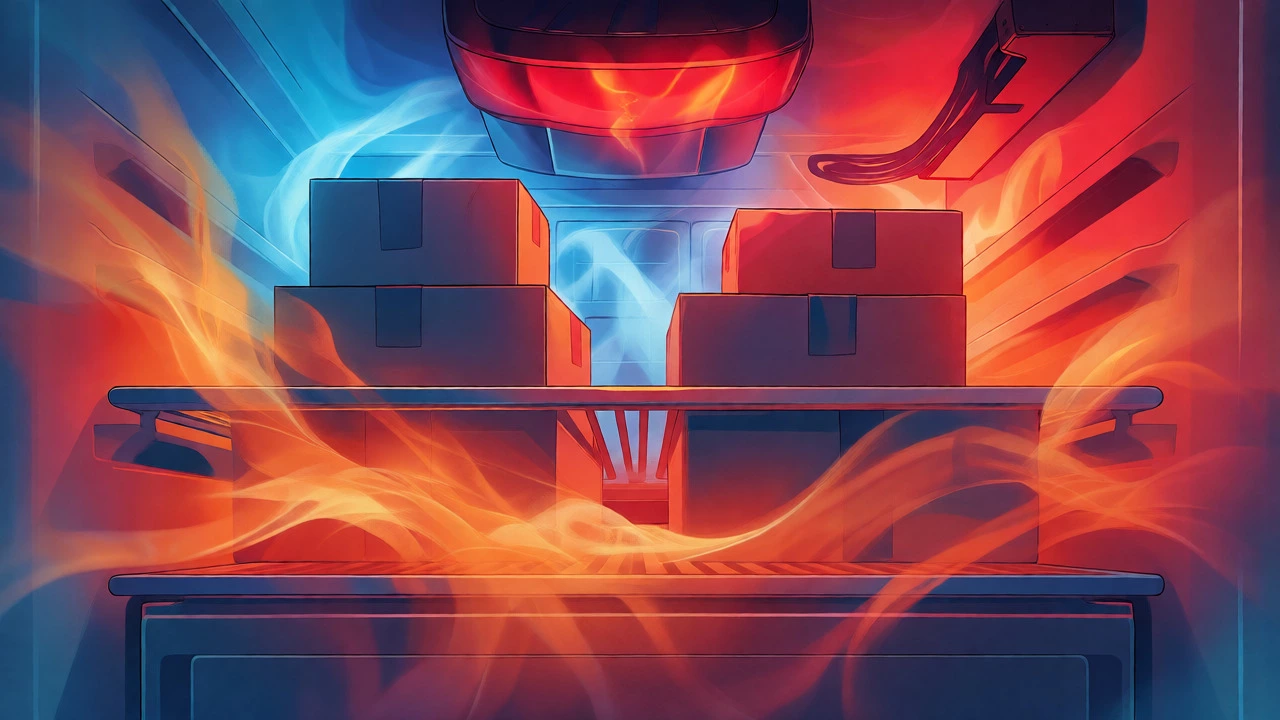
If power is good and settings are correct, the next culprit is airflow. A refrigerator works by moving heat from inside to outside. If that cycle gets blocked, the compressor runs endlessly, overheats, and shuts down to protect itself. Or worse, it keeps running while the interior stays warm.
Start by looking inside. Are you stuffing the shelves? If boxes are pressed against the back wall or covering the air vents, cold air can’t circulate. Remove everything blocking the vents at the back of the fridge and freezer compartments. Give the unit breathing room. The back of the fridge needs at least 5-10 cm of clearance from the wall to let hot air escape from the condenser coils.
Next, check the door seals. This is a common issue in older units. Close the door on a piece of paper. If you can pull the paper out easily without resistance, your gasket is worn out. Cold air leaks out, warm air rushes in, and the fridge struggles to maintain temperature. Replacing a gasket costs about $30-$50 and takes ten minutes, whereas ignoring it can burn out your compressor over time.
Clean the Condenser Coils
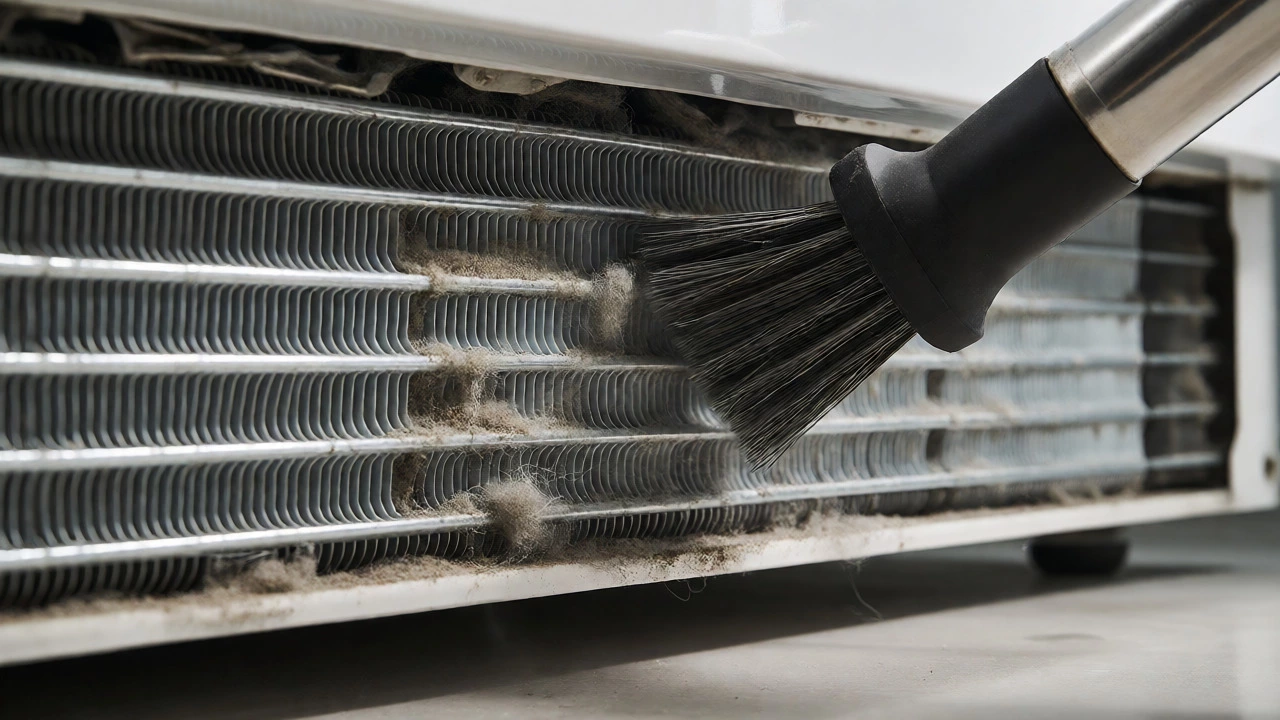
This is the maintenance task everyone forgets. Condenser coils are usually located either behind the kickplate at the bottom front of the fridge or on the back exterior. They look like metal grilles. Their job is to release heat. When they get coated in dust, pet hair, and lint, they act like a winter coat for your fridge-trapping heat instead of releasing it.
When coils are dirty, the compressor has to work twice as hard. Eventually, it overheats and trips its thermal overload protector, causing the fridge to stop cooling intermittently or completely. Cleaning them is easy:
- Unplug the fridge.
- Locate the coils (check your manual if unsure).
- Use a vacuum cleaner with a brush attachment to suck up loose debris.
- For stubborn grime, use a coil brush or compressed air.
- Plug the fridge back in and listen for the compressor starting smoothly.
In dusty households or homes with shedding pets, clean these coils every six months. In cleaner environments, once a year is sufficient.
Listen for Compressor and Fan Issues
If the above steps didn’t help, you need to listen. Put your ear near the back or bottom of the unit. What do you hear?
Noise but no cooling: If the compressor is humming loudly but the fridge remains warm, the evaporator fan might be broken. This fan circulates cold air from the freezer to the fridge. If it’s seized, the freezer might stay cold while the fridge warms up. Try opening the freezer door and pressing the door switch manually. If the fan doesn’t spin, it likely needs replacement.
Clicking sound: A repeated clicking often indicates a faulty start relay or capacitor on the compressor. The compressor tries to start, fails, clicks off, and tries again. This part is cheap ($15-$30) but requires basic electrical safety knowledge to replace.
Silence: If there is no sound at all, and the light is on, the main control board might be dead. This is rare but happens after power surges. At this point, you’re likely looking at a professional repair unless you’re comfortable testing multimeters.
When to Call a Professional
You’ve checked the power, cleaned the coils, verified settings, and listened for fans. Still no luck? Here’s when you should stop DIY-ing and call a technician. If you suspect a refrigerant leak, leave it alone. Modern fridges use R600a or R134a gases. Handling these requires certification and specialized tools. A leak also means you’ll need a welder to fix the line, not just a top-up.
Similarly, if the compressor itself is burnt out (smells like burning plastic, or is extremely hot to the touch), replacement cost often approaches 50% of a new fridge’s price. In that case, buying a new energy-efficient model might be smarter financially.
Remember, a fridge that stops cooling suddenly is different from one that gradually loses efficiency. Sudden failures are often electrical or mechanical breaks (fans, relays). Gradual failures are usually maintenance issues (coils, seals, low gas). Use this clue to guide your decision.
Why is my fridge running but not cooling?
If the compressor runs but the fridge stays warm, the issue is usually airflow-related. Check if the evaporator fan is spinning. If the fan is silent, it may be frozen due to a defrost timer failure or simply broken. Another cause could be blocked air vents inside the freezer, preventing cold air from circulating to the fresh food section.
How long does a fridge take to cool down after being unplugged?
After restoring power or fixing a minor issue, expect 24 hours for the fridge to reach optimal temperatures. The freezer usually cools faster, within 4-6 hours. Do not load it with warm food immediately; wait until it reaches safe temperatures to avoid stressing the compressor.
Can I reset my refrigerator myself?
Yes. Unplug the fridge for 5 minutes, then plug it back in. This resets the electronic control board. Some models require holding specific buttons (like 'Alarm' or 'Lock') for 10 seconds to perform a factory reset. Check your user manual for the specific sequence for your brand.
Is it worth repairing an old refrigerator?
Generally, if the repair cost exceeds 50% of the price of a new unit, consider replacing it. For fridges older than 10 years, parts availability decreases, and energy efficiency drops significantly. A new model could save you enough on electricity bills to offset the purchase price within a few years.
What causes ice buildup in the freezer?
Ice buildup usually signals a failed defrost system. The defrost heater, defrost thermostat, or defrost control board may be faulty. Alternatively, leaving the freezer door ajar introduces humid air, which freezes on the coils. Clearing blockages and checking door seals often resolves minor cases.
I am an expert in the services industry with a focus on appliance repair. My passion lies in understanding how things work and educating others in simple, engaging ways. This enthusiasm fuels my writing, where I delve into topics around appliance maintenance and troubleshooting. I aim to make these subjects clear and accessible to all readers.