Extractor Fan Diagnostic & Cost Estimator
Recommended Fixes:
Select a symptom to see the estimated repair cost and difficulty.
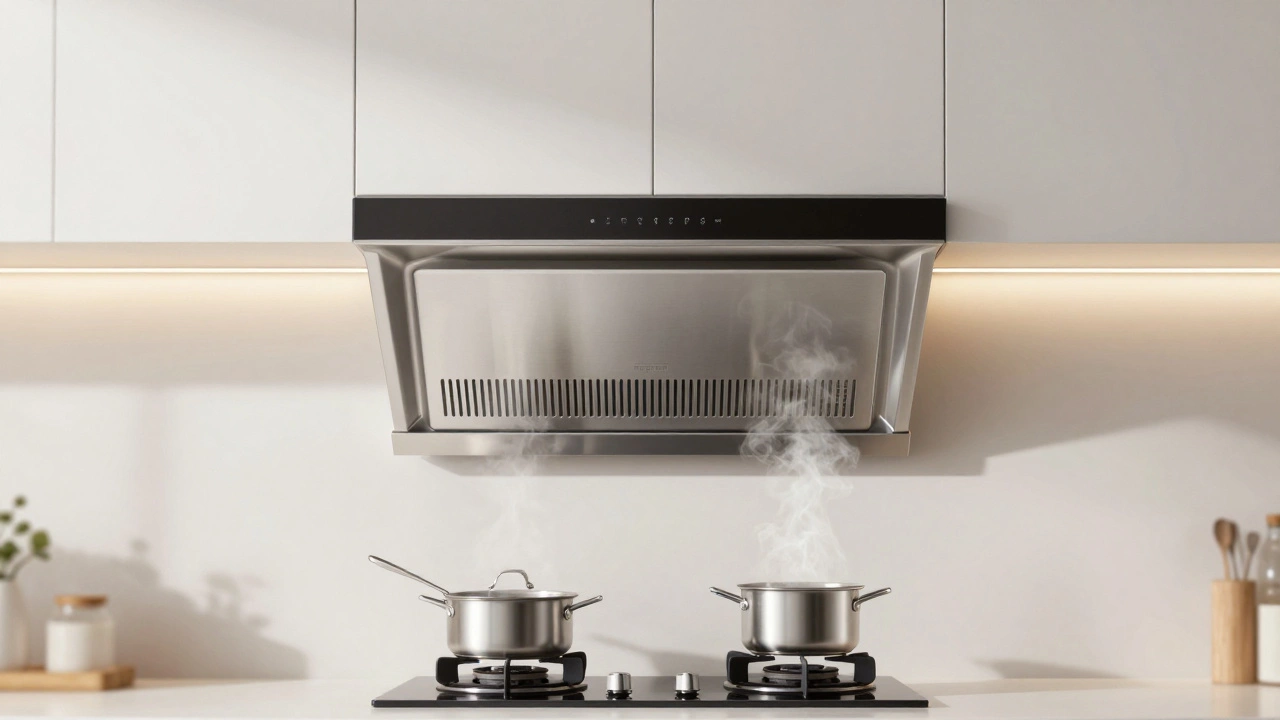
There is nothing worse than the smell of burnt toast or frying onions lingering in your kitchen for hours. You reach for the switch, expecting that familiar hum and the rush of air clearing the steam, but you get silence. Or worse, a loud rattling noise that sounds like a blender full of marbles. A broken extractor fan is a ventilation device installed in kitchens and bathrooms to remove stale air, moisture, and odors is more than just an annoyance; it’s a health hazard waiting to happen. Moisture builds up, mold grows on your ceiling, and your windows fog up every time you boil water.
Before you call a technician who might charge you $150 just to show up, take a deep breath. Most extractor fan issues are simple fixes that cost less than a coffee. Whether your fan is dead silent, noisy, or just blowing warm air back into the room, this guide will walk you through diagnosing and fixing the problem yourself. We’ll cover everything from cleaning clogged filters to replacing a seized motor, keeping it safe, practical, and straightforward.
Quick Safety Check Before You Start
Electricity and grease don’t mix well. Before you touch any part of your fan unit, you need to cut the power. This isn’t optional. Go to your fuse box or circuit breaker panel and switch off the power to the kitchen lights and sockets. If you’re unsure which breaker controls the fan, turn off the main switch. Use a voltage tester pen to double-check that there is no live current at the switch where the fan connects. Better safe than sorry. Also, if your fan is mounted high up near the ceiling, make sure your step ladder is stable. Falling off a ladder while holding a screwdriver is a recipe for disaster.
Diagnose the Problem: What’s Actually Wrong?
Not all broken fans are created equal. To fix the issue, you first need to identify the symptom. Grab your phone’s flashlight and look closely at the unit. Here are the four most common scenarios:
- The fan doesn’t turn on at all: The light might work, but the blades are stationary. This usually points to a wiring issue, a faulty switch, or a blown capacitor.
- The fan is noisy (rattling, grinding, or whining): The motor is running, but something is physically obstructing the blades or the bearings are worn out.
- The fan runs but pulls no air: The blades spin, but the kitchen smells stay put. This is often a blocked duct or a reverse-flow damper stuck closed.
- The fan leaks oil or grease: Common in older recirculating models with charcoal filters that are saturated or missing entirely.
Identifying the specific behavior narrows down your repair path significantly. Let’s tackle each one.
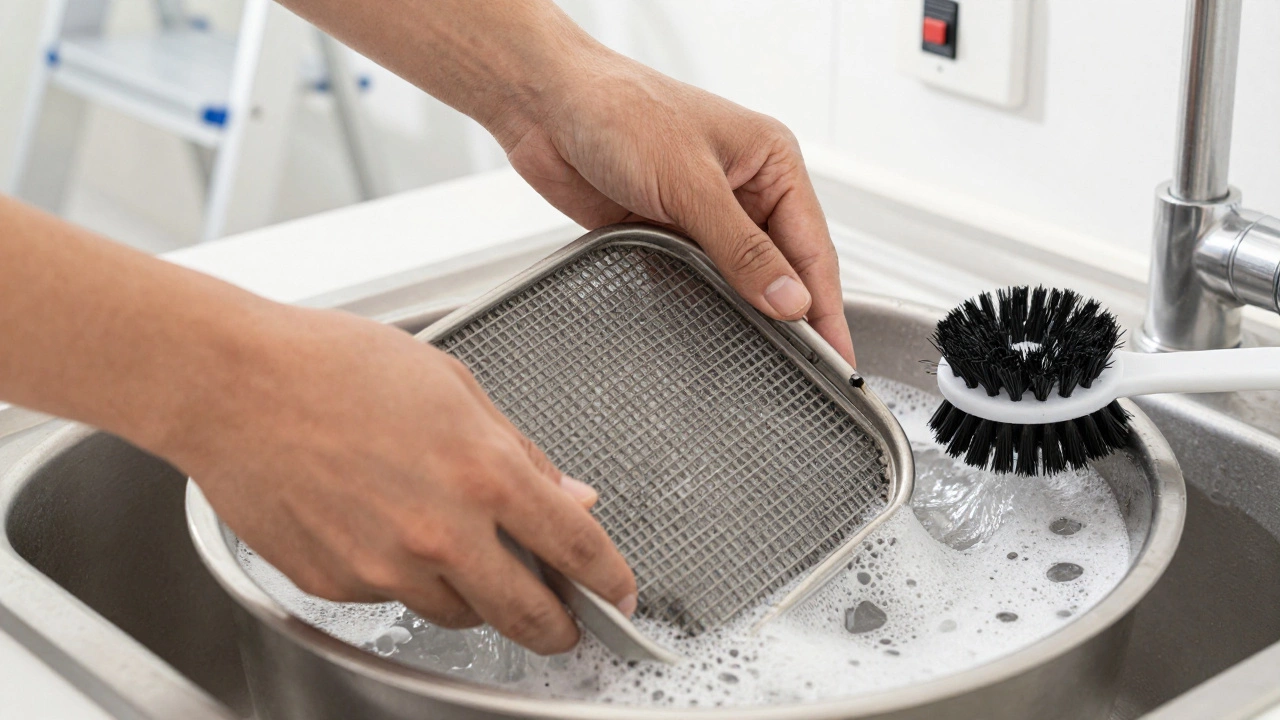
Fix 1: Cleaning the Filters and Blades
If your fan is making noise or pulling weak air, start here. Over time, cooking grease coats the metal mesh filters and the plastic blades. This buildup adds weight and unbalances the rotor, causing vibration and noise. In severe cases, the motor can’t overcome the drag, and the fan slows to a crawl.
First, remove the front grille or the filter housing. Most modern kitchen extractor fans are ventilation units designed to capture airborne contaminants during cooking have clips or screws that release easily. Once the filter is out, soak it in hot water mixed with a degreasing dish soap or a dedicated appliance cleaner. Let it sit for 20 minutes. Scrub gently with a soft brush. Do not use steel wool, as it can scratch the surface and trap more grease later.
While the filter soaks, shine your light into the fan housing. You’ll likely see thick layers of black gunk on the blades. Wipe these down with a cloth soaked in the same soapy solution. Be careful not to push debris deeper into the motor housing. Once everything is dry-completely dry-reassemble the unit. Often, this simple cleaning restores 80% of the fan’s efficiency and eliminates the rattling noise caused by uneven weight distribution.
Fix 2: Checking the Switch and Wiring
If the fan is completely dead, the issue might be before the electricity even reaches the motor. Many people overlook the wall switch. Over years of flicking on and off, the internal contacts can wear out or oxidize. If your kitchen has a combined light-and-fan switch, try toggling the light part. If the light works but the fan doesn’t, the switch mechanism for the fan circuit is likely faulty.
To test this, you’ll need a multimeter. Set it to continuity mode. Remove the switch plate (remember, power is off!) and disconnect the wires. Touch the probes to the input and output terminals for the fan circuit. If there’s no beep when you flip the switch, the switch is dead. Replacing a standard rocker switch costs about $10-$20 and takes ten minutes. Just match the wire colors: usually brown or red for live, blue or black for neutral, and green/yellow for earth.
If the switch is fine, check the wiring inside the fan housing. Look for loose connections or burnt marks. Sometimes, the vibration from the fan loosens the terminal screws over time. Tighten them up, and ensure the insulation hasn’t melted onto the metal contacts.
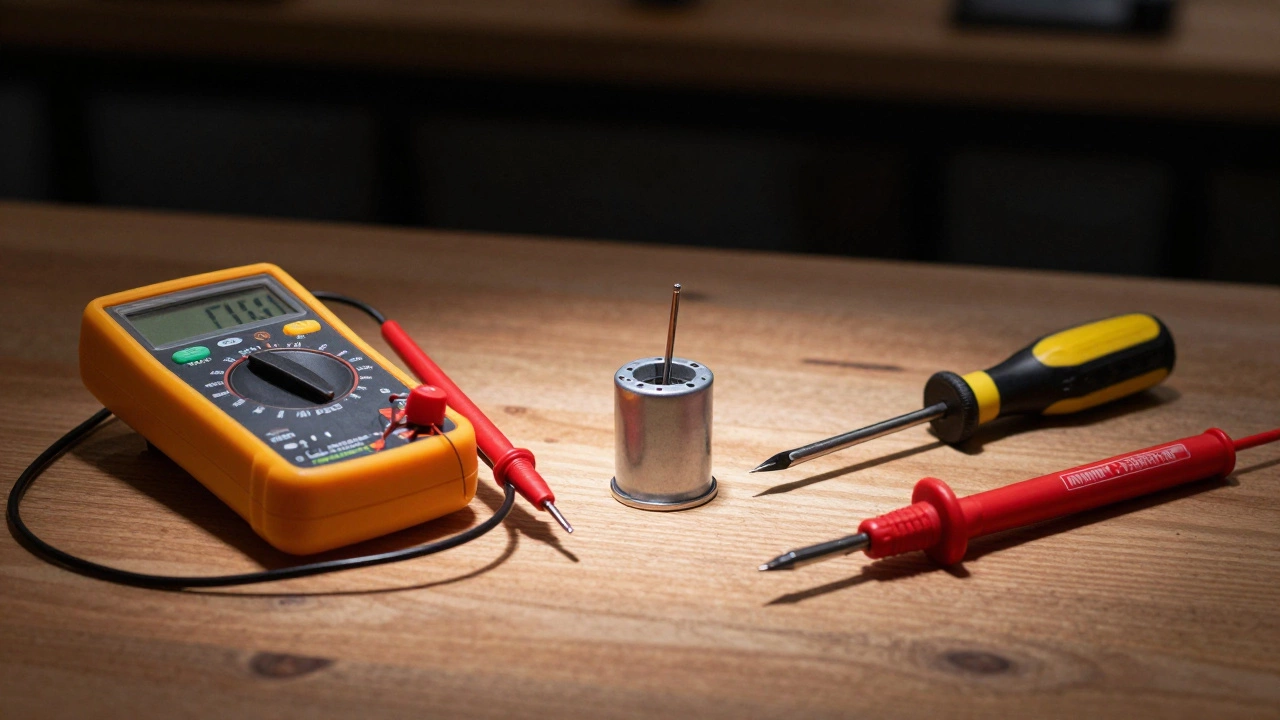
Fix 3: Testing and Replacing the Capacitor
This is the hidden hero of single-phase motors. Most extractor fans use a small run capacitor is an electronic component that provides the initial torque needed to start the motor spinning. It looks like a small silver cylinder or a black box tucked away in the wiring compartment. If the capacitor fails, the motor might hum but not spin, or it might struggle to start and then stop. This is a very common failure point because capacitors degrade with heat and age.
You can test a capacitor with a multimeter set to capacitance mode (if yours has it) or resistance mode. Discharge the capacitor first by touching its terminals with an insulated screwdriver handle to avoid a shock. Then measure. If the reading is significantly lower than the value printed on the side (e.g., it says 4µF but reads 1µF), it’s dead. Even if it’s hard to tell visually, if the fan struggles to start, replacing the capacitor is cheap and easy. Buy an exact match for microfarads (µF) and voltage rating. Swap it in, ensuring the polarity matches if it’s polarized, though most run caps are non-polarized.
Fix 4: Inspecting the Motor Bearings
If the fan spins freely by hand but makes a grinding noise when powered, or if it feels gritty when you spin the blades manually, the bearings are shot. The motor shaft relies on tiny ball bearings to rotate smoothly. When these wear out, metal grinds against metal. This creates friction, heat, and eventually burns out the motor windings.
For sealed motor units, you cannot replace just the bearings. You have to replace the entire motor assembly. This is a bit more involved. You’ll need to unscrew the motor mount from the fan housing. Take the old motor to a hardware store or search online for the model number printed on the label. Match the voltage (usually 230V in New Zealand/Europe), speed (RPM), and mounting hole pattern. Install the new motor, reconnect the wires carefully, and secure it tightly. Loose mounts cause vibration, which kills new bearings quickly.
Fix 5: Clearing Blocked Ducts and Dampers
If your fan is pushing air but the kitchen still smells, the problem is downstream. Extractor fans push air out through a duct. If that duct is blocked by bird nests, leaves, or collapsed flexible tubing, the air has nowhere to go. It backs up into the room.
Go outside to where the exhaust vent exits your wall or roof. Is the flap open? Some vents have a spring-loaded damper that opens when air pressure pushes it. If it’s stuck shut due to rust or dirt, pry it open gently. Clean the exterior grill. Then, trace the ductwork inside. If you have accessible attic space or drop-down ceilings, inspect the pipes. Flexible aluminum ducts often sag and kink, restricting airflow. Straighten them out or replace them with rigid PVC piping, which offers much better airflow and is easier to clean.
| Symptom | Likely Cause | DIY Fix Difficulty | Estimated Cost |
|---|---|---|---|
| Fan won't start | Bad switch or capacitor | Easy | $10 - $30 |
| Loud rattling/grinding | Dirt buildup or bad bearings | Medium | $0 (cleaning) - $80 (motor) |
| No airflow | Blocked duct or damper | Medium | $0 - $20 (duct tape/pipes) |
| Burning smell | Motor overheating/wiring fault | Hard | $50+ (professional advice recommended) |
When to Call a Professional
While most mechanical issues are DIY-friendly, electrical faults can be dangerous. If you smell burning plastic or see scorch marks on the wiring inside the fan housing, stop immediately. This indicates a short circuit or overloaded wiring that could start a fire. Similarly, if the fan is integrated into a complex range hood system with multiple sensors and digital displays, and the control board is fried, it’s often cheaper and safer to hire a specialist. In Wellington, given our humid coastal climate, corrosion on outdoor vents is also a common issue that might require professional sealing to prevent long-term damage to your home’s structure.
Can I use WD-40 on my extractor fan motor?
No, do not use standard WD-40. It is a solvent and lubricant remover, not a long-term lubricant. It can dissolve existing grease and leave the parts dry, leading to faster wear. If you need to lubricate the bearings, use a specific silicone-based spray or white lithium grease designed for electric motors, and only apply a tiny amount.
How often should I clean my extractor fan filters?
You should clean metal mesh filters every 1 to 3 months, depending on how much you cook. If you fry food frequently, aim for monthly cleaning. Charcoal filters in recirculating models cannot be cleaned; they need to be replaced every 3 to 6 months to maintain effectiveness.
Why does my extractor fan keep tripping the circuit breaker?
This is a serious safety warning. It usually means the motor is seized due to lack of lubrication or physical obstruction, drawing excessive current. It could also indicate a short circuit in the wiring. Turn off the power and do not attempt to run the fan again until you have inspected the motor for binding and checked the wiring for shorts. If unsure, call an electrician.
Is it worth repairing an old extractor fan or buying a new one?
If the repair cost exceeds 50% of the price of a new unit, buy a new one. Modern fans are much quieter and more energy-efficient. However, if the issue is just a dirty filter, a bad capacitor ($15), or a blocked duct, repairing it is definitely worth it. Fans typically last 10-15 years with proper maintenance.
Can I install an extractor fan myself?
Can I install an extractor fan myself?
Yes, if you are comfortable with basic drilling and electrical work. In many regions, including New Zealand, homeowners can perform their own electrical installations under certain conditions, but it must comply with local safety standards (like AS/NZS 3000). If you are cutting into load-bearing walls or dealing with complex roof penetrations, hiring a pro is wise to avoid structural or waterproofing issues.
I am an expert in the services industry with a focus on appliance repair. My passion lies in understanding how things work and educating others in simple, engaging ways. This enthusiasm fuels my writing, where I delve into topics around appliance maintenance and troubleshooting. I aim to make these subjects clear and accessible to all readers.