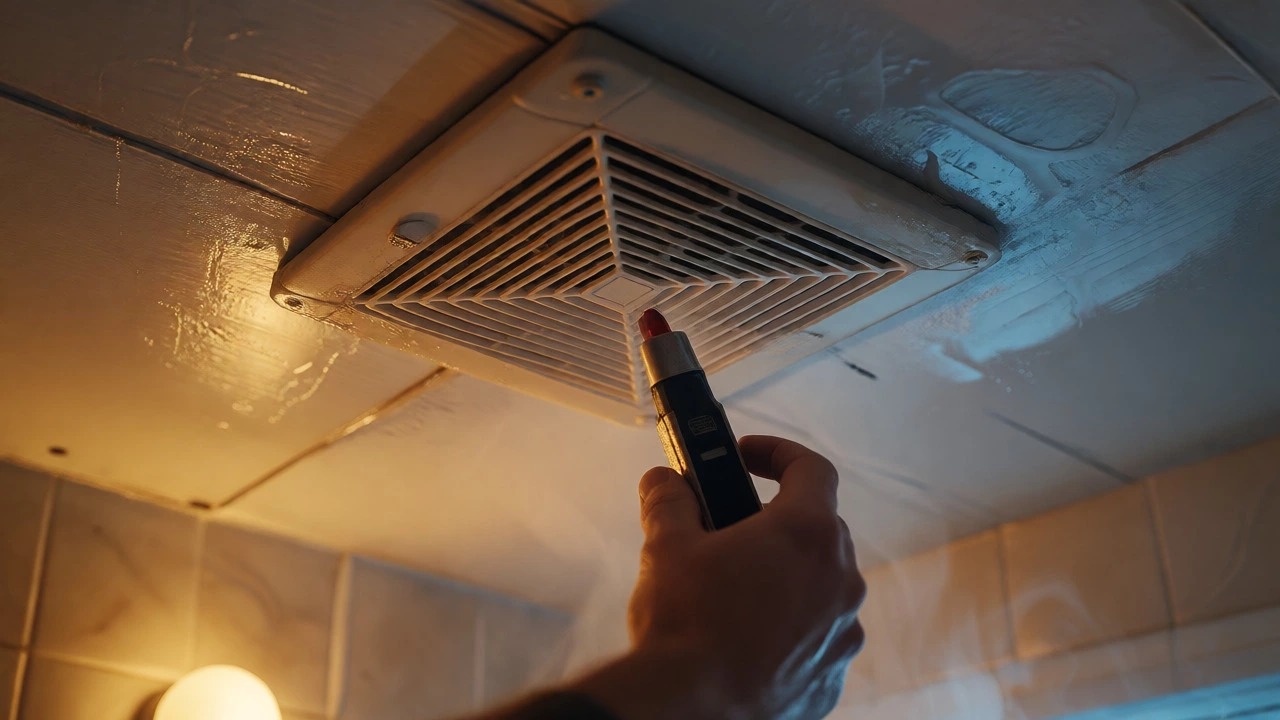
Extractor Fan Replacement Planner
Enter your bathroom dimensions to find the minimum Liters Per Second (L/s) rating needed.
Volumetric Flow Rate:
Tip: Round up to the nearest standard model size (e.g., 80, 100, or 150 L/s).
Select your current setup to see estimated time and key challenges.
Estimated Time:
Key Challenge:
Safety Checklist:
- ✓ Turn off circuit breaker at switchboard.
- ✓ Verify zero volts with tester.
- ✓ Label wires (Live/Brown, Neutral/Blue, Earth/Green-Yellow).
You stare up at that noisy, rattling box in your bathroom ceiling. It’s been sucking out steam and smells for years, but now it sounds like a lawnmower trying to start in winter. You’re wondering: is this a five-minute job I can do myself, or should I be calling an electrician? The honest answer is "it depends," but for most standard ceiling units, you probably have the skills to handle it if you respect the electricity.
Replacing an extractor fan isn’t rocket science, but it involves mains voltage, which demands respect. If you can change a light switch or replace a ceiling light fixture, you are halfway there. This guide breaks down exactly what makes some fans easy and others a nightmare, so you don’t end up with dangling wires and a hole in your drywall.
The Quick Verdict: Is It Actually Easy?
| Fan Type | DIY Difficulty | Time Estimate | Key Challenge |
|---|---|---|---|
| Standard Ceiling Inline | Easy to Moderate | 1-2 hours | Accessing the attic/cavity space |
| Wall-Mounted External | Moderate | 2-3 hours | Cutting new holes or matching existing ones |
| Integrated Light/Fan Unit | Moderate | 1-2 hours | Wiring complexity (switch legs) |
| Ducted Kitchen Hood | Hard | 3+ hours | Ductwork alignment and mounting brackets |
If your current fan is a standard square or circular unit mounted flush to the ceiling with a simple flex connection behind it, you are in luck. These are designed to be swapped out. You unscrew the cover, disconnect three wires (Live, Neutral, Earth), and connect the new ones. Done. However, if you have a complex ducted system where the motor sits in the roof cavity and connects via long flexible ducting, things get trickier. You aren’t just swapping a device; you might need to re-seal duct joints or adjust mounting straps.
Before You Buy: Check These Three Things
Don’t run to the hardware store yet. The biggest mistake homeowners make is buying a replacement fan that doesn’t fit the existing hole or wiring setup. Here is your pre-flight checklist:
- Measure the Housing Size: Most modern fans use standard sizes like 300mm x 300mm or 450mm x 450mm housings. Measure the cut-out in your ceiling, not just the visible grille. If the housing size differs, you’ll need to patch drywall or buy an adapter kit.
- Identify the Wiring Configuration: Does your fan turn on with a wall switch, or does it have a pull cord? Some older homes have switched live feeds that require careful identification. Take a photo of your current wiring before disconnecting anything.
- Check Duct Compatibility: If your fan vents externally, measure the diameter of the existing duct (usually 100mm or 150mm). New fans often come with adjustable spigots, but verify they match your existing pipe.
Safety First: Dealing with Electricity
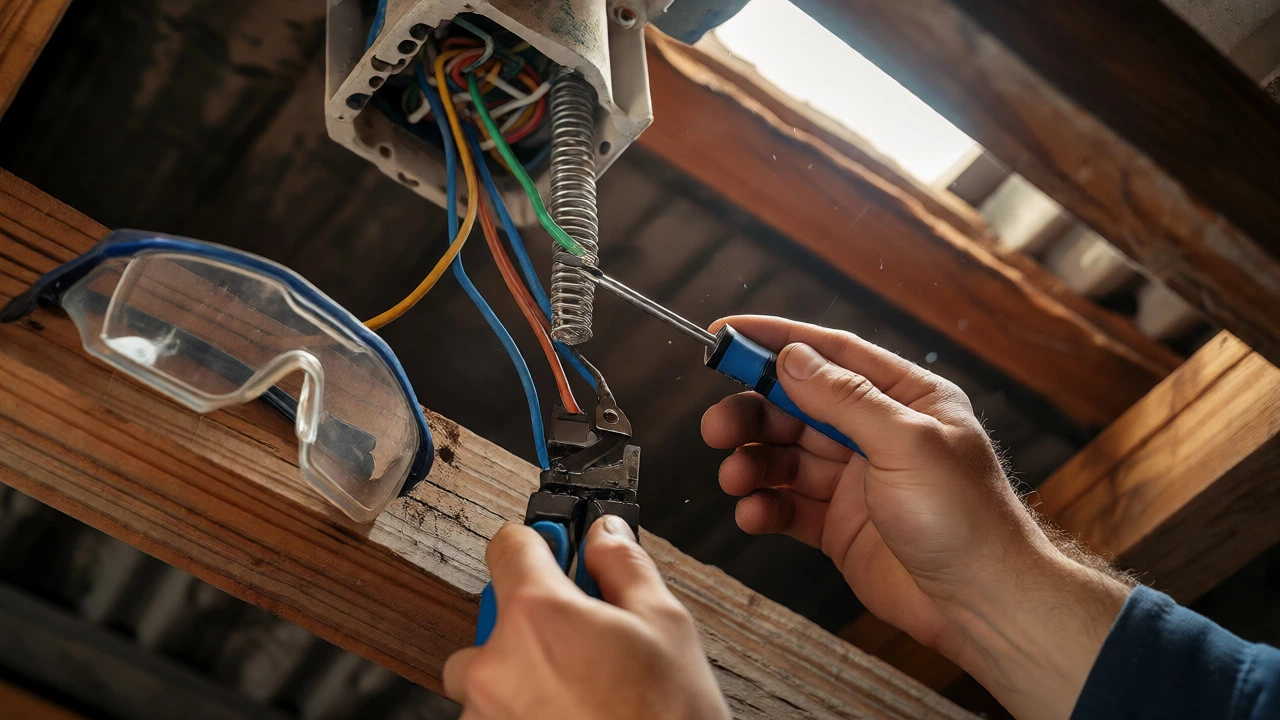
This is non-negotiable. You are working with mains electricity, which in New Zealand runs at 230V. That is enough to stop your heart. Before touching a single wire, go to your switchboard and turn off the circuit breaker for the bathroom lighting and fan. Don’t just rely on the wall switch being off; isolate the power at the source.
Once the power is off, test it. Use a non-contact voltage tester or a multimeter to confirm no electricity is flowing through the wires. Touch the probes to the Live and Neutral terminals. If the meter reads zero volts, you are safe to proceed. If you see any reading, double-check your breaker. Never assume the previous owner wired things correctly-sometimes the fan is on a different circuit than the lights.
Step-by-Step Replacement Process
Assuming you have a standard ceiling-mounted inline fan, here is how the swap usually goes. It’s less about technical skill and more about organization.
- Remove the Cover: Most grilles clip on or have two small screws. Gently pry them off. Set them aside safely-they’re fragile plastic.
- Disconnect the Old Unit: You will likely see a junction box or direct wire connections. Unscrew the terminal block connectors or twist off the wire nuts. Label the wires with tape if you’re unsure (L, N, E).
- Release the Mounting Springs: Standard fans use metal springs to grip the inside of the ceiling joists. Squeeze the springs together to release the tension, then lower the fan down. Be ready to catch it-it’s heavier than it looks.
- Prepare the New Fan: Assemble the new unit according to its manual. Attach the ducting first if possible; it’s much harder to slide a duct over a spigot once the fan is half-in the ceiling.
- Connect the Wires: Match Live to Live (Brown), Neutral to Neutral (Blue), and Earth to Earth (Green/Yellow). Ensure tight connections. Loose wires cause arcing and heat.
- Mount the New Fan: Compress the new springs and push the unit into the ceiling opening. Let the springs expand to lock it in place. Ensure it sits flush against the plasterboard.
- Test Before Final Assembly: Turn the power back on briefly. Does it spin? Does it vent air outside? Go back to the roof or attic to check the duct seal. If all good, turn power off again, attach the cover, and restore power permanently.
When to Call a Professional
While many jobs are DIY-friendly, certain scenarios scream "call an expert." If your home was built before 1970, you might encounter rubber-insulated wiring or cloth-covered cables that are brittle and unsafe to work with. Replacing these requires rewiring parts of the circuit, which is strictly an electrician's job.
Also, consider professional help if you lack access to the roof cavity. If the fan is in a hallway or kitchen where you cannot easily reach the other side of the ceiling, manipulating ducts and securing mounts becomes a blind puzzle. An electrician has the tools and experience to fish wires and secure ducts without damaging your interior finishes.
In New Zealand, regulations under AS/NZS 3000 (the Wiring Rules) state that while some minor electrical work can be done by homeowners, connecting fixed appliances to permanent circuits often requires certification depending on local council rules. Always check your specific regional requirements. When in doubt, paying $150-$250 for a licensed sparky to install the unit saves you from potential insurance headaches later.
Troubleshooting Common Post-Replacement Issues
You’ve installed the new fan, but something isn’t right. Don’t panic. Here are the usual culprits:
- Noisy Operation: If the fan rattles, check if the housing is loose against the ceiling. Tighten the mounting springs or add insulation foam around the gap. Also, ensure the duct isn’t kinked, causing backpressure.
- Poor Ventilation: If the fan runs but doesn’t suck moisture, check the external flap. Birds’ nests or paint splatter often jam these shut. Clean the exterior vent thoroughly.
- Tripping Breaker: If the breaker trips immediately, you have a short circuit. Double-check your wiring colors. Did you accidentally touch Live to Neutral? Or did a bare earth wire touch the live terminal?
Remember, extractor fans are humble workhorses. They prevent mold, protect your paint, and keep your mirrors clear. Doing the replacement yourself gives you a sense of accomplishment and saves cash, provided you prioritize safety and preparation. If you treat the electricity with respect and measure twice before cutting, you’ll likely find it’s one of the easiest upgrades in your home.
Can I replace an extractor fan without turning off the power?
Technically, yes, but it is extremely dangerous and not recommended. Working with live wires increases the risk of shock or short circuits. Always isolate the circuit at the switchboard and verify with a voltage tester before touching any conductors.
How long does an extractor fan last?
Most quality extractor fans last between 10 to 15 years. Signs of failure include excessive noise, reduced airflow, burning smells, or the motor failing to start. Regular cleaning of the grille and blades can extend lifespan.
Do I need an electrician to replace an extractor fan in NZ?
Homeowners in New Zealand can generally perform minor electrical work like replacing a like-for-like appliance if they are competent. However, if new wiring is needed or if you are unsure about the circuit isolation, hiring a registered electrician ensures compliance with AS/NZS 3000 standards.
Why is my new fan louder than the old one?
New fans may seem louder initially due to tighter tolerances or higher power settings. Check that the housing is securely mounted and not vibrating against the ceiling. Also, ensure the ducting is straight and not too long, as excessive length creates resistance and noise.
What size extractor fan do I need for my bathroom?
Calculate the volume of your room (length x width x height in meters) and multiply by 10 for the required liters per second (L/s) extraction rate. For example, a 10m³ room needs a fan rated for at least 100 L/s. Always round up for better performance.
I am an expert in the services industry with a focus on appliance repair. My passion lies in understanding how things work and educating others in simple, engaging ways. This enthusiasm fuels my writing, where I delve into topics around appliance maintenance and troubleshooting. I aim to make these subjects clear and accessible to all readers.