Heat Pump Troubleshooter
Answer these questions to diagnose the most likely cause of your cooling issue and determine if you can fix it yourself.
Diagnosis Result
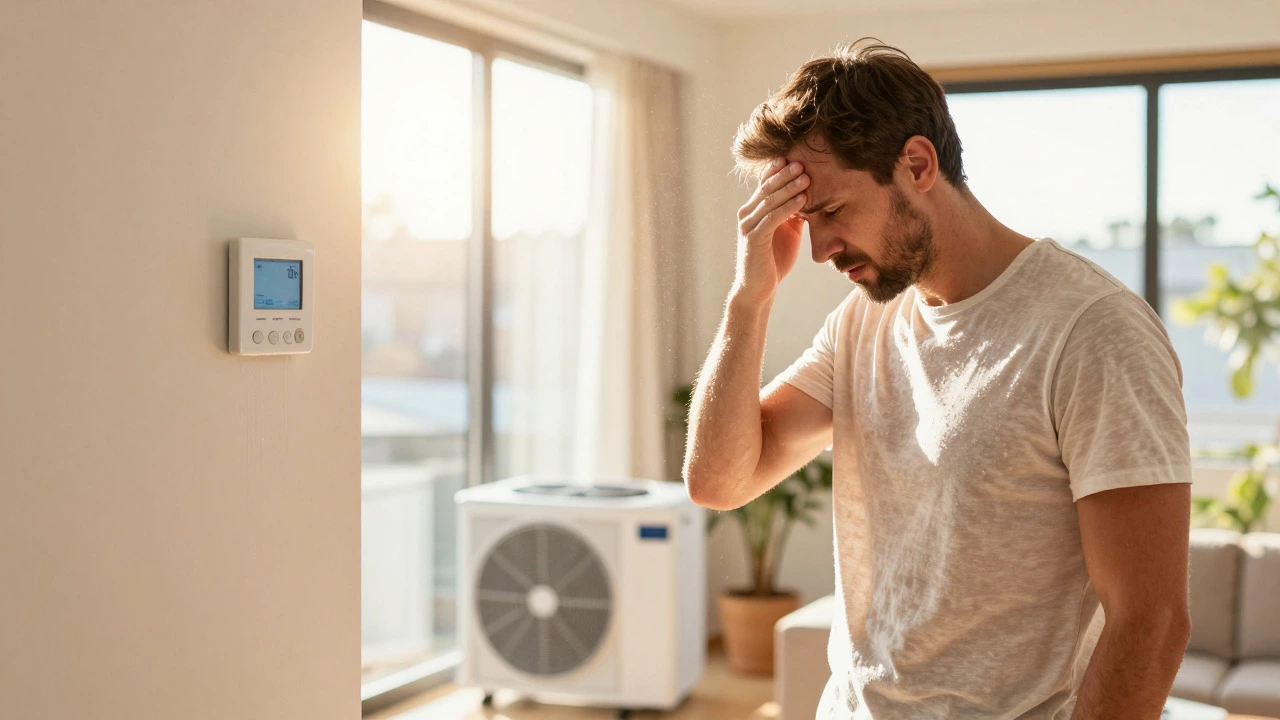
High ConfidenceIt’s 95°F outside, the sun is beating down on your roof, and you’re sweating through your shirt. You check the thermostat: it says 72°F, set to cool. The outdoor unit is humming, maybe even blowing air, but the house feels like a sauna. This is one of the most frustrating issues homeowners face in summer. Your heat pump is a system that moves heat between indoors and outdoors using a compressor, refrigerant, and fans, yet it seems to be doing nothing but eating electricity. The good news? In most cases, the fix isn’t as expensive or complicated as you might fear. Often, it’s a dirty filter, a tripped breaker, or a simple setting error. However, if ignored, these small issues can lead to compressor failure, which is the most costly part of any HVAC repair. Here is how to diagnose why your system is running but not cooling, step by step.
Check the Basics First: Thermostat and Power
Before you call a technician, rule out the human error factor. It sounds obvious, but roughly 30% of "broken" AC calls are just wrong settings.- Verify the Mode: Ensure the thermostat is set to "Cool," not "Heat" or "Auto." If it’s on "Auto," the system might think it’s already at the desired temperature because of a sensor glitch.
- Check the Battery: If your thermostat has a blank screen or flickering display, replace the batteries. A weak battery can cause erratic readings.
- Inspect the Breaker: Go to your electrical panel. Look for a breaker labeled "AC," "HVAC," or "Compressor." If it’s tripped (stuck in the middle position), flip it off and then back on. If it trips again immediately, stop there-you have an electrical fault.
The Dirty Filter Trap
This is the number one culprit for reduced cooling capacity. Your heat pump relies on airflow to exchange heat. When the return air filter gets clogged with dust, pet hair, and debris, the airflow slows down. When airflow drops below a certain threshold, two things happen:- The evaporator coil inside your home can freeze over with ice.
- The compressor works harder than necessary, leading to higher energy bills and potential burnout.
Outdoor Unit Obstructions and Condenser Issues
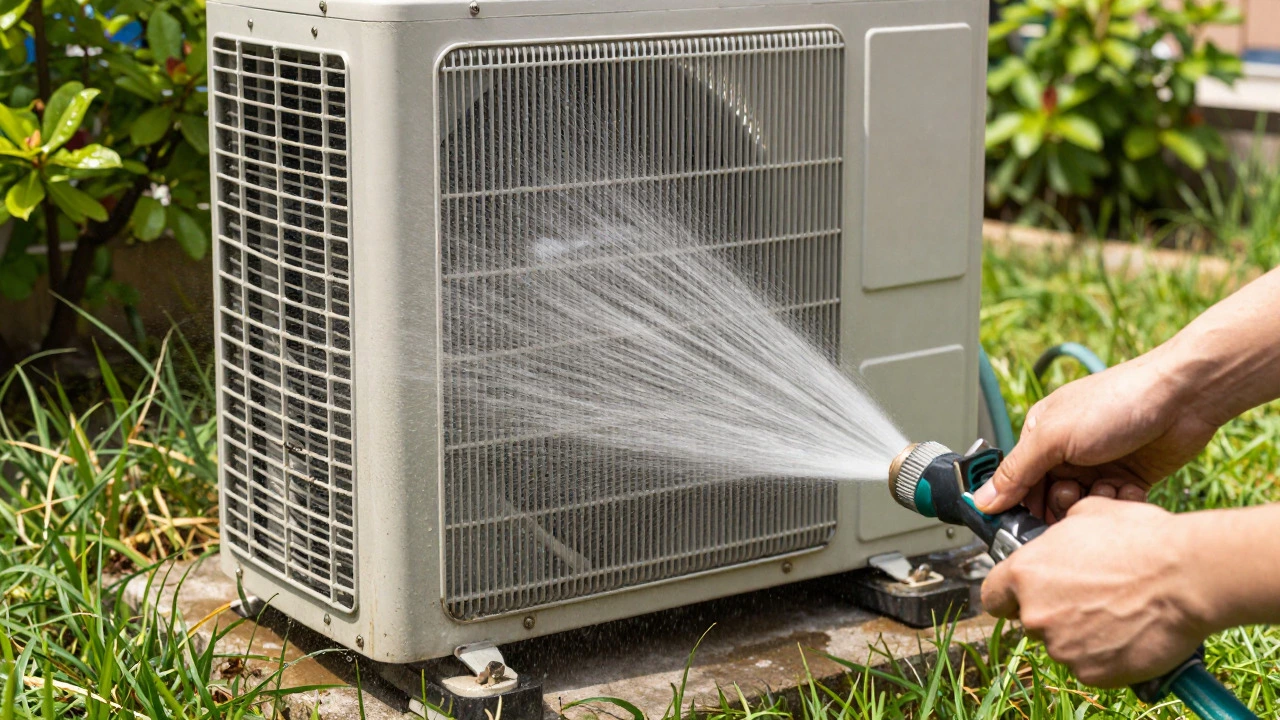
Your outdoor condenser unit needs room to breathe. It pulls in hot air from outside, rejects that heat via the refrigerant cycle, and blows it away. If this process is blocked, efficiency plummets. Walk outside and look at the condenser unit. Check for:- Debris: Leaves, grass clippings, or dirt packed into the fins. Use a garden hose to gently rinse the fins from the inside out. Be gentle; bent fins reduce airflow significantly.
- Vegetation: Bushes or shrubs growing within 2 feet of the unit. This traps hot air, forcing the compressor to work against higher ambient temperatures.
- Fan Operation: When the system runs, does the outdoor fan spin freely? If it’s noisy, wobbly, or stuck, the motor might be failing. If the fan isn’t spinning at all, you may have a capacitor issue.
Refrigerant Leaks: The Silent Killer
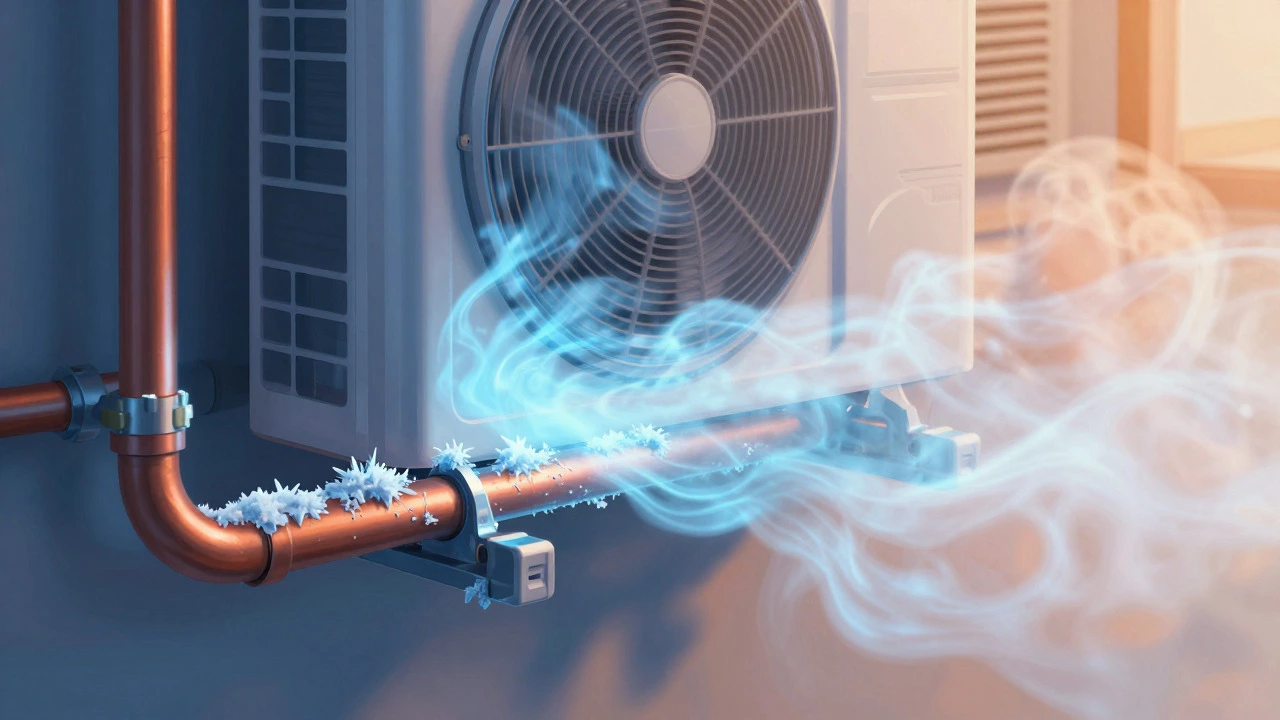
If your filters are clean, the power is on, and the outdoor unit is clear, you might have a refrigerant leak. Modern heat pumps use R-410A or R-32 refrigerants, which are designed to stay sealed. Over time, corrosion, vibration, or poor installation can cause tiny leaks. Signs you have low refrigerant include:- Ice forming on the copper lines entering the house (suction line).
- Hissing or bubbling noises from the outdoor unit.
- Cooling takes much longer than usual, or the air feels lukewarm instead of crisp.
- Higher electric bills despite running the same schedule.
Indoor Blower Motor and Airflow Problems
Even if the compressor is pushing cold refrigerant through the coils, you need moving air to distribute that coolness throughout your home. The indoor blower motor does this job. If you hear the outdoor unit humming but hear little to no air coming from your vents, the blower motor might be struggling. Common causes include:- A failed blower motor capacitor (similar to the outdoor unit).
- A broken belt (if your system uses a belt-driven blower, though many modern units are direct drive).
- Ductwork issues: A disconnected duct section or a closed damper can restrict airflow, causing the system to short-cycle or lose pressure.
When to Call a Professional vs. DIY
Knowing when to stop tinkering saves you money. Here is a quick decision guide:| Symptom | Likely Cause | Action |
|---|---|---|
| No cold air, system quiet | Thermostat/Breaker | DIY: Check settings and breaker |
| Weak airflow, warm air | Dirty Filter | DIY: Replace filter |
| Ice on pipes | Low Refrigerant/Airflow | Pro: Check for leaks and balance airflow |
| Humming, no fan spin | Capacitor Failure | Pro: Replace capacitor (high voltage risk) |
| Strange smells/burning | Electrical/Motor Issue | Pro: Shut off system, call tech immediately |
Maintenance Tips to Prevent Future Failures
Prevention is cheaper than repair. Incorporate these habits into your seasonal routine:- Bimonthly Filter Checks: Make a calendar reminder for every 6 weeks during peak season.
- Annual Professional Tune-Up: Have a technician inspect the refrigerant levels, clean the coils, test the capacitors, and check the electrical connections once a year, ideally in spring before summer hits.
- Keep the Area Clear: Mow around the outdoor unit and trim back landscaping to ensure 2 feet of clearance.
- Monitor Energy Usage: If your monthly electric bill spikes unexpectedly while the weather hasn’t changed drastically, investigate your HVAC usage early.
Is it safe to run a heat pump without cooling?
Short-term, yes, but don't leave it running for more than a day or two. If the evaporator coil freezes up, the ice can block airflow completely, straining the compressor. If you see ice, turn the system off and switch the fan to 'On' mode to let the ice melt before restarting.
How much does it cost to fix a heat pump that isn't cooling?
Costs vary widely. A dirty filter is free. Replacing a capacitor costs $150-$300. A refrigerant leak repair ranges from $400 to $1,500 depending on the location and size of the leak. Compressor replacement is the most expensive, often costing $2,000-$4,000, sometimes exceeding the value of a new unit.
Why is my heat pump blowing warm air in summer?
Warm air usually means the refrigerant isn't changing state properly. This could be due to low refrigerant, a stuck reversing valve (which controls whether the system heats or cools), or a failing compressor. The reversing valve is a common culprit in dual-function heat pumps.
Should I replace my heat pump if it's 10 years old and not cooling?
Not necessarily. Age alone doesn't dictate replacement. If the repair cost is less than 50% of the price of a new system and the rest of the unit is healthy, repair is usually the better financial choice. Newer models are more efficient, but only if you plan to stay in the home long enough to recoup the savings.
Can a dirty filter cause a heat pump to stop cooling completely?
Yes. Severe airflow restriction causes the evaporator coil to drop below freezing point, forming ice. Once the coil is iced over, it cannot absorb heat from the air, so no cooling occurs. Removing the filter and allowing the ice to melt usually restores function temporarily until the underlying airflow issue is resolved.
I am an expert in the services industry with a focus on appliance repair. My passion lies in understanding how things work and educating others in simple, engaging ways. This enthusiasm fuels my writing, where I delve into topics around appliance maintenance and troubleshooting. I aim to make these subjects clear and accessible to all readers.