Oven Replacement Feasibility & Risk Check
Project Parameters
Assessment Result
Scanning...
Select your configuration above to see if DIY is safe.
Financial Estimate
- DIY Tools/Rental: ~$50
- Pro Service Fee: $200 - $400
Replacing an electric oven sounds straightforward until you pull the old unit out and see the mess behind it. Most homeowners assume this job is a simple swap: unplug the old one, slide in the new one, and eat. In reality, the electrical connections in modern kitchens often hide significant complexity. You aren't just moving furniture; you're interacting with high-voltage systems that demand respect.
This guide cuts through the noise to tell you exactly what makes replacing an electric oven a major kitchen appliance powered by electricity, typically requiring a dedicated circuit connection either via plug or hardwire. harder than expected. We'll look at the physical hurdles, the electrical realities, and where the hidden dangers lie so you know before you start.
The Hidden Complexity of Electrical Connections
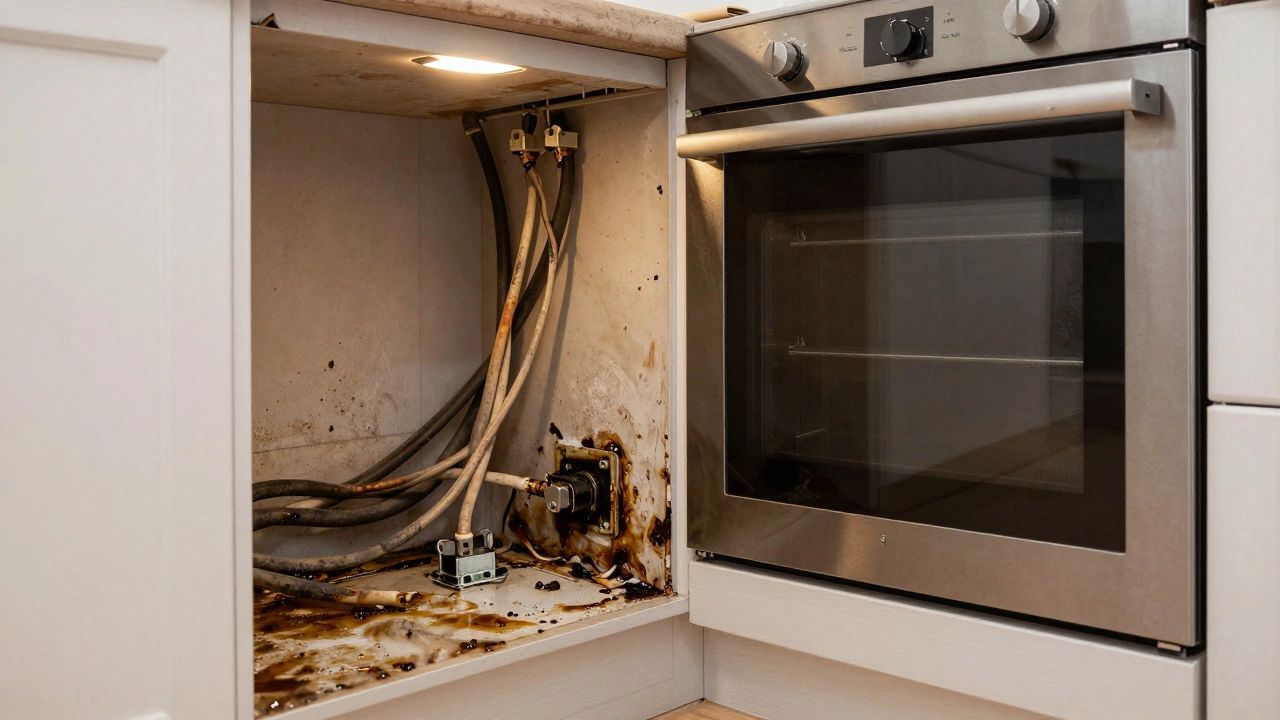
The biggest factor determining difficulty isn't the appliance itself; it's how it connects to your home's power grid. In older homes built before 2000, many electric ovens were permanently hardwired directly into the wall. This means there is no plug you can simply unsocket. Instead, there are live cables exposed, fused links connected to terminals, and sometimes color-coded wires that don't match modern safety standards anymore.
If your home uses a hardwired connection a permanent electrical connection made between appliances and the fixed wiring system without a removable plug., you face a barrier that requires specialized knowledge. You cannot simply twist caps over wires if the wire gauge or terminal style has changed. You need to strip wires to exact lengths, secure them under pressure plates, and ensure ground continuity. One loose wire can cause an arc flash or leave the backplate hot enough to melt plastic cabinetry.
Newer builds often use large 16-amp plugs designed specifically for heavy appliances. These fit into matching 16-amp sockets. Swapping an oven with a plug-in model for another plug-in model is significantly easier. However, even here, the socket might be mounted in a cabinet behind a panel or recessed low on the floor, making access difficult without removing kickboards or drawer inserts first.
Physical Constraints of the Kitchen Space
Beyond electricity, the sheer physics of moving these units creates its own challenges. A standard electric oven unit an enclosed heating chamber used for baking or roasting food using electrical heating elements weighs between 30 to 50 kilograms. That's roughly the weight of a small child, concentrated in a box with sharp metal edges. Lifting it alone is physically risky. If you drop it, the damage usually costs more than hiring a professional.
Measurements are another silent killer. Standard ovens claim to be 60cm wide, but manufacturers often produce models ranging from 55cm to 60cm depending on the casing depth. If you bought a new 60cm oven to fit into a niche designed for an older 56cm model, you might find the door hits the adjacent counter or the side panels scrape the cabinetry. You also need clearance for ventilation. Blocking heat vents leads to fire hazards, meaning you might need to cut cabinetry or move drawers before the install even begins.
Identifying Your Electrical Setup
Before you commit to this task, you need to audit your current setup accurately. Open the junction box near the floor or check behind the current appliance. Look at the voltage requirements listed on the nameplate sticker of your new oven. Most electric ovens require a 240-volt supply in New Zealand and similar regions. Mismatching this voltage can instantly destroy the control board of your appliance.
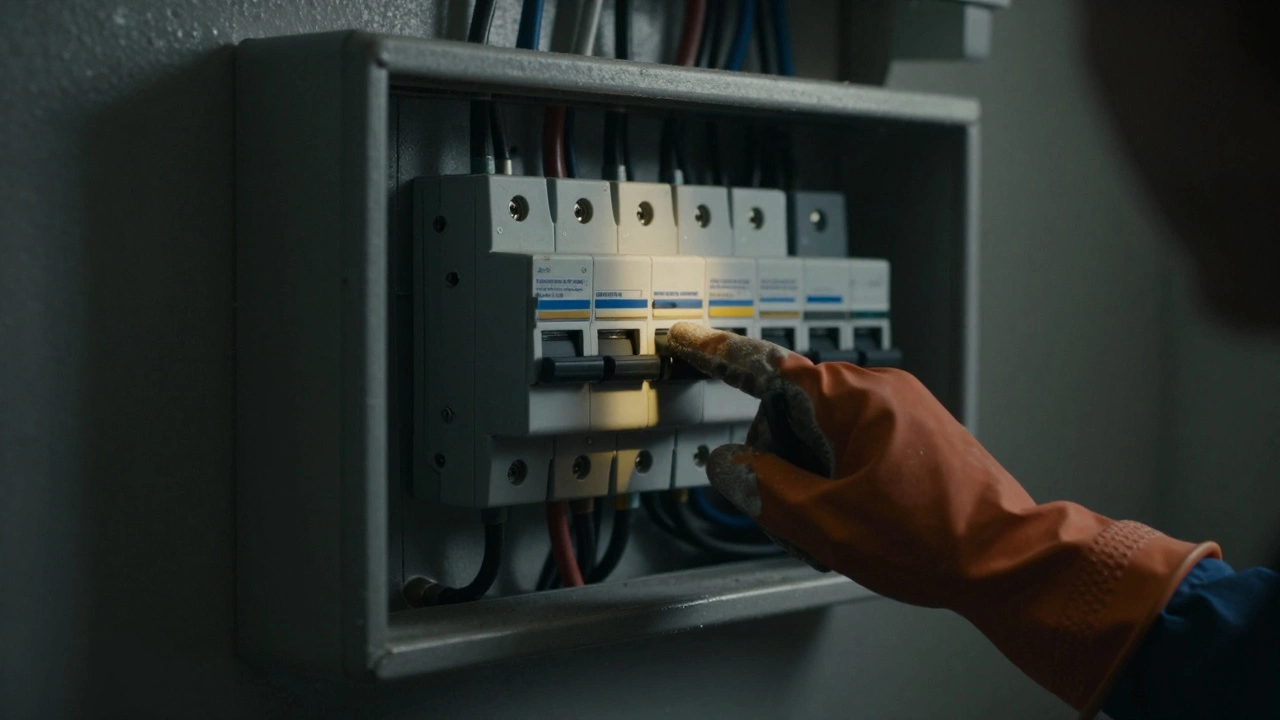
- Circuit Breaker Rating: Check your fuse box. Ovens usually need a double pole 16A or 32A breaker depending on size.
- Cable Gauge: Thicker wires handle higher loads safely. Older homes might have thinner cabling that poses a fire risk with modern high-wattage units.
- Earth Grounding: Without proper earthing, you risk shock hazards every time you touch the chassis.
If you see green/yellow earth wires missing or insulation crumbling, stop immediately. This isn't a DIY moment. Bringing in a qualified electrician becomes mandatory to prevent house fires.
The Cost-Benefit Analysis of DIY
Many people ask about difficulty because they want to save money on labor charges. Professional installation services often charge between $150 and $300 for a straight swap, potentially rising if wiring needs upgrading. Compare this to the cost of potential errors. Replacing a melted outlet is one thing. Fixing a short circuit that trips your main breaker or frying a motherboard on a $2,000 oven is expensive.
| Aspect | DIY Approach | Professional Service |
|---|---|---|
| Financial Cost | $0 (Labor) + Tool Rental ($50) | $200 - $400 Labor Fee |
| Time Required | 4-8 Hours (including research) | 1-2 Hours |
| Safety Risk | High (Electrical Shock/Fire) | Negligible |
| Warranty Impact | May Void Manufacturer Warranty | Preserved (Certified Install) |
The warranty impact is a crucial detail most overlook. Manufacturers increasingly require proof of certified installation to honor the warranty. If your oven develops a fault six months in, and their technician finds non-standard wiring, they may deny coverage. That $500 repair bill suddenly becomes your responsibility.
Essential Tools and Safety Gear
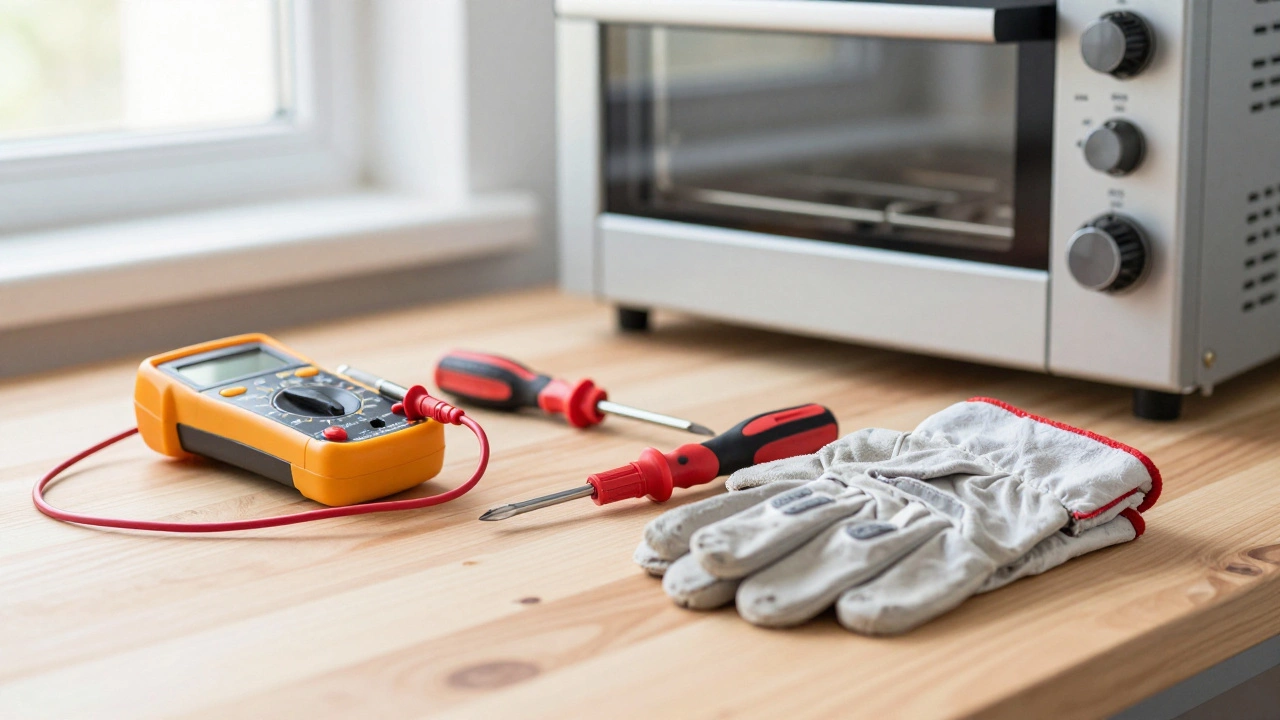
If you decide to proceed, having the right equipment changes the game from "impossible" to "manageable." You need insulated screwdrivers rated for electrical work. Using cheap hardware store tools increases the risk of sparks flying off the tip. A multimeter is non-negotiable. You must verify that the power is truly dead before touching bare wire. Even after switching the breaker, residual capacitance can hold a charge.
You also need a voltage tester that lights up, which acts as a double-check against relying solely on the breaker position. Heavy-duty gloves protect hands from metal burrs and burns. Goggles are wise because dust and debris often accumulate in walls over decades.
When to Call a Professional Electrician
Honest self-assessment saves headaches later. You should absolutely hire a licensed electrician a qualified tradesperson legally authorized to perform electrical installations and repairs according to local codes under three specific scenarios. First, if you don't recognize the wire colors or labels inside the termination box. Second, if the power point is located in a confined space you cannot reach comfortably. Third, if you feel any hesitation or anxiety about turning the power back on. There is no shame in seeking expert help when lives are involved.
Step-by-Step Assessment Process
To understand the true scope of your project, follow this logical path. First, measure the void where the oven sits. Measure width, height, and depth including the protrusion of hinges and handles. Next, locate the power source. Determine if it is a plug-in or hardwired system. Then, turn off the power at the main distribution board and verify it is off using a tester.
Once safe, disconnect the old unit. Pull the unit forward carefully. Inspect the rear cavity for damage to the floor or walls caused by years of vibration or grease spills. Clean the area thoroughly. If the new unit has different dimensions, plan for trim work now. Only then should you connect the new appliance, ensuring all screws are tight and no stray wire strands touch the backbox.
Can I plug a new oven into an old gas connection?
No, absolutely not. Gas and electric connections are completely incompatible. An electric oven requires a high-voltage electrical circuit, while gas requires a gas line and specific piping. Attempting to mix these creates immediate life-safety hazards.
Do I need a permit to change my electric oven?
For simple plug-and-play swaps, usually no permit is required. However, if you modify existing wiring, upgrade a hardwired connection, or add a new circuit from your main board, building regulations typically mandate certification and inspection by a licensed professional.
How long does the replacement usually take?
A professional electrician can complete a standard swap in about 2 hours including cleanup. A novice DIY attempt often stretches to half a day due to troubleshooting access issues and verifying safety checks.
What if the new oven requires a bigger wire?
This indicates your existing wiring cannot safely support the load. You must run new cable from the breaker panel to the oven location. This requires opening walls or running surface conduit and strictly needs a licensed electrician.
Is it dangerous to test the wiring myself?
Testing live circuits carries risks. Never touch uninsulated metal parts while testing. Always assume lines are live until proven otherwise with a reliable meter. If unsure, stop working and call a pro.
I am an expert in the services industry with a focus on appliance repair. My passion lies in understanding how things work and educating others in simple, engaging ways. This enthusiasm fuels my writing, where I delve into topics around appliance maintenance and troubleshooting. I aim to make these subjects clear and accessible to all readers.