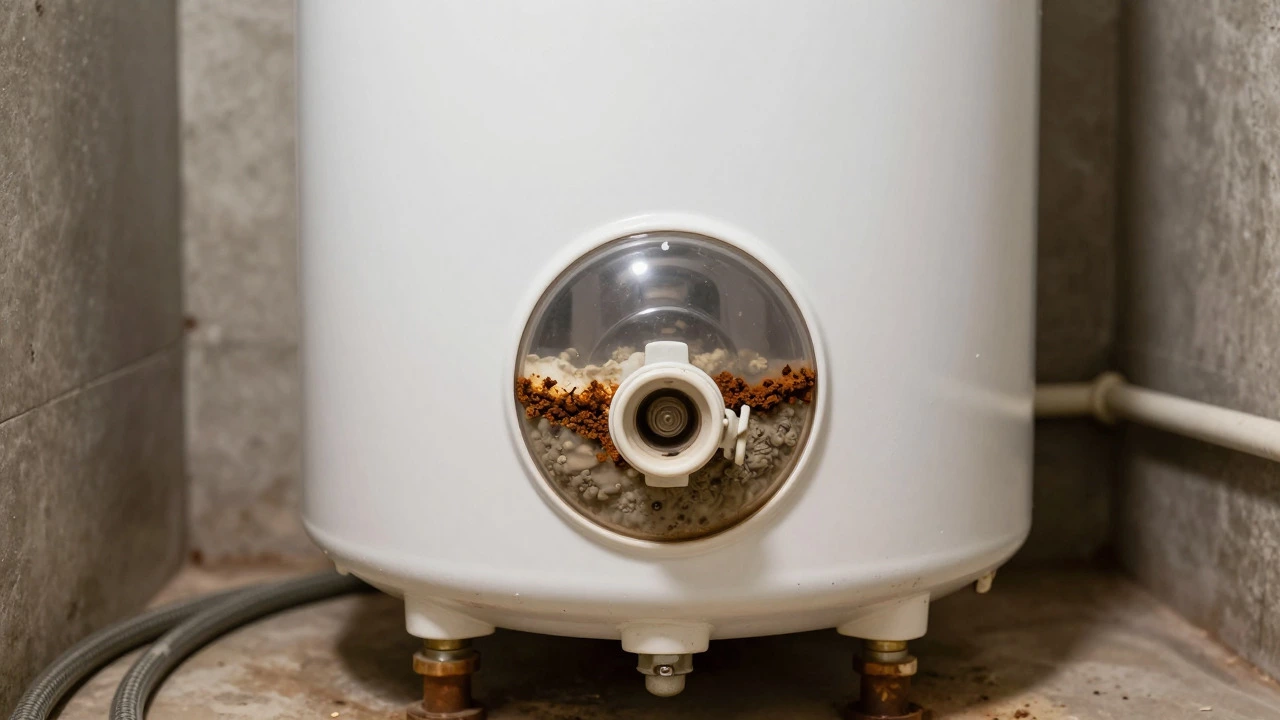
Water Heater Flushing Checklist & Guide
Close cold inlet valve. Flip breaker (electric) or knob to Off/Pilot (gas).
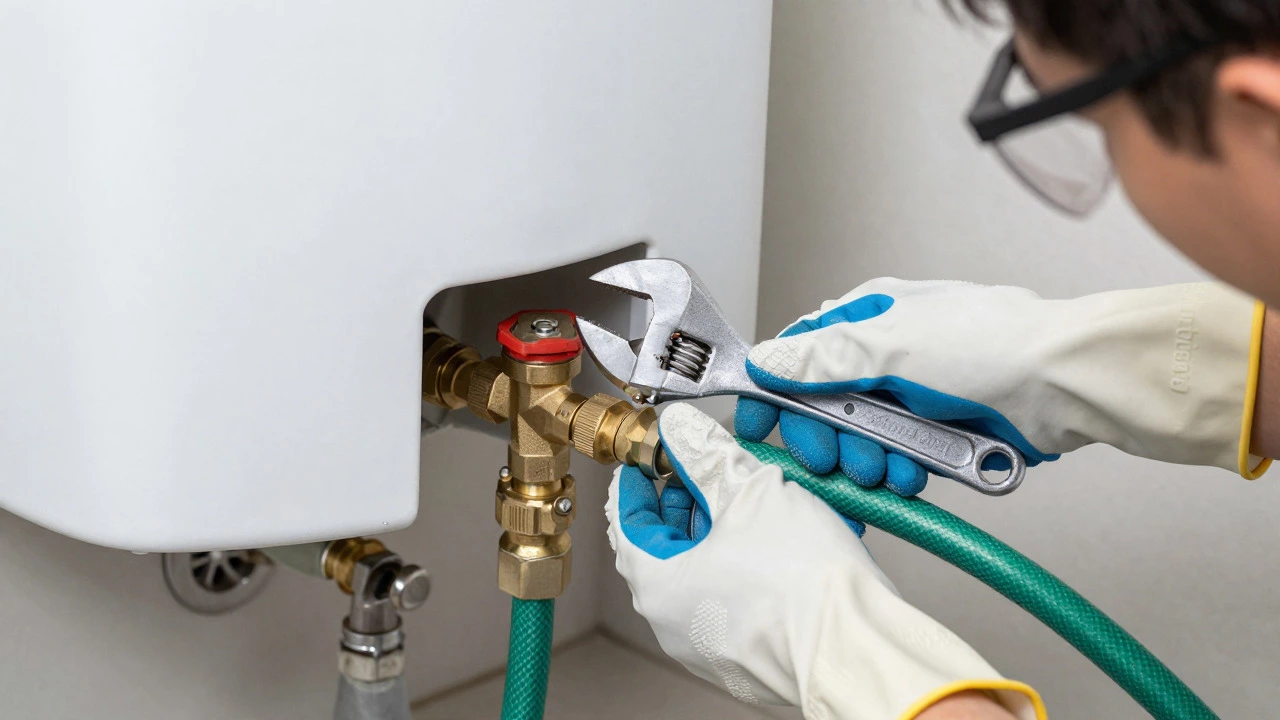
Attach garden hose to bottom drain valve. Route end to floor drain/outside.
Open nearest hot tap fully to relieve pressure and allow air in.
Slowly open valve with wrench. Let water run until it starts clearing.
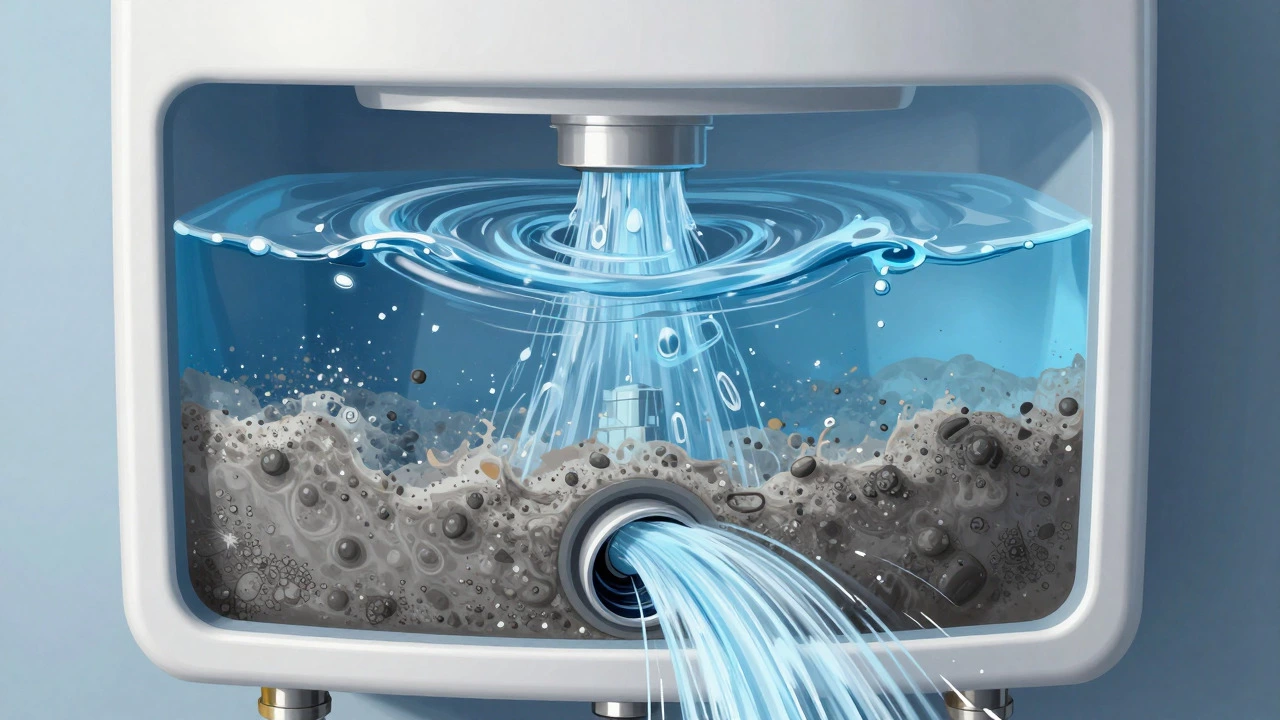
If cloudy, briefly open inlet to swirl fresh water, then drain again. Repeat until clear.
Close drain valve. Open cold inlet fully. Wait for steady flow at hot faucet.
Turn breaker/knob back on. Check for leaks. Run hot water to test.
Imagine turning on the tap for your morning shower, only to be greeted by a gush of cold water after just two minutes. Or worse, hearing a loud rumbling noise coming from the closet where your water heater is an appliance that stores and heats water for domestic use, typically containing sediment buildup over time. These are classic signs that sediment has accumulated at the bottom of your tank. If you've been wondering if you can handle this fix yourself, the short answer is yes. Flushing a water heater is one of the most effective DIY maintenance tasks you can perform to extend the life of your unit and improve energy efficiency.
Why Sediment Builds Up and Why It Matters
Hard water contains minerals like calcium and magnesium. Over months and years, these minerals settle at the bottom of your storage tank. This layer of sediment acts as an insulator, forcing the heating element or burner to work harder to heat the water above it. In extreme cases, the sediment can cause the tank to corrode from the inside out, leading to leaks that require a full replacement. By flushing the tank annually, you remove this debris, ensuring your hot water system operates at peak performance. For homeowners in regions with hard water, this task is not optional; it's essential for preventing costly repairs down the line.
Tools and Safety Gear You Need
Before you start, gather the right equipment. You don't need expensive professional tools, but having the correct items makes the job smoother and safer. Here’s what you’ll need:
- A standard garden hose (at least 10 feet long)
- A bucket or drain pan
- An adjustable wrench or pliers
- Gloves (rubber or leather) to protect against hot water
- Safety goggles
- A flathead screwdriver (for some valve types)
Safety is paramount. Always turn off the power supply to your water heater before opening any valves. For electric units, flip the breaker switch. For gas units, turn the control knob to "Pilot" or "Off." Let the water cool down for at least an hour if possible, though many people flush while the water is still warm to speed up the process. Just be careful not to scald yourself.
Step-by-Step Guide to Flushing Your Tank
Once you’re prepared, follow these steps carefully. The process takes about 30 to 60 minutes depending on how much sediment is present.
- Turn off the power and water supply. Locate the cold water inlet valve at the top of the tank and close it. Then, shut off the electricity or gas as described earlier.
- Connect the hose to the drain valve. Find the drain valve near the bottom of the tank. Attach your garden hose securely. Route the other end of the hose into a floor drain or outside your home. Avoid directing it into a bathroom sink unless you have a large enough basin, as the flow rate can be high.
- Open a hot water faucet. Go to the nearest hot water tap in your house (usually a bathroom sink) and open it fully. This relieves pressure in the tank and allows air to enter, which helps the water drain faster. Without this step, the vacuum effect will slow the drainage significantly.
- Open the drain valve. Use your wrench to slowly open the drain valve. Start gently to avoid startling yourself with a sudden burst of hot water. Once the flow is steady, let it run until the water runs clear.
- Flush the tank. If the water remains cloudy or brown even after draining, close the drain valve briefly, then open the cold water inlet valve slightly to let fresh water swirl around the tank. Close the inlet again and reopen the drain valve. Repeat this cycle until the water coming out of the hose is crystal clear.
- Close the drain valve and refill the tank. Once the water is clear, close the drain valve tightly. Open the cold water inlet valve fully. Wait until water starts flowing steadily from the hot water faucet you opened earlier. This indicates the tank is full and air pockets have been purged.
- Restore power and check for leaks. Turn the breaker back on or set the gas knob to its normal position. Check all connections for drips. Run the hot water for a few minutes to ensure everything works correctly.
Common Mistakes to Avoid
Even experienced DIYers make mistakes when flushing water heaters. One common error is forgetting to open the hot water faucet first. If you skip this, the tank may take hours to drain because there’s no air intake. Another mistake is using too much force on the drain valve. These valves are often made of brass or plastic and can crack if overtightened. Also, don’t forget to clean the anode rod if you’re doing a deep maintenance session. The anode rod sacrifices itself to protect the tank from corrosion. If it’s heavily coated with sediment, replacing it can add several years to your heater’s life.
When to Call a Professional
While flushing is straightforward, some situations warrant professional help. If your water heater is more than 10 years old, the tank might be fragile. A plumber can assess whether the lining is intact. If you notice rust in the water, it could indicate internal corrosion. Also, if you live in an apartment with complex piping, a pro might be better equipped to handle the setup. In Wellington, New Zealand, where water quality can vary, regular checks are especially important. Local plumbers are familiar with the specific mineral content in your area and can advise on optimal flushing frequency.
| Factor | DIY Flushing | Professional Service |
|---|---|---|
| Cost | $0-$50 (supplies) | $150-$300+ |
| Time Required | 30-60 minutes | 1-2 hours (including travel) |
| Risk Level | Low (if done correctly) | Very Low |
| Additional Benefits | You learn system basics | Includes inspection and potential part replacement |
Maintenance Tips for Long-Term Health
Flushing isn’t a one-time fix. To keep your water heater running smoothly, consider these additional tips. First, test your water pressure. High pressure can stress the tank and pipes. If it exceeds 80 PSI, install a pressure-reducing valve. Second, monitor your energy bills. A sudden spike might indicate your heater is struggling due to sediment or a failing element. Third, listen to your tank. Rumbling or popping sounds mean sediment is boiling off the heating element. This is a clear signal that it’s time to flush again. Finally, keep a log of when you last flushed the tank. Setting a calendar reminder for every 12 months ensures you never miss this critical maintenance window.
Frequently Asked Questions
How often should I flush my water heater?
For most households, once a year is sufficient. If you live in an area with very hard water, you might need to flush it every six months. Check the color of the water during the flush; if it’s consistently cloudy, increase the frequency.
Do I need to drain the entire tank?
You don’t necessarily need to empty it completely. The goal is to remove the sediment layer at the bottom. However, draining most of the tank makes it easier to dislodge stubborn deposits. If the water runs clear, you’re good to go.
What if the drain valve sticks?
Apply penetrating oil like WD-40 to the valve stem and wait 15 minutes. Gently wiggle the valve with a wrench. If it still won’t move, call a plumber. Forcing it can break the valve, which requires a repair kit or new valve installation.
Can flushing damage my water heater?
If done correctly, flushing protects your water heater rather than damaging it. Damage usually occurs from rushing the process, such as turning on power before the tank is full, which can burn out the heating element. Always fill the tank completely before restoring power.
Is it better to flush in winter or summer?
Summer is generally better because you’ll likely have less demand for hot water, and outdoor drainage is easier. In winter, if you drain the tank, you might face freezing risks if the tank is left empty for too long in unheated spaces. But in mild climates like Wellington, timing matters less than consistency.
I am an expert in the services industry with a focus on appliance repair. My passion lies in understanding how things work and educating others in simple, engaging ways. This enthusiasm fuels my writing, where I delve into topics around appliance maintenance and troubleshooting. I aim to make these subjects clear and accessible to all readers.