Extractor Fan Repair vs. Replace Calculator
Enter your specific situation below to see if repairing your current extractor fan makes financial sense compared to buying a new one.
Enter your details and click "Calculate" to see which option saves you money.
Repair Option
$0
Motor + LaborReplace Option
$0
New Unit + InstallMost people assume that when their extractor fan starts rattling or stops pulling air, the whole unit is dead. They rip it out of the ceiling and buy a new one. But here’s the thing: in many cases, you can replace just the motor. It’s cheaper, faster, and saves you from matching old paint colors to a new housing. So, can you actually do it? The short answer is yes, for most standard models. The long answer involves checking your specific fan type, sourcing the right part, and knowing when it’s actually not worth the hassle.
Quick Summary / Key Takeaways
- Check accessibility first: If the motor is sealed inside a plastic casing, replacement is often impossible or too costly compared to buying a new unit.
- Match specifications: You must match voltage (usually 240V), power (watts), speed (RPM), and shaft diameter exactly.
- Cost benefit analysis: Replacing a motor costs $30-$80 plus labor. A new basic fan costs $100-$200 installed. Do the math before starting.
- Safety is non-negotiable: Always isolate the circuit at the breaker box before touching any wires.
Is Your Extractor Fan Actually Repairable?
Not all fans are built the same. Before you go hunting for parts, look at what you have. There are three main scenarios you’ll encounter in homes across New Zealand.
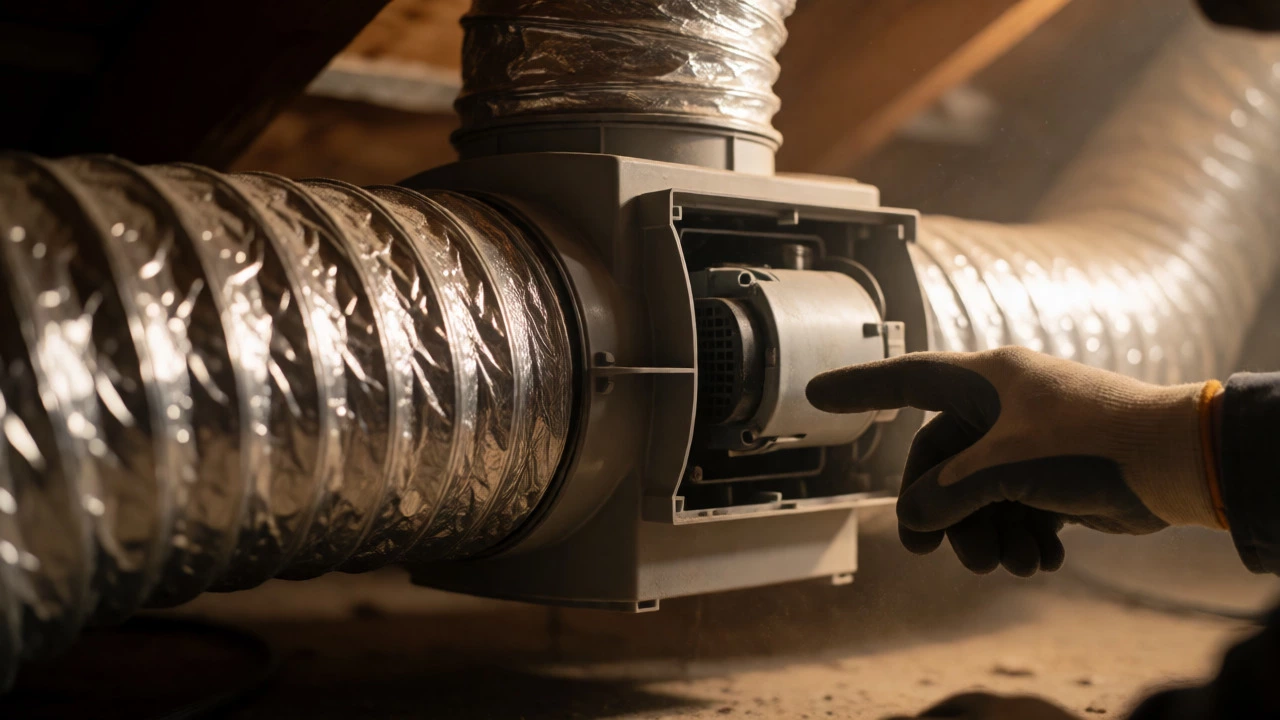
The first is the inline ducted fan. This is common in bathrooms where the actual motor sits in the roof cavity, connected by flexible ducting to a grille on the wall or ceiling. These are usually the easiest to fix. The motor is often a separate component that unclips from the plastic housing. If you can access the roof space safely, swapping this motor is straightforward.
The second type is the ceiling-mounted cassette fan. These sit flush against the ceiling. Many modern ones are "sealed units," meaning the motor is potted in resin or glued into the plastic shell. If your fan looks like a single solid block with no visible screws holding the motor down, you likely cannot replace the motor alone. You’d need to replace the entire cassette.
The third type is the kitchen range hood fan. These vary wildly. Some high-end brands like Miele or Bosch use modular motors you can buy as spares. Cheaper generic hoods often have motors riveted or permanently attached to the blower wheel. Check the manufacturer’s model number online. If they sell a "motor assembly" as a spare part, you’re in luck. If they only sell the "blower unit," you might be stuck replacing more than just the motor.
How to Identify the Right Replacement Motor
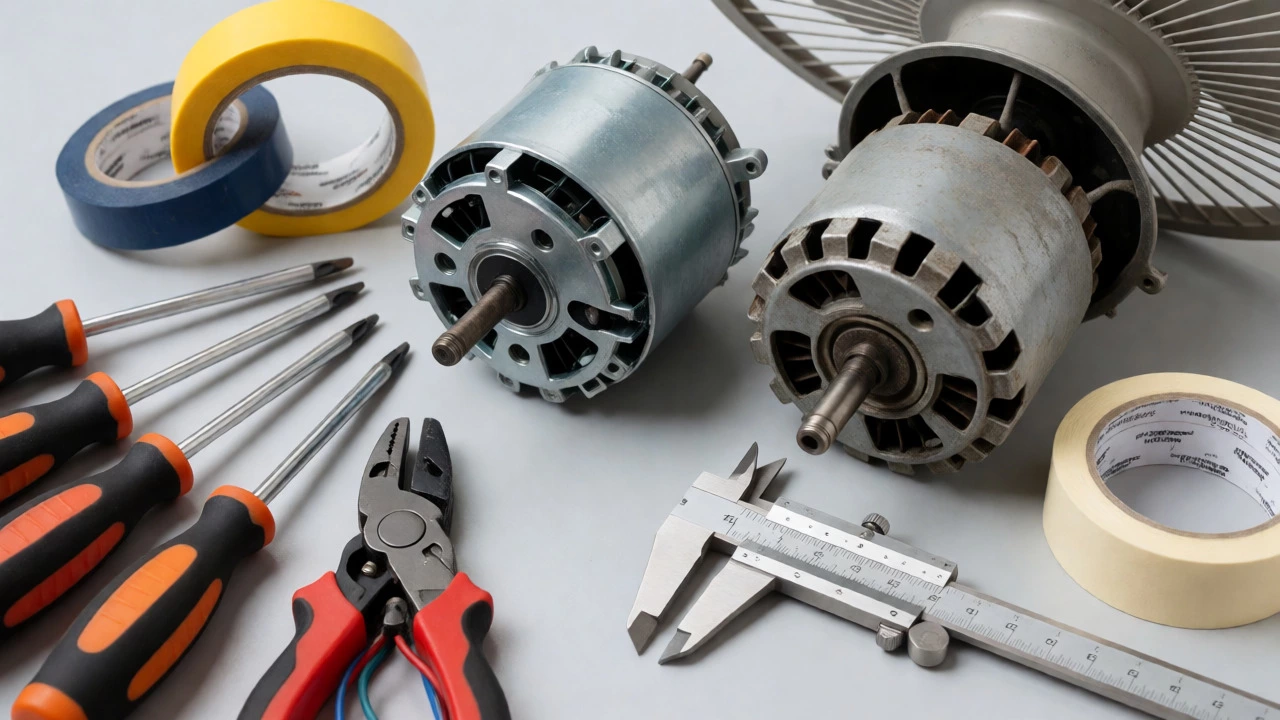
This is where most DIYers get tripped up. You can’t just walk into Bunnings and grab any small electric motor. You need specific data points. Turn off the power, remove the cover, and inspect the label on the old motor. Write down these four critical attributes:
- Voltage and Frequency: In NZ, this will almost always be 240V AC, 50Hz. Don’t risk using a US-spec 120V motor.
- Power Rating (Watts): Look for the wattage (e.g., 40W, 60W). Using a lower wattage motor won’t pull enough air; a higher one might overheat the wiring or blow the fuse.
- Speed (RPM): Revolutions per minute determine airflow. Match this closely. If your old fan was quiet, don’t install a high-RPM industrial motor unless you want a jet engine sound.
- Shaft Diameter and Mounting: Measure the shaft width (common sizes are 8mm or 10mm) and note how it mounts. Does it have screw holes on the side? A bracket? A bayonet clip?
Once you have these specs, search online retailers specializing in HVAC spares. Brands like Ductmaster, Mitsubishi Electric, or generic OEM suppliers often list compatible motors. If you can’t find an exact match, look for a motor with the same mounting footprint and electrical specs. The impeller (the fan blade part) might need to be transferred from the old motor to the new one if the shafts match.
Step-by-Step Replacement Process
If you’ve confirmed your fan is repairable and you have the new motor, here’s how to swap it out. This applies mostly to inline and accessible ceiling fans.
| Item | Why You Need It |
|---|---|
| Screwdriver Set | To remove covers and mounting brackets. |
| Wire Strippers/Cutters | To trim damaged wire ends if necessary. |
| Electrical Tape or Connectors | To secure new wire connections safely. |
| Masking Tape | To label wires before disconnecting them. |
| New Motor Unit | The replacement part matching your specs. |
1. Isolate the Power
Go to your switchboard. Find the breaker for the bathroom or kitchen lights/fan. Flip it off. Test the fan to ensure it doesn’t turn on. Never trust a light switch alone; moisture can cause arcing.
2. Access the Motor
For inline fans, climb into the roof space carefully. Follow the ducting to the fan unit. For ceiling cassettes, remove the decorative grille. You may need to unscrew the entire housing from the joists to get enough room to work.
3. Disconnect Wiring
Use masking tape to label the wires coming from the house supply (Live, Neutral, Earth). Then, disconnect them from the motor terminals. Take a photo with your phone before removing anything. This is your safety net if you forget which wire went where.
4. Remove the Old Motor
Unscrew the motor from its mount. Note how the impeller attaches. Often, it’s held by a grub screw or a simple push-fit. If the impeller is stuck, gently pry it loose with a flathead screwdriver. Don’t force it, or you’ll crack the plastic blades.
5. Install the New Motor
Transfer the impeller to the new motor shaft if required. Tighten the grub screw securely. Bolt the new motor into the existing mount. Reconnect the wires exactly as they were labeled. Ensure the earth wire (green/yellow) is firmly grounded to the metal chassis.
6. Test Before Closing Up
Turn the power back on briefly. Listen for unusual noises. Check for vibration. If it runs smoothly, turn it off, disconnect power again, and reassemble the housing and grille.
When Not to Replace the Motor
Sometimes, fixing isn’t the smart move. Here are red flags that tell you to just buy a new fan:
- The housing is cracked: If the plastic casing around the motor is brittle or broken, a new motor won’t help. Air leaks will ruin efficiency.
- Obsolete parts: If your fan is older than 15 years, finding a matching motor might cost more in shipping and time than a new energy-efficient unit.
- Water damage: If the motor has been dripping on for months, the internal bearings are likely rusted, and the wiring insulation may be compromised. Corrosion spreads.
- Noise persists: If the noise comes from the ducting itself (loose joints, kinks), replacing the motor won’t fix the rattle.
Cost Breakdown: Repair vs. Replace
Let’s look at the numbers. In Wellington, labor rates for an electrician or handyman hover around $80-$100 per hour. A skilled pro can swap a motor in 30-45 minutes.
| Option | Part Cost | Labor Cost | Total Estimate |
|---|---|---|---|
| DIY Motor Replacement | $40 - $90 | $0 | $40 - $90 |
| Pro Motor Replacement | $40 - $90 | $80 - $120 | $120 - $210 |
| New Basic Fan (Installed) | $100 - $150 | $100 - $150 | $200 - $300 |
| New Premium Inline Fan | $250+ | $150+ | $400+ |
If you’re handy, DIY motor replacement is significantly cheaper. However, if you hire someone, the savings shrink. At that point, consider if a new fan offers better features-like humidity sensors or quieter operation-that justify the extra $50-$100.
Troubleshooting Common Issues After Replacement
You’ve swapped the motor, but something’s still wrong. Here’s what to check:
- Fan runs backward: Some universal motors allow direction change by swapping two wires. Check the manual. Usually, Live and Neutral swaps don’t matter for AC induction motors, but capacitor-start motors might.
- Excessive vibration: The impeller might be off-center. Loosen the mounting bolts slightly, let the fan settle while running, then retighten. Or, the impeller might be bent from previous handling.
- Overheating smell: If the new motor gets hot quickly, it might be undersized for the duct length. Long duct runs create resistance, forcing the motor to work harder. Consider upgrading to a higher-static-pressure motor.
Final Thoughts on Maintenance
Replacing the motor buys you another 5-10 years, provided you maintain the rest of the system. Clean the impeller blades every six months. Dust buildup throws off balance and strains the new bearings. Check the external vent flap to ensure birds haven’t nested there. And keep the ducting free of kinks. A well-maintained fan with a fresh motor works just as well as a brand-new unit, without the landfill waste.
Can I replace just the fan blades instead of the motor?
Yes, if the motor spins freely but the blades are cracked or unbalanced. Blades are cheap ($10-$20) and easy to snap onto the shaft. However, if the motor makes grinding noises, the issue is internal bearings, requiring a full motor swap.
How do I know if my extractor fan motor is burnt out?
Common signs include a burning plastic smell, the fan humming but not spinning, or the thermal cut-out tripping repeatedly. If you spin the blades by hand and they feel gritty or stiff, the bearings are seized, indicating a failed motor.
Is it safe to use a different brand motor?
It is safe if the electrical specs (voltage, amps) and physical dimensions (shaft size, mounting pattern) match. Brand compatibility matters less than technical specifications. Always double-check the amperage rating to ensure your home wiring can handle the load.
Do I need an electrician to replace the motor?
In New Zealand, strictly speaking, connecting fixed appliances can require a registered electrician. However, replacing a plug-in or hardwired component within an existing fixture is often considered minor work. If you are unsure about working with live circuits, hiring a professional is the safest route to avoid insurance issues.
Why is my new motor louder than the old one?
New motors often run at slightly higher RPMs to meet current efficiency standards. Also, if the old motor had worn bearings, it might have been running slower and quieter due to friction. Ensure the impeller is balanced and the housing is tightly secured to reduce resonance.
I am an expert in the services industry with a focus on appliance repair. My passion lies in understanding how things work and educating others in simple, engaging ways. This enthusiasm fuels my writing, where I delve into topics around appliance maintenance and troubleshooting. I aim to make these subjects clear and accessible to all readers.