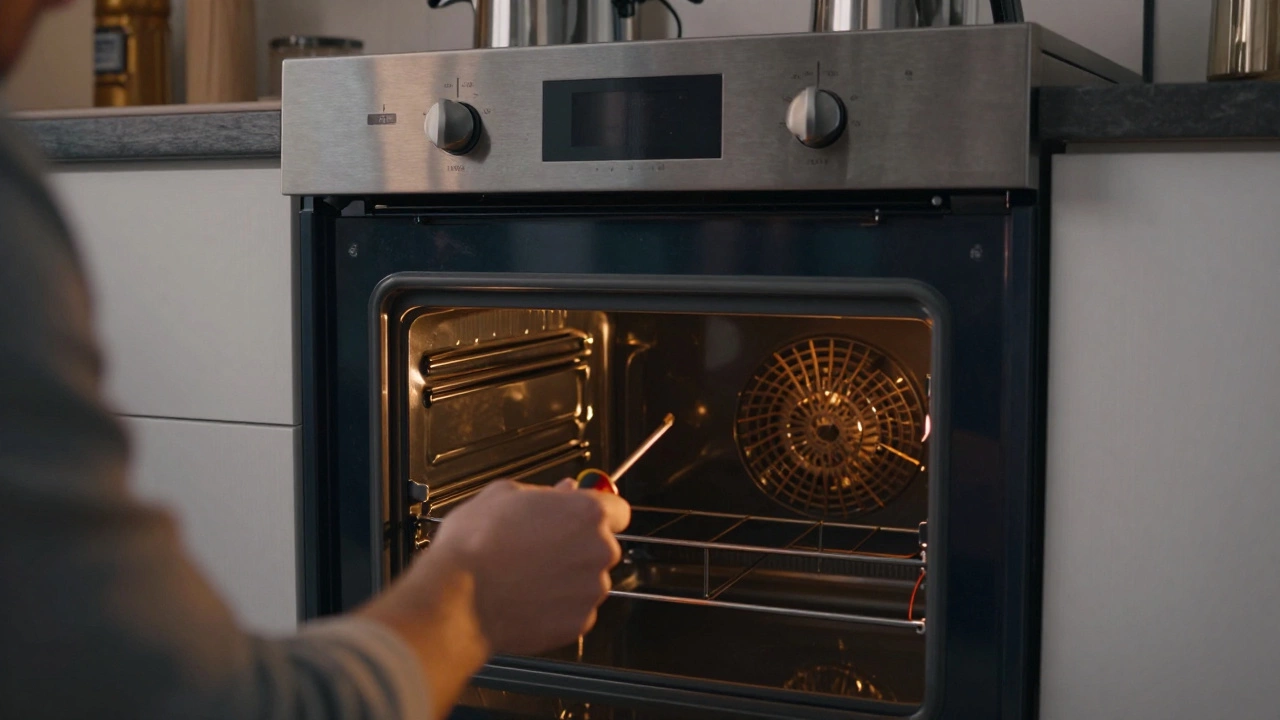
Oven Repair Decision Tool
Required Safety Steps:
Next Steps:
Select your issue and click "Analyze" to get personalized repair advice.
It’s 6 PM on a Tuesday. You’ve got dinner planned, the kids are hungry, and your electric oven is a kitchen appliance that uses electricity to generate heat for baking and roasting. The display is blank, or worse, it’s glowing red but not getting hot. Your first instinct might be to grab a screwdriver and fix it yourself. After all, you can change a lightbulb, right?
The short answer is: maybe. But ovens involve high voltage and intense heat. One wrong move can shock you, start a fire, or void your warranty. Before you strip any panels, you need to know exactly which problems are safe for a homeowner to tackle and which ones demand a licensed technician.
The Golden Rule: Power Down First
If you decide to open your oven, the single most important step is cutting the power. This isn’t just flipping the switch on the wall if there is one (most ovens don’t have dedicated switches). You need to go to your home’s main fuse box or circuit breaker panel.
Locate the breaker labeled "Kitchen" or "Oven" and flip it to the OFF position. To be absolutely sure, plug a lamp into an outlet near the oven. If the lamp doesn’t work, you’re good. If you’re unsure, use a non-contact voltage tester. These cheap tools beep when they detect live wires. Touch the probe to the terminals where the power cord connects to the oven. No beep means no power. Never skip this step. Electricity in cooking appliances runs at 230-240 volts in many regions, which is enough to cause severe injury or death.
DIY-Friendly Repairs: What You Can Fix
Not every oven issue requires a professional. Some components wear out over time and are designed to be replaced by users with basic tool skills. Here are the most common fixes you can handle yourself:
- Heating Elements: If your oven isn’t getting hot, the top or bottom heating element might be broken. Look for visible cracks, blisters, or gaps in the coil. Replacement elements cost between $20 and $50. They usually slide into brackets and connect with simple wire nuts or terminal screws.
- Oven Door Seals: A worn-out gasket lets heat escape, making your oven inefficient and causing uneven cooking. If you see light leaking from the door edges when the oven is on, the seal needs replacing. Most seals snap into a groove around the door frame. No tools required.
- Thermostat Calibration: Sometimes the oven works fine but bakes too hot or too cold. Many modern ovens allow you to recalibrate the temperature via the control panel settings. Check your user manual for the "Temp Calibrate" option.
- Clock/Display Reset: If the clock is flashing or the display is weird after a power outage, try unplugging the oven for five minutes. This resets the internal computer. For older models, check if the thermal fuse has blown-a small component that cuts power if the oven overheats.
When to Stop: Dangers of DIY Oven Repair
While changing a heating element is straightforward, other repairs involve complex electronics and gas lines (if applicable). Attempting these without training is risky:
- Control Boards: The electronic control board is the brain of your oven. Diagnosing faults here requires multimeter testing and schematic knowledge. Replacing it often involves programming codes specific to your model.
- Gas Valves and Igniters: If you have a dual-fuel range with a gas oven, never attempt to repair gas valves or igniters yourself. Gas leaks can lead to explosions. Only certified technicians should handle gas components.
- High-Voltage Wiring: If wires are burnt, melted, or disconnected deep inside the chassis, leave it to a pro. Improper connections can cause arcing, fires, or electrocution hazards.
- Warranty Issues: Opening sealed compartments or removing tamper-proof screws often voids the manufacturer’s warranty. If your oven is under three years old, call the service center first.
| Issue | Difficulty Level | Estimated Cost | Recommended Action |
|---|---|---|---|
| Burnt Heating Element | Easy | $20-$50 | DIY Replacement |
| Broken Door Seal | Easy | $15-$40 | DIY Replacement |
| Temperature Inaccuracy | Medium | $0 (Calibration) | DIY Calibration |
| No Power / Dead Display | Hard | $100-$300 | Call Technician |
| Gas Leak Smell | Dangerous | $150-$400 | Emergency Service Call |
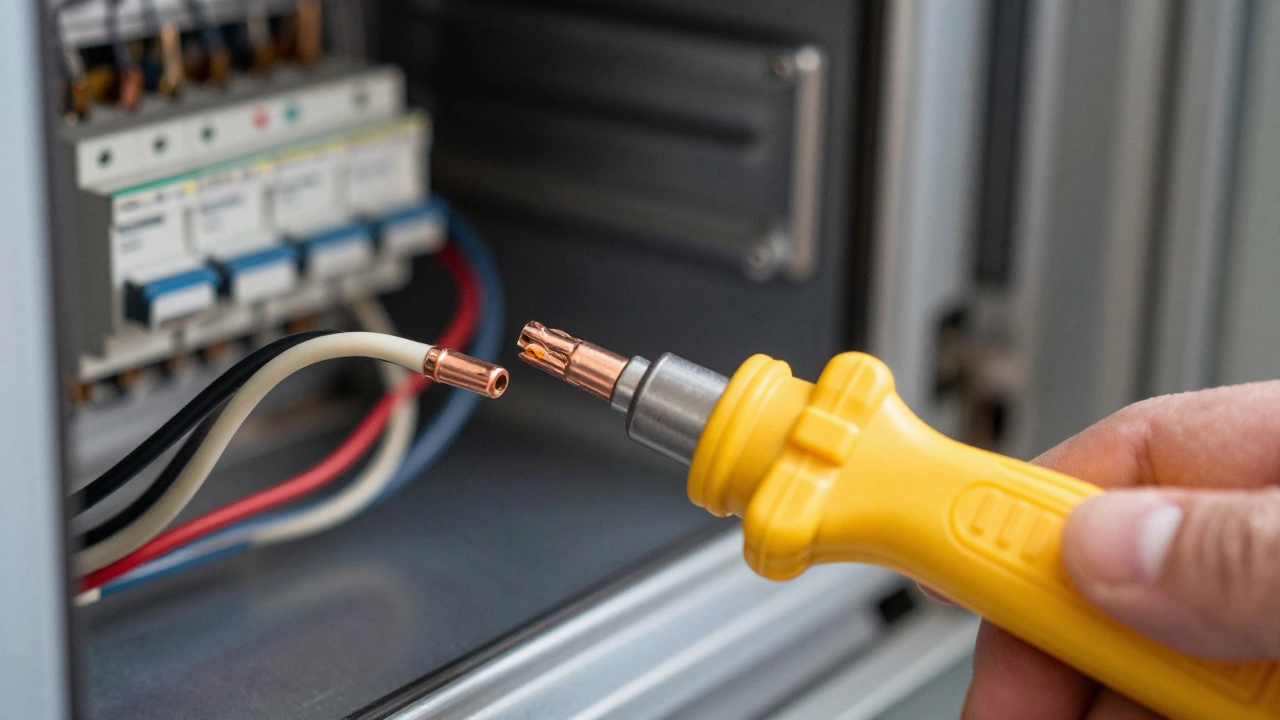
Tools You’ll Need for Basic Repairs
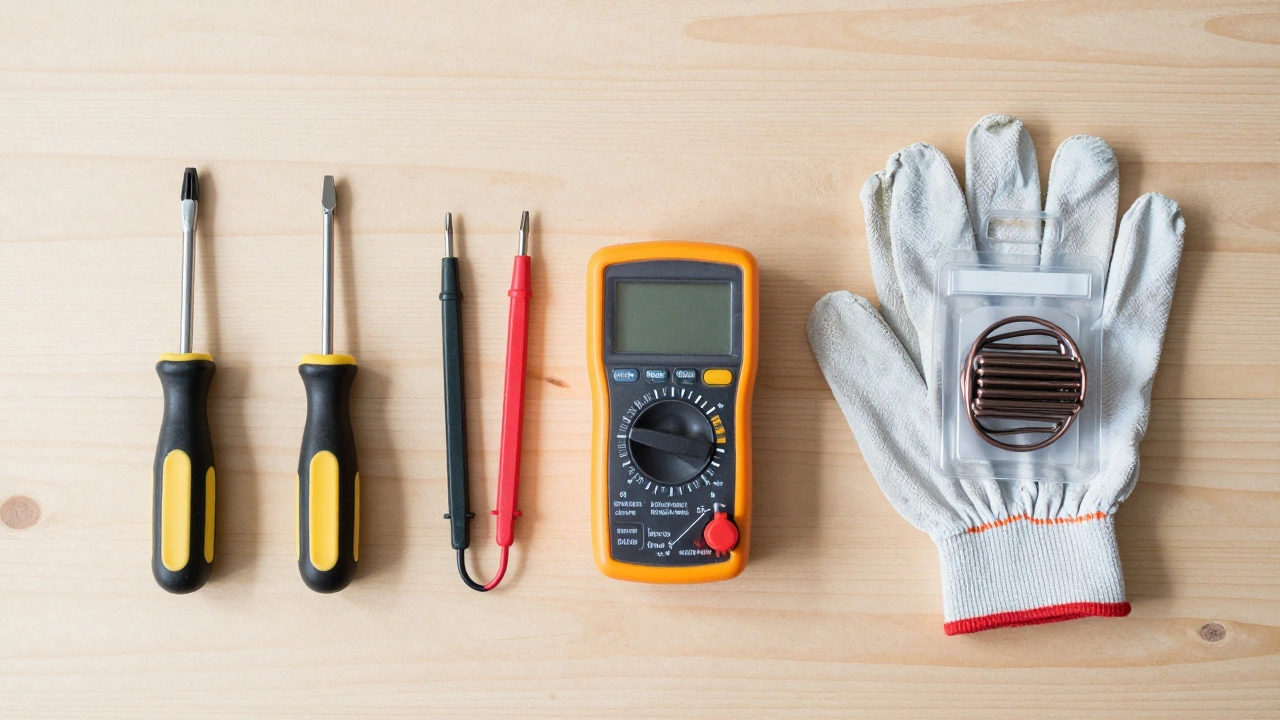
You don’t need a full workshop to fix minor oven issues. Keep these basics handy:
- Phillips and Flathead Screwdrivers: For removing access panels and element brackets.
- Nut Drivers: Often needed for oven element mounting nuts.
- Multimeter: Essential for testing continuity in heating elements and fuses. A basic digital multimeter costs around $20.
- Non-Contact Voltage Tester: Critical for verifying power is off before touching any wires.
- Work Gloves: Protect your hands from sharp metal edges inside the oven cavity.
Step-by-Step: Replacing a Heating Element
This is the most common DIY oven repair. Follow these steps carefully:
- Disconnect Power: Turn off the circuit breaker. Verify with a voltage tester.
- Remove Old Element: Pull the element forward slightly. Unscrew the mounting nuts at the back of the oven cavity. Disconnect the wires from the terminals. Note their positions-take a photo with your phone if needed.
- Install New Element: Connect the wires to the new element’s terminals. Slide the element into place and secure it with the mounting nuts. Ensure the element sits flat against the oven floor or ceiling.
- Restore Power: Turn the circuit breaker back on.
- Test: Set the oven to bake at 350°F (180°C). The element should glow red within 5-10 minutes.
Cost-Benefit Analysis: DIY vs Hiring a Pro
Is it worth doing it yourself? Let’s look at the numbers. A professional oven repair visit typically includes a diagnostic fee ($75-$120) plus labor ($50-$100 per hour) and parts. Total costs often range from $150 to $400.
Doing it yourself saves labor costs. If you buy a $30 heating element and spend an hour installing it, your total cost is $30. That’s a significant saving. However, factor in your time value and risk. If you make a mistake, you could end up paying a pro more to fix your error. For simple part swaps, DIY wins. For electrical diagnostics, hiring a pro is safer and often faster.
Preventive Maintenance Tips
Extend your oven’s life with regular care:
- Clean Spills Immediately: Burnt-on food can damage heating elements and sensors.
- Check Door Seals Annually: Replace worn gaskets to maintain efficiency.
- Avoid Overheating: Don’t run the self-clean cycle unnecessarily. It stresses internal components.
- Keep Vents Clear: Ensure nothing blocks the ventilation slots at the back or sides of the oven.
Final Thoughts on Oven Safety
Repairing your own electric oven is possible for specific, low-risk tasks. Always prioritize safety by disconnecting power and using proper tools. If you’re unsure about any step, or if the problem involves gas, complex electronics, or wiring, call a qualified technician. Your safety and your family’s well-being are worth more than saving a few dollars on labor.
How much does it cost to repair an electric oven?
Professional electric oven repair costs typically range from $150 to $400, including diagnostic fees, labor, and parts. Simple DIY replacements like heating elements cost $20-$50 for parts only.
Is it dangerous to repair an oven yourself?
Yes, if you don't follow safety protocols. Ovens operate at high voltages (230-240V). Always disconnect power at the circuit breaker and verify with a voltage tester before opening any panels. Gas ovens pose explosion risks if gas lines are mishandled.
What are the signs my oven heating element is bad?
Look for visible cracks, blisters, or breaks in the coil. Other signs include the oven not getting hot, uneven cooking temperatures, or the element glowing inconsistently. A multimeter test showing no continuity confirms failure.
Can I reset my oven if it's not working?
For electronic issues like flashing clocks or unresponsive controls, try unplugging the oven for 5-10 minutes to reset the internal computer. Check your user manual for specific reset procedures or calibration options.
Does DIY oven repair void the warranty?
Often yes. Removing tamper-proof screws or opening sealed compartments can void the manufacturer's warranty. If your oven is under three years old, contact the service center first to avoid losing coverage.
I am an expert in the services industry with a focus on appliance repair. My passion lies in understanding how things work and educating others in simple, engaging ways. This enthusiasm fuels my writing, where I delve into topics around appliance maintenance and troubleshooting. I aim to make these subjects clear and accessible to all readers.