Extractor Fan Size & Type Estimator
Enter your bathroom dimensions and features below to get a recommended airflow rating and fan type suggestion.
Your Recommendation
Please enter valid dimensions to see details.
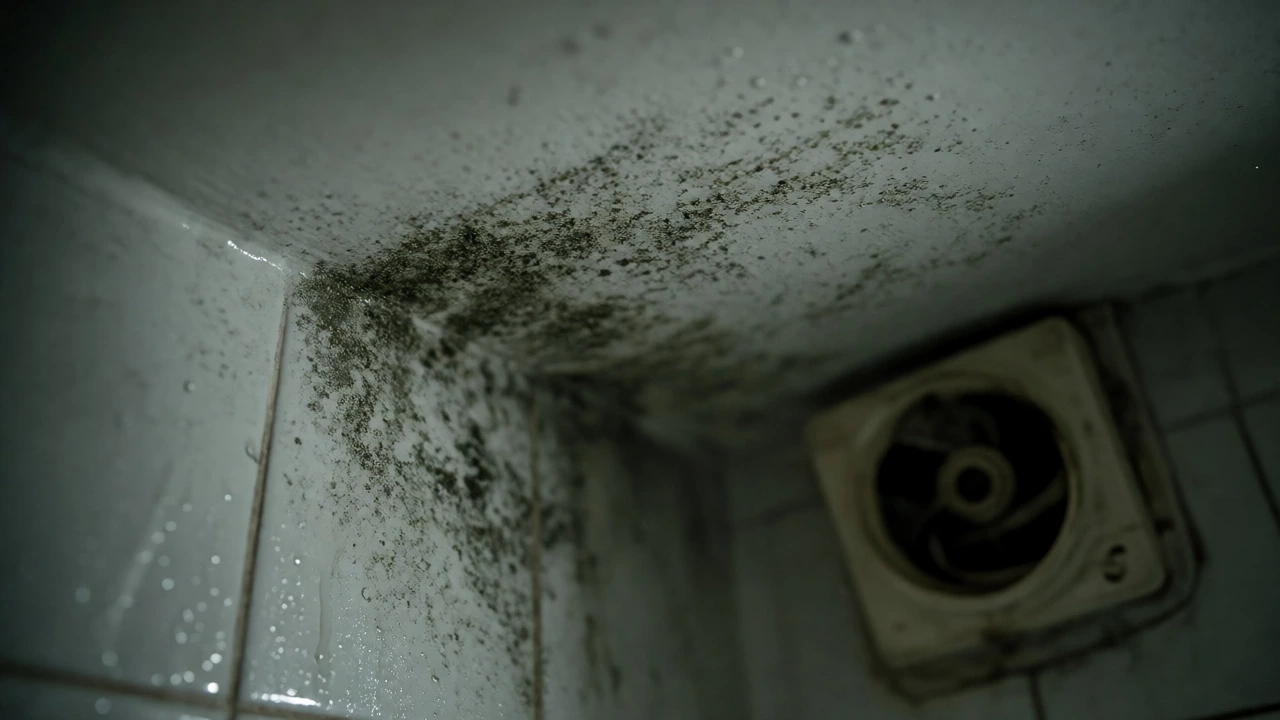
You stare at the damp patch creeping up your bathroom ceiling. It’s a familiar sight for anyone living in Wellington, where the humidity hangs heavy and mold loves to settle in. The obvious fix is an extractor fan, but the quote from the local handyman makes you wince. So, you ask yourself: can I actually do this myself?
The short answer is yes, but with a massive asterisk. Installing an extractor fan isn't just about drilling holes; it's about managing airflow and, more importantly, electricity. If you’re comfortable changing a light switch or wiring a plug, you have the basic toolkit. But if the word "junction box" makes you sweat, you might want to keep reading before you pick up the drill.
The Safety Reality Check
Before you buy anything, let’s talk about risk. In New Zealand, electrical work has strict rules. Generally, you can replace like-for-like fixtures yourself. That means if you already have an existing fan and just need to swap it for a new model, that’s often within DIY bounds. However, running a new cable from your switchboard or tapping into a lighting circuit requires care.
Why does this matter? Because bathrooms are wet zones. Water and electricity don’t mix well. If you get the earthing wrong or use the wrong cable type, you’re not just looking at a tripped breaker-you’re looking at a potential fire hazard or shock risk. Always turn off the power at the main switchboard, not just the light switch, before touching any wires. Test it with a voltage tester. Trust me, double-checking saves you a trip to the emergency room.
Choosing the Right Fan for Your Space
Not all fans are created equal. You wouldn’t use a kitchen hood to clear steam from a tiny toilet, right? You need to match the fan’s power to the room size. This is measured in liters per second (L/s). For a standard small bathroom, you’re usually looking for something between 15 and 30 L/s. Larger ensuite bathrooms with baths and showers need more oomph-think 40 L/s or higher.
There are two main types you’ll encounter:
- Inline Fans: These sit in the ceiling cavity or roof space. They’re quieter because the motor isn’t directly above your head when you’re showering. They require ducting to run outside.
- Direct Wall/Ceiling Fans: These mount directly onto the wall or ceiling and vent straight out. They’re easier to install but tend to be noisier.
If you’re replacing an old unit, stick to the same type unless you want to redo the ducting. If you’re starting fresh, consider noise levels. Look for models rated under 30 decibels if you plan on using it while relaxing in the bath. Nobody wants a jet engine soundtrack to their soak.
| Feature | Inline Fan | Direct Mount Fan |
|---|---|---|
| Noise Level | Low (Motor remote) | High (Motor local) |
| Installation Difficulty | Harder (Requires ducting) | Easier (Direct exit) |
| Cost | Higher (Unit + Ducts) | Lower (Unit only) |
| Aesthetic | Clean (Only grille visible) | Bulkier (Visible housing) |
Gathering Your Tools and Materials
You don’t need a truckload of gear, but having the right bits prevents frustration. Here’s what typically goes into the kit:
- Voltage tester (non-contact is fine)
- Screwdrivers (Phillips and flathead)
- Drill with masonry bits (if cutting brick/concrete)
- Hole saw (size depends on fan diameter)
- Ducting pipe and clamps
- External vent cover
- Electrical tape and wire nuts
- Ladder or step stool
One thing people forget? The external vent cover. Don’t just leave a hole in the weatherboard. You need a proper cowl to stop rain blowing back in and insects making a nest. Buy one that matches your exterior cladding color if possible-it looks way better than a generic white plastic box.
Step-by-Step Installation Process
Let’s walk through a typical replacement scenario, as that’s the most common DIY job. Imagine you’re swapping out that noisy, rattling relic from the 90s.
First, kill the power. Go to your switchboard and flip the breaker for the bathroom lights. Use your voltage tester on the existing fan wires to confirm they’re dead. No current? Good. Now, remove the old fan cover. Usually, there are screws or clips holding it to the housing. Set the cover aside carefully so you don’t crack the plastic.
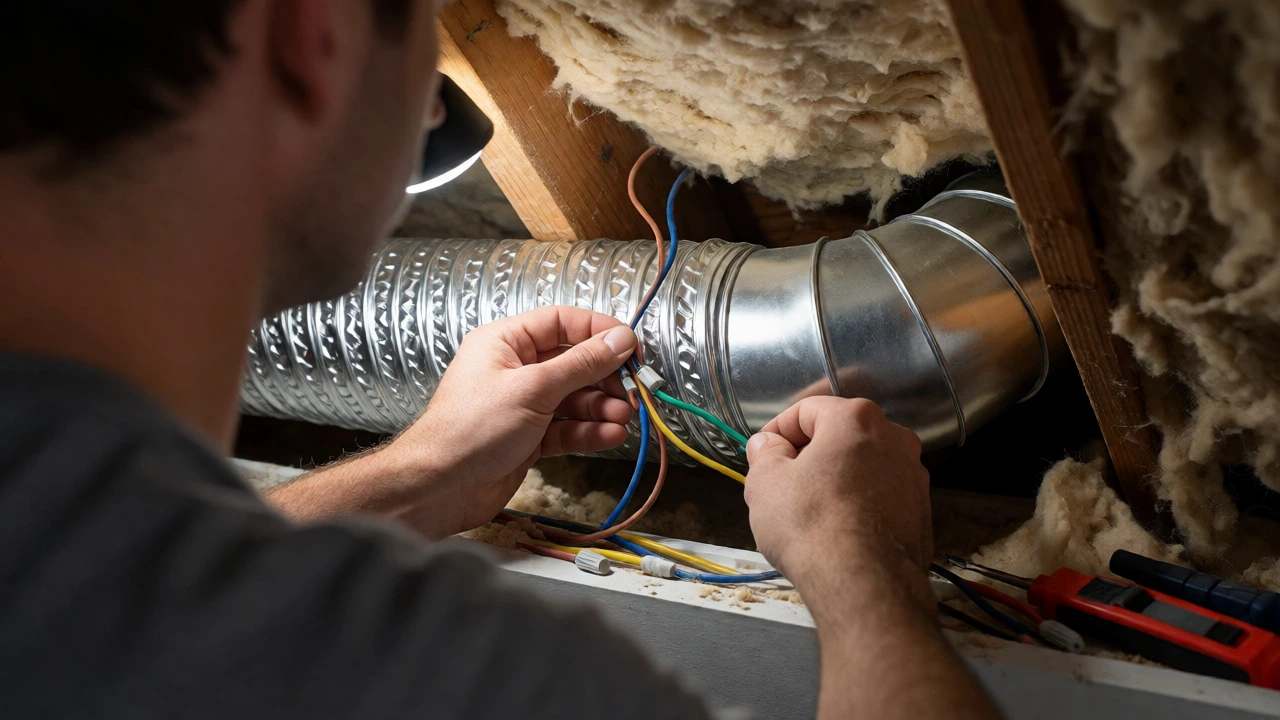
Next, disconnect the wiring. Take a photo with your phone before you unscrew anything. This is your insurance policy. Label the live (brown), neutral (blue), and earth (green/yellow) wires if they aren’t clearly marked. Pull the old motor assembly down from the ceiling bracket. You’ll likely see some dust bunnies that look like small mammals. Clean them out; they’re a fire hazard waiting to happen.
Now, prep the new fan. Most modern units come with a mounting bracket. Attach this to the ceiling joist or existing structure. If you’re doing a direct wall install, you’ll need to cut a hole through the wall. Measure twice, cut once. Ensure the hole slopes slightly downward toward the outside so rain drains away from the house.
Connect the new wiring. Match live to live, neutral to neutral, and earth to earth. Tighten the terminals firmly. Loose connections cause arcing and heat. Once wired, tuck the excess cable neatly into the ceiling cavity. Don’t pinch it against sharp metal edges.
Attach the new fan housing to the bracket. Slide the cover over. Restore power. Flip the switch. Listen. Is it humming smoothly? Great. Put your hand near the external vent. Do you feel air pushing out? If yes, you’ve done it. If no, check your ducting for kinks or blockages.
When to Call a Pro
So, when should you admit defeat? There are specific red flags that mean DIY isn’t worth the hassle or danger.
- No existing wiring: If you need to run a new cable from the switchboard, hire a registered electrician. In NZ, this often needs certification anyway.
- Complex ducting: If your roof space is tight, insulated heavily, or has asbestos (common in older homes), navigating inline ducts can be a nightmare.
- Structural issues: If you hit a beam or pipe unexpectedly, stop. Cutting into structural elements requires engineering knowledge.
- Tamper-proof screws: Some older installations use special security screws. Buying the bit is easy, but stripping the screw head isn’t.
Also, consider the height. Working overhead is awkward. If you’re shaky on a ladder, ask a friend to hold it or pay someone who does this daily. Falls from ladders are surprisingly common causes of injury during home projects.
Maintenance Tips After Installation
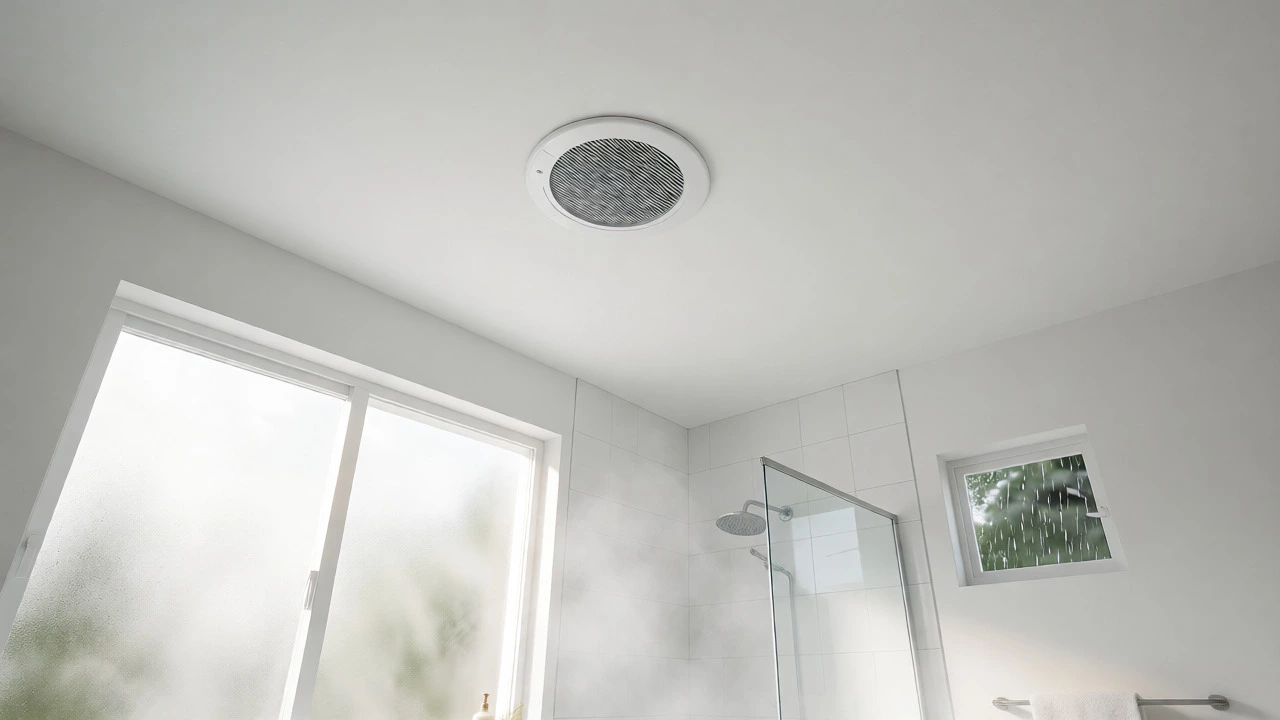
You’ve installed it. Now keep it working. Dust accumulates on the blades and grille, reducing efficiency. Every six months, pop the cover off and vacuum the blades. Use a soft brush attachment. If the fan feels sluggish, check the external vent flap. Sometimes spiders build webs that block the flow.
In Wellington’s coastal environment, salt spray can corrode metal parts. Wipe down the external vent cover occasionally. If you notice rust forming on the internal motor housing, it might be time to replace the unit sooner rather than later. Rust weakens the structure and can lead to vibration noises.
Frequently Asked Questions
Do I need a permit to install an extractor fan in NZ?
Generally, no permit is required for simple replacements of existing fixtures. However, if you are adding new circuits or altering the building envelope significantly, check with your local council. Registered electricians handle compliance for complex jobs.
How long does it take to install an extractor fan?
For a straightforward replacement, expect 1-2 hours. A new installation requiring wall cutting and ducting can take half a day or more, depending on access and skill level.
Can I vent an extractor fan into the roof space?
No. Venting moisture into the roof space leads to condensation, mold growth, and timber rot. Always vent directly to the outside atmosphere via a wall or roof cowl.
What size hole do I need for my fan?
Check the manufacturer’s specifications. Common sizes are 100mm, 150mm, and 200mm diameters. Use a hole saw of the exact matching size to ensure a snug fit without gaps.
Why is my new fan still loud?
It could be loose screws vibrating against the ceiling, poor ducting bends causing resistance, or the fan being undersized for the room, forcing it to work harder. Check all mounts are tight and ducting is smooth.
I am an expert in the services industry with a focus on appliance repair. My passion lies in understanding how things work and educating others in simple, engaging ways. This enthusiasm fuels my writing, where I delve into topics around appliance maintenance and troubleshooting. I aim to make these subjects clear and accessible to all readers.