If your tumble dryer runs but the drum won’t spin, you’re not alone. It’s one of the most common complaints we see in Wellington homes - especially during winter when laundry piles up and every cycle counts. The machine hums, the heat comes on, but the clothes just sit there. No tumbling means no drying. And no drying means damp clothes, mildew smells, and frustration. The good news? Most of the time, this isn’t a total write-off. You can fix it yourself without calling a technician - if you know what to look for.
The drum won’t turn? Start with the belt
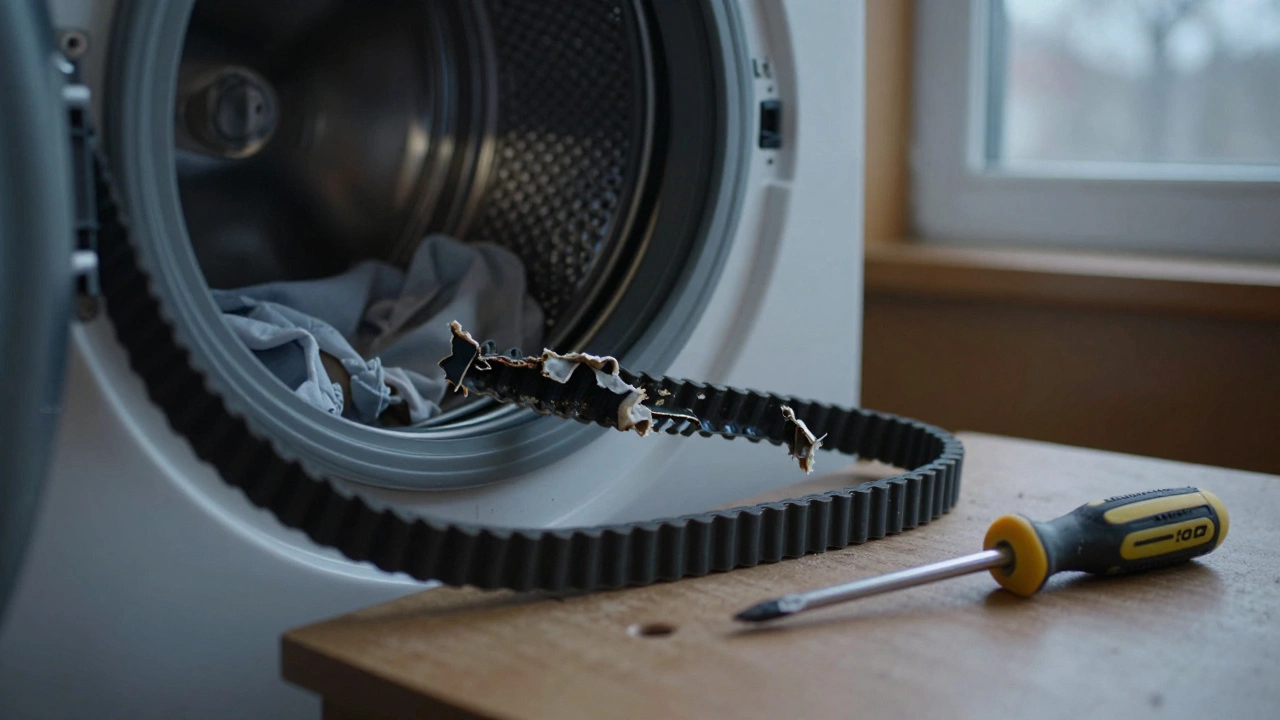
The most likely culprit is a broken or slipped drive belt. This rubber loop wraps around the drum and connects to the motor pulley. Over time, it stretches, cracks, or snaps from constant friction and heat. If the belt is broken, the motor spins but the drum doesn’t move. You’ll hear the motor running, maybe even feel vibrations, but the drum stays still.
To check the belt, unplug the dryer and remove the front panel. Most models have two screws at the bottom you can unscrew with a Phillips head. Once open, look for the belt around the drum. If it’s snapped, frayed, or hanging loose, that’s your problem. Replacement belts cost under $30 and take about 30 minutes to install. Make sure you get the right size for your model - check the old belt for a part number or search your dryer’s model number online.
Check the drum rollers and bearings
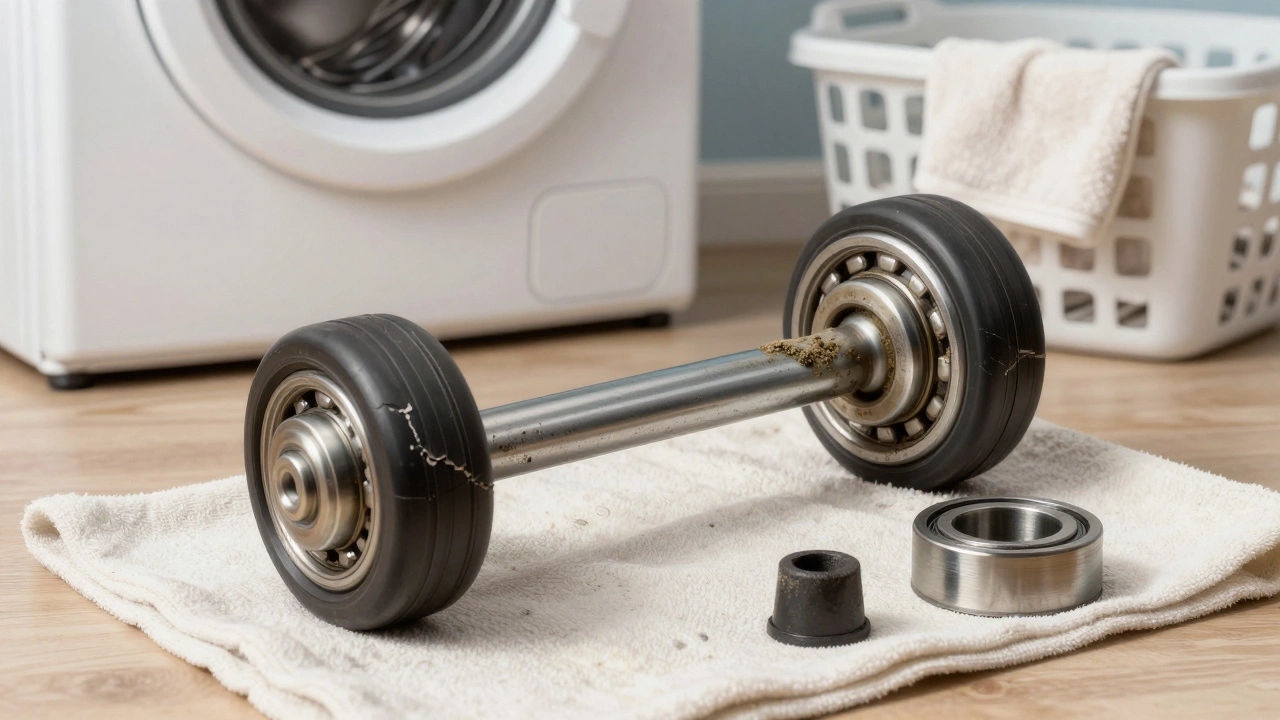
If the belt is intact, the issue could be the drum rollers or rear bearing. These small wheels support the drum and let it spin smoothly. After years of use, they wear down, get misaligned, or seize up. A worn roller makes a loud grinding or squealing noise when the dryer runs. Sometimes, you can even wiggle the drum by hand - if it moves more than a centimeter, the rollers are gone.
To test, turn the drum by hand. If it feels stiff, gritty, or catches at one spot, the rollers or bearing are failing. Replacing the rollers is easy. They usually come in kits with all four wheels and shafts. You’ll need to remove the drum to swap them out. It’s a bit more work than replacing a belt, but still doable with basic tools. Don’t skip this step - worn rollers put extra strain on the motor and can cause more damage over time.
Is the motor running at all?
If the motor doesn’t even try to turn, the problem might be deeper. First, confirm the dryer is getting power. Check the outlet with another appliance. If the outlet works, the issue could be a faulty motor, thermal fuse, or start capacitor.
The thermal fuse is a safety device that cuts power if the dryer overheats. It’s usually located near the exhaust duct. If it’s blown, the motor won’t run. You can test it with a multimeter for continuity. If it reads open circuit, replace it. But don’t just replace the fuse - figure out why it blew. A clogged vent or dirty lint filter often causes overheating.
The start capacitor helps the motor get going. If it’s bad, the motor might hum but not spin. You can test it by removing the wires and checking for bulging or leaking. A good capacitor should hold a charge. If you’re not comfortable with electrical testing, skip this step and move to the next possibility.
Blocked or kinked venting
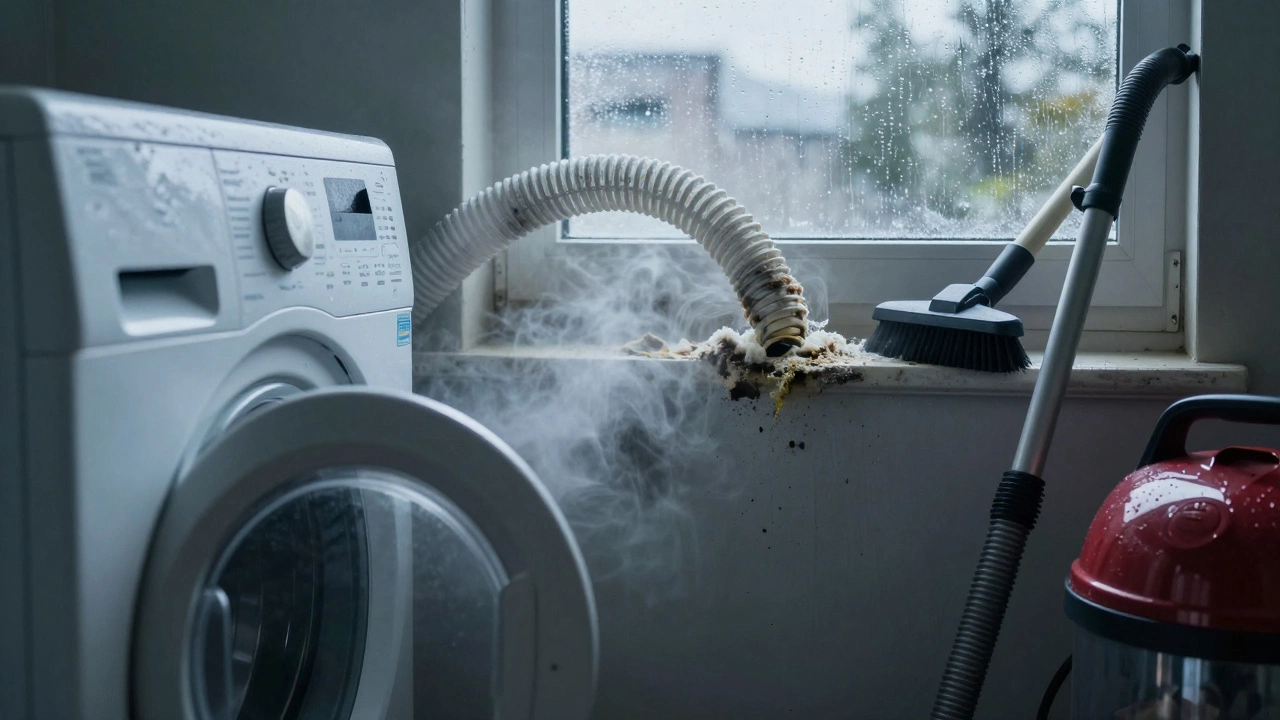
Many people forget how much airflow matters. A clogged vent doesn’t just make drying slower - it can overload the motor and cause it to stall. If the exhaust duct is full of lint, the dryer works harder to push air out. This extra load can make the motor struggle to turn the drum, especially with a full load.
Check the vent hose behind the dryer. Pull it out and inspect for kinks, bends, or lint buildup. Clean it with a brush or vacuum. Also check the outdoor vent flap - make sure it opens freely. In Wellington’s damp climate, blocked vents are a leading cause of dryer failure. Clean your vent at least twice a year, more if you dry clothes daily.
Worn or misaligned drum glides
Drum glides are plastic or felt pads that sit between the drum and the dryer’s housing. They reduce friction and keep the drum centered. When they wear out, the drum can drag against the casing. This creates resistance so heavy that the motor can’t turn it - even if the belt and rollers are fine.
You’ll notice this if the drum turns slowly or makes a scraping sound. To check, remove the front panel and look for shiny spots or missing material on the glides. Replacing them is simple. Most dryers have two or four glides, and replacement kits cost under $20. Just peel off the old ones and stick on the new ones with the adhesive backing.
What if nothing works?
If you’ve checked the belt, rollers, motor, capacitor, and vents - and the drum still won’t spin - the problem might be a faulty control board or wiring issue. These are harder to diagnose without a multimeter and technical knowledge. If you’re not confident working with electronics, it’s time to call a professional.
But before you do, ask yourself: Is the dryer over 10 years old? If so, and multiple parts are failing, it might be cheaper to replace it than to keep repairing it. Modern dryers use 30% less energy and have better moisture sensors. A new mid-range model costs around $800, but you’ll save on electricity bills over time.
Quick checklist to diagnose your dryer
- Is the drum completely still? → Likely broken belt
- Does the drum turn slowly or grind? → Worn rollers or glides
- Does the motor hum but not spin? → Bad start capacitor or thermal fuse
- Is the dryer taking longer than usual? → Clogged vent or lint buildup
- Is there a burning smell? → Motor or wiring issue - turn off immediately
Most of these fixes don’t require special tools. A screwdriver, flashlight, and a bit of patience are enough. Take photos as you disassemble the dryer so you remember how to put it back together. Keep the old parts - they help confirm you got the right replacements.
Prevent future problems
Regular maintenance stops 80% of dryer issues. Here’s what to do every month:
- Clear the lint filter before every load
- Wipe the filter housing with a damp cloth
- Check the vent hose for kinks or lint
- Don’t overload the drum - leave space for air to circulate
- Run a cleaning cycle with vinegar or dryer cleaner every 3 months
Also, avoid drying heavy items like towels and jeans with lightweight fabrics. The uneven weight can strain the drum and bearings. Use the sensor dry setting if your model has one - it stops the cycle when clothes are dry, reducing wear on the motor.
Why does my tumble dryer run but not spin?
The most common reason is a broken drive belt. Other causes include worn drum rollers, seized bearings, damaged glides, a faulty start capacitor, or a blown thermal fuse. Always check the belt first - it’s the easiest and cheapest fix.
Can a clogged vent stop the drum from spinning?
Yes. A blocked vent forces the motor to work harder to push air out. This extra load can cause the motor to stall or trip safety switches, making the drum stop spinning even if the belt and rollers are fine. Clean your vent at least twice a year.
How do I know if the dryer belt is broken?
If the motor runs but the drum doesn’t move, the belt is likely broken. Open the front panel and look for a snapped, stretched, or missing rubber loop around the drum. If you can spin the drum easily by hand with no resistance, the belt is gone.
Is it worth repairing an old tumble dryer?
If your dryer is over 10 years old and needs multiple repairs, it’s often cheaper to replace it. New models use 30% less energy and have better sensors that reduce wear. A new mid-range dryer costs $700-$900, but pays for itself in lower electricity bills within 2-3 years.
Can I replace the drum rollers myself?
Yes. Drum roller kits are affordable and come with instructions. You’ll need to remove the drum, which takes about 45 minutes. Take photos as you go. Most models have four rollers - replace them all at once, even if only one looks bad, to avoid uneven wear.
I am an expert in the services industry with a focus on appliance repair. My passion lies in understanding how things work and educating others in simple, engaging ways. This enthusiasm fuels my writing, where I delve into topics around appliance maintenance and troubleshooting. I aim to make these subjects clear and accessible to all readers.