Extractor Fan Diagnostic Tool
Enter your fan's symptoms to identify the most likely blockage point and recommended action.
Select symptoms to get your diagnosis.
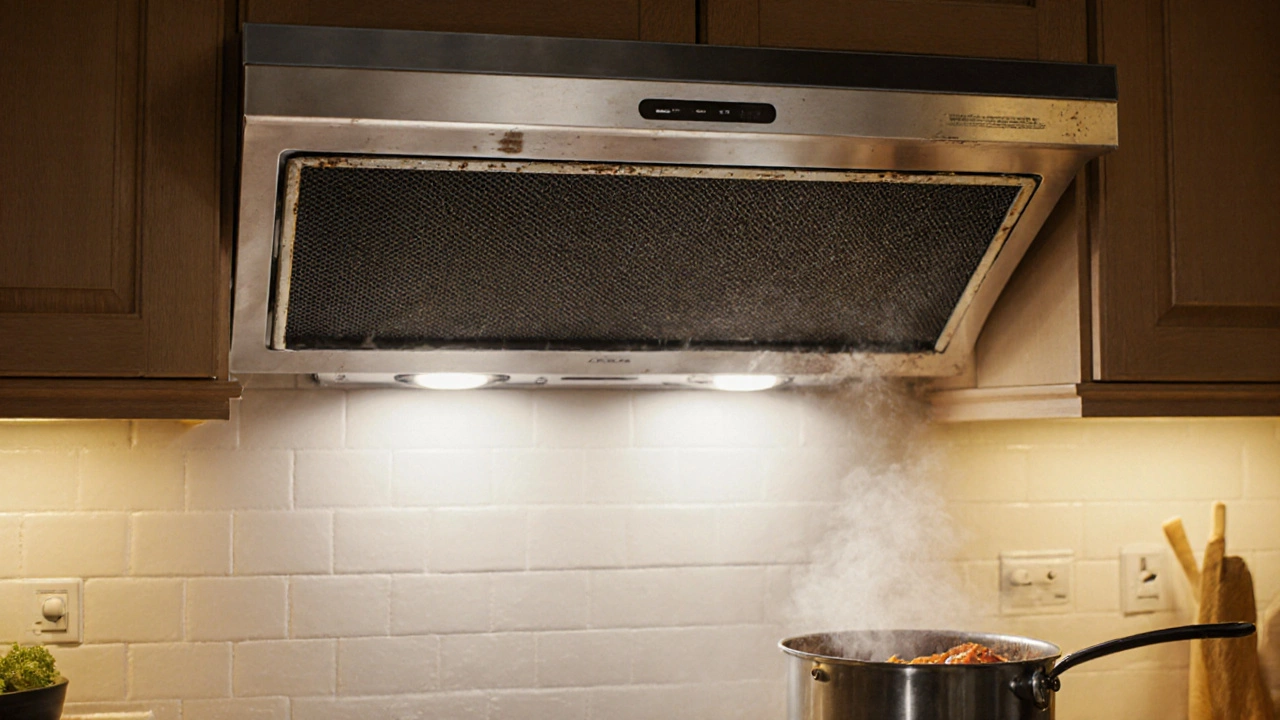
When the air stops flowing and the kitchen smells like a sauna, it’s usually a blocked kitchen extractor fan. Below is a practical, no‑nonsense plan to get that fan humming again, whether you’re a homeowner or a handy neighbour.
Quick TL;DR
- Turn off power at the circuit breaker.
- Remove the outer filter and clean it.
- Detach the fan housing to access the motor and vent pipe.
- Clear any debris from the vent duct the metal pipe that carries stale air out of the kitchen using a flexible brush.
- Re‑assemble, restore power, and test airflow.
Tools and Materials You’ll Need
- Screwdriver set (Phillips & flat‑head)
- Utility knife
- Flexible duct cleaning brush (½‑inch diameter works for most ducts)
- Vacuum cleaner with a nozzle attachment
- Soft‑brittle brush for fan blades
- Warm soapy water and a microfiber cloth
- Replacement carbon or mesh filter (if the old one is beyond cleaning)
Safety First
Before you lift a single screw, make sure the fan is completely disconnected from electricity. Locate your home's circuit breaker the panel that controls power to different circuits and switch off the breaker that feeds the kitchen appliances. Double‑check the fan’s power cable with a non‑contact voltage tester - no voltage means you’re safe to work.
Understanding Where Blockages Happen
Most blockages fall into three buckets:
- Filter buildup - grease and dust collect on the carbon filter a removable element that traps particles before air reaches the motor.
- Duct obstruction - the vent duct can accumulate food particles, insulation fibers, or even small pests.
- Motor or fan‑blade grime - grease splatters on the motor housing or fan blades reduce spin efficiency.
Identifying which part is clogged saves time and avoids unnecessary disassembly.
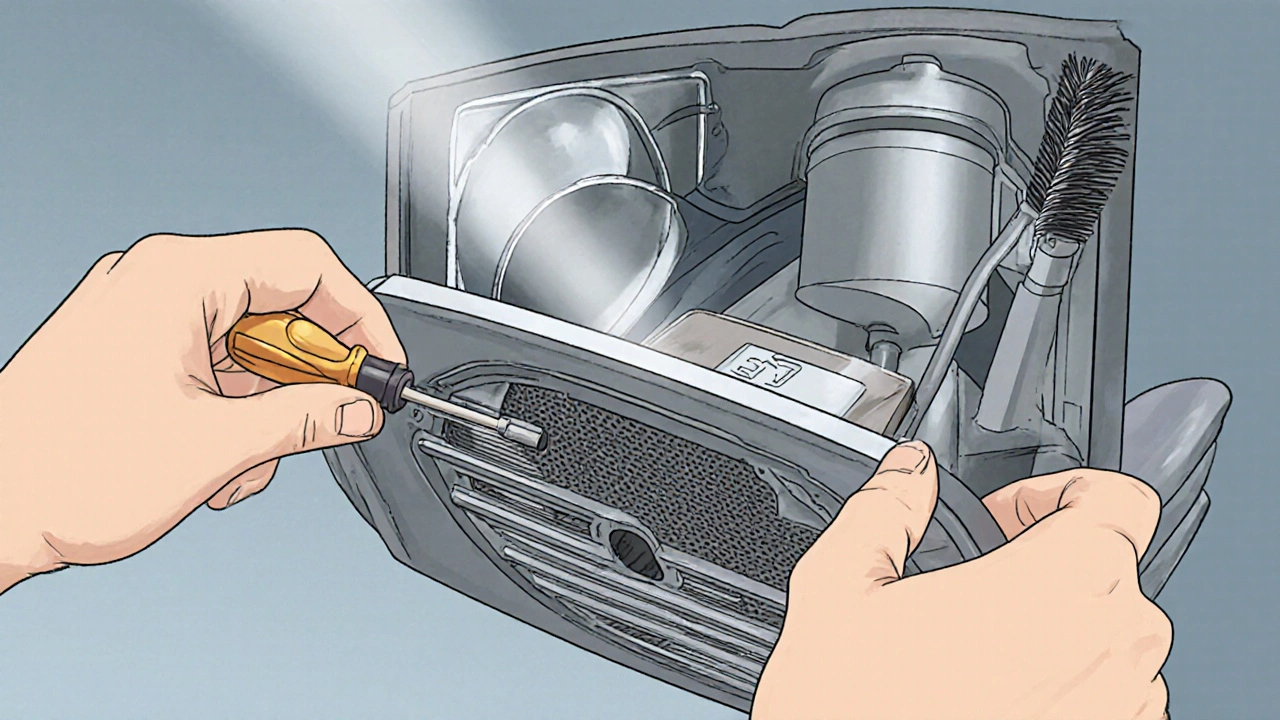
Step‑by‑Step: Removing the Fan Housing
- Unscrew the front grille. Most models use four to six screws hidden behind a plastic clip.
- Lift the grille away and slide out the washable carbon filter. If it’s a mesh type, tap it gently to dislodge loose debris.
- Locate the mounting screws that secure the fan housing to the ceiling or wall cabinet. Remove them and pull the housing forward enough to expose the motor and the connection to the duct.
Take a photo before you disconnect any wiring; it helps when you reconnect later.
Cleaning the Filter
If the filter is metal mesh, soak it in warm, soapy water for 10‑15 minutes, then scrub with a soft brush. For charcoal filters, a quick rinse is fine, but replace them if they appear blackened or crumbly. A clean filter restores up to 30 % of the fan’s airflow.
Clearing the Vent Duct
Detach the duct from the fan housing - most connections use a simple slip‑over collar or a clamp. Insert the flexible brush into the duct, push it halfway, rotate, and pull back. Repeat until you feel resistance disappear. For longer runs, work from the exterior vent opening as well, pulling any debris out with a vacuum nozzle.
Inspecting the Motor and Fan Blades
With the duct disconnected, you can see the motor shaft and the fan blades. Use a soft‑brittle brush to sweep away built‑up grease. For stubborn spots, a dab of degreaser on a cloth works wonders, but be sure the motor is dry before re‑assembly.
Check the Safety Switch and Back‑draft Damper
Many modern fans include a thermal safety switch that trips if the motor overheats. Locate the switch a component that cuts power when the fan gets too hot near the motor housing and press it back in if it feels popped out. Also verify the back‑draft damper a flap that prevents outside air from flowing back into the kitchen moves freely; a stuck damper can make the fan sound louder and reduce suction.
Re‑assemble and Test
- Reconnect the duct, ensuring the clamp or collar is snug.
- Slide the housing back into place, re‑insert the mounting screws, and secure the front grille.
- Replace the cleaned or new filter.
- Turn the circuit breaker back on.
- Turn the fan on and hold a paper towel near the inlet - it should be drawn in quickly. If airflow feels weak, double‑check the duct for missed debris.

Common Pitfalls and How to Avoid Them
- Skipping the power‑off step - can cause electric shock or fry the motor.
- Using a metal brush inside a metal duct - can scratch the interior and cause future blockages.
- Leaving the filter dry - a wet filter will trap more grease and reduce airflow.
- Re‑installing the damper backwards - it can create a loud whine and lower efficiency.
Maintenance Checklist (Every 3 Months)
- Wipe the exterior grille with a damp cloth.
- Remove and clean the filter; replace if it shows wear.
- Run a quick visual inspection of the duct through the vent opening.
- Listen for abnormal noises - they often hint at a developing blockage.
When to Call a Professional
If you’ve cleared the duct, cleaned the motor, and the fan still sputters, the motor may have burned out or the wiring could be damaged. In that case, a certified appliance technician can diagnose electrical faults safely.
Mini‑FAQ
Why does my extractor fan smell bad?
A lingering odor usually means grease has built up on the filter or inside the duct. Clean both and run the fan on high for a few minutes to clear any residual smells.
Can I use a vacuum cleaner to clear the duct?
Yes, attach a narrow nozzle and pull debris toward the vent opening. Combine vacuuming with a flexible brush for the best results.
My fan runs but there’s no suction. What’s wrong?
Check the filter first - a clogged filter cuts airflow dramatically. If the filter is clean, inspect the duct for blockages and verify the motor spins freely.
Is it safe to clean the motor with water?
Never spray water directly on the motor. Use a damp cloth for the exterior and let everything dry completely before restoring power.
How often should I replace the filter?
If you cook greasy meals daily, replace a carbon filter every 6-12 months. Mesh filters can last longer but should be inspected every three months.
Next Steps
Grab your screwdriver, turn off the breaker, and follow the steps above. A clean fan not only removes odors but also improves kitchen ventilation, which can lower humidity and prevent mold. If you run into a stubborn issue, don’t hesitate to call a local appliance repair service - a quick professional fix can extend the life of your fan for years.
I am an expert in the services industry with a focus on appliance repair. My passion lies in understanding how things work and educating others in simple, engaging ways. This enthusiasm fuels my writing, where I delve into topics around appliance maintenance and troubleshooting. I aim to make these subjects clear and accessible to all readers.