Bathroom Extractor Fan Service Calculator
Determine Your Service Schedule
How often should you service your bathroom extractor fan? Answer these questions to get a personalized recommendation.
Service Recommendation
Your fan should be serviced every 6 months.
Why this schedule? Based on your inputs, your bathroom experiences higher humidity and usage, requiring more frequent maintenance to prevent mold growth and ensure proper ventilation.
Maintenance Tips
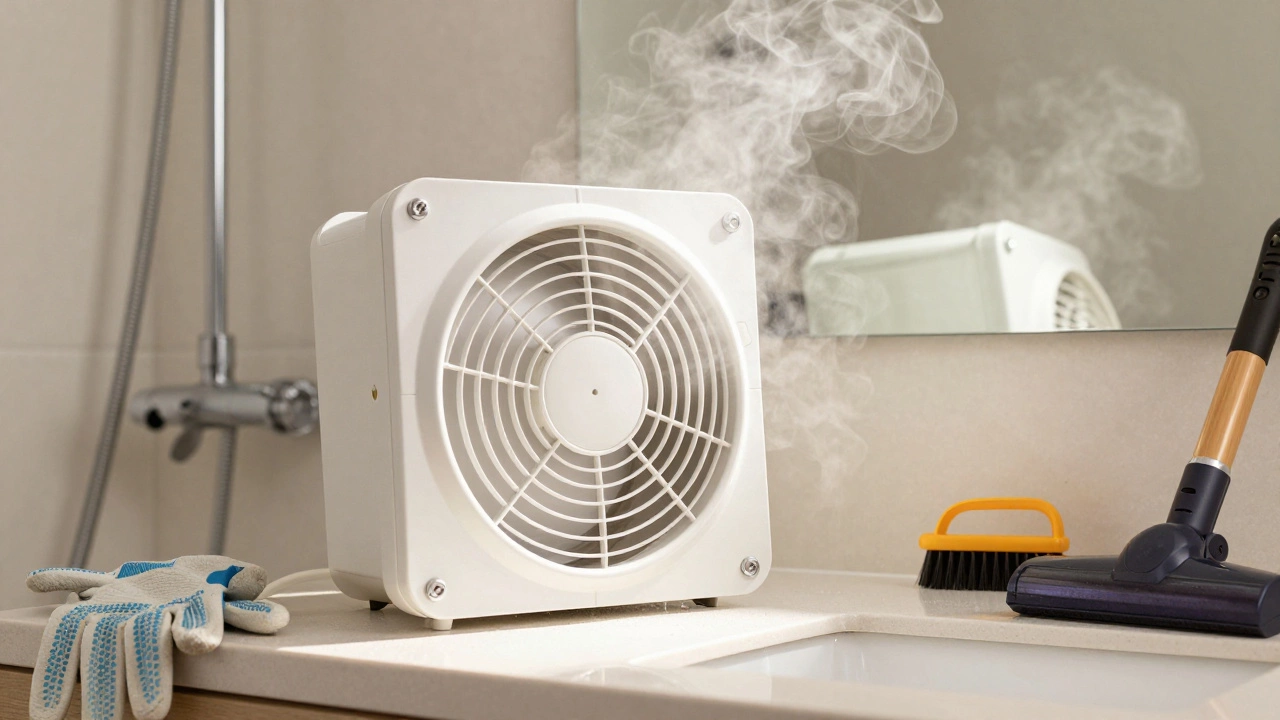
For best results, always turn off power at the circuit breaker before servicing. Use warm soapy water and a soft brush to clean the grille and blades. Check the ducting regularly to ensure it's clear of blockages.
Ever opened your bathroom door and been hit with a wall of stale air? Or noticed that foggy mirror after a shower doesn’t clear up like it used to? Chances are, your bathroom extractor fan isn’t working right. Most people think these fans just run forever without needing care. But they don’t. Dust, moisture, and skin flakes build up inside over time. That’s why your fan gets louder, slower, or stops pulling air altogether.
Why Servicing Your Extractor Fan Matters
An extractor fan isn’t just about comfort-it’s a health tool. Without proper ventilation, moisture lingers. That’s how mold grows on grout, peels paint off walls, and triggers allergies. In Wellington’s damp climate, this isn’t a minor issue. A clogged fan can turn a small bathroom into a breeding ground for mildew in under six months.
Most fans last 10 to 15 years, but without cleaning, they wear out in half that time. A dirty motor works harder. That means higher electricity bills and more breakdowns. Servicing it every 6 to 12 months keeps it quiet, efficient, and ready to do its job.
What You’ll Need Before You Start
You don’t need special tools or training. Just grab these basics:
- Screwdriver (flathead or Phillips, depending on your model)
- Soft-bristle brush or old toothbrush
- Vacuum with a narrow nozzle attachment
- Microfiber cloth
- Warm soapy water (mild dish soap works)
- Isopropyl alcohol (optional, for sticky grime)
- Gloves and safety glasses
Turn off the power at the circuit breaker before you touch anything. Even if the switch is off, the wiring behind the fan might still be live. Don’t skip this step.
Step 1: Remove the Fan Cover or Grille
Most bathroom fans have a plastic or metal grille that snaps or screws into place. Look for small clips along the edges-gently pry them open with a flathead screwdriver. If it’s screwed in, remove the screws and set them aside in a small container so you don’t lose them.
Some models have a spring-loaded latch. Others use hidden screws behind the trim. If you’re unsure, check the manufacturer’s model number (usually printed on the back of the grille) and search online for a quick disassembly guide. Don’t force anything. If it doesn’t come off easily, you’re missing a screw or clip.
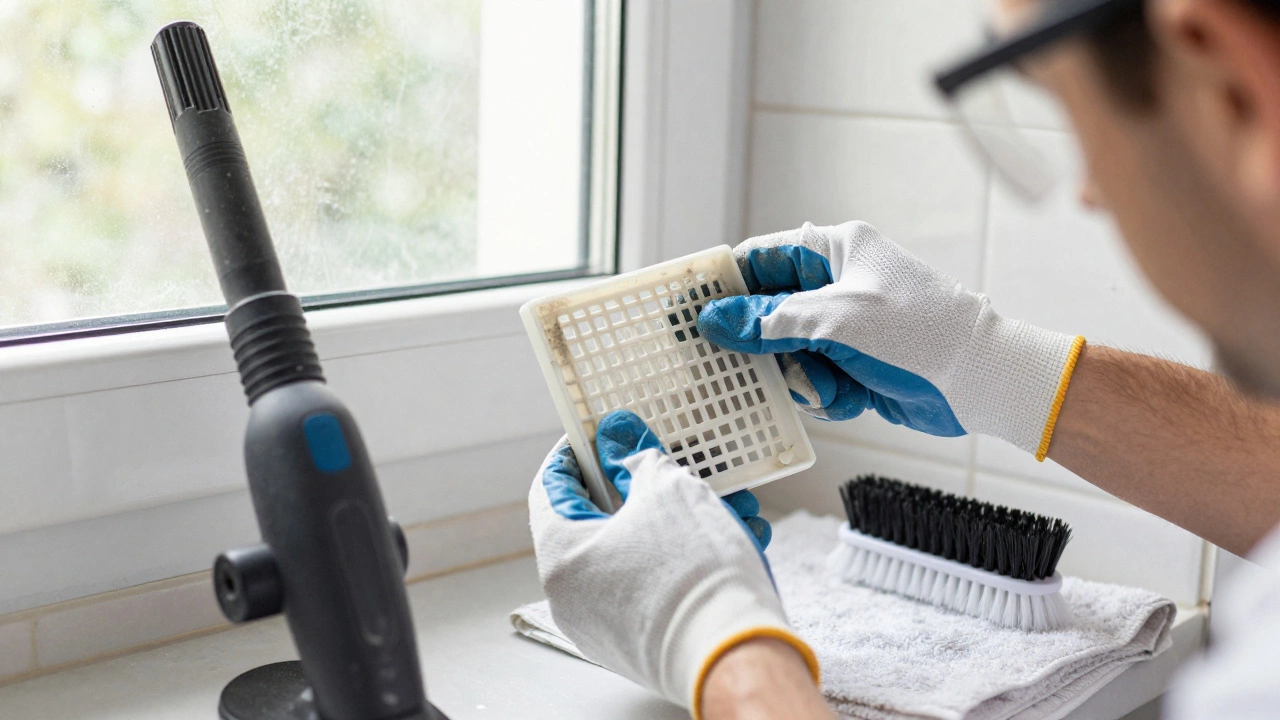
Step 2: Clean the Grille and Housing
Once the cover is off, you’ll see a thick layer of dust, hair, and soap scum. Use the vacuum nozzle to suck out the loose debris first. Then, scrub the grille with the soft brush and soapy water. Pay attention to the slots and corners-this is where gunk builds up the most.
For stubborn sticky residue, dip a cloth in isopropyl alcohol and wipe it down. Alcohol evaporates fast and won’t leave streaks. Let everything dry completely before reassembling. Wet parts can cause corrosion or short circuits later.

Step 3: Access and Clean the Fan Blade
After removing the grille, you’ll see the fan wheel (the blade assembly). It’s usually held in place by a single screw or a plastic clip. Carefully remove it. Don’t yank it-some blades are fragile.
Use the brush and cloth to wipe each blade clean. Dust here doesn’t just reduce airflow-it unbalances the motor. An unbalanced fan vibrates, rattles, and wears out bearings faster. If the blades are warped or cracked, you’ll need to replace the whole assembly. A $20 replacement part is cheaper than a new fan.
Step 4: Check the Motor and Bearings
With the blade off, look at the motor shaft. Is it dusty? Does it spin freely when you give it a gentle nudge? If it feels gritty or sticks, the bearings are clogged.
Some motors have oil ports-tiny holes near the shaft. If yours does, add one drop of lightweight electric motor oil (like 3-in-1). Don’t overdo it. Too much oil attracts more dirt. If there are no oil ports and the motor feels rough, the bearings are likely worn out. At this point, replacement is the best option. Trying to lubricate a sealed motor rarely works.
Step 5: Inspect the Ducting and External Vent
The fan doesn’t just blow air-it pushes it outside. If the duct is blocked, your fan is working in circles. Check the duct running from the fan to the outside wall or roof. Look for kinks, sagging, or bird nests. In Wellington, roof vents often get blocked by leaves or moss.
Go outside and inspect the vent cap. Is it clear? Is the flap moving freely? If it’s stuck shut, moisture can’t escape. Clean it with a brush and water. If the flap is broken, replace it. A $15 vent cap stops damp air from flowing back into your house.
Step 6: Reassemble and Test
Once everything is dry and clean, put it all back together. Make sure the fan blade is seated properly and the screw is tight. Reattach the grille securely. Turn the power back on at the breaker.
Turn the fan on. Listen. It should hum smoothly-not rattle, buzz, or squeak. Feel the airflow at the grille. Air should pull strongly, not weakly. If it’s still noisy or weak, you may have a failing motor or a blocked duct you missed.
When to Call a Professional
You can handle most cleaning and minor fixes yourself. But call a technician if:
- The fan doesn’t turn on at all, even after resetting the breaker
- You smell burning plastic or see smoke
- The motor is overheating (you can feel heat radiating from the housing)
- The fan vibrates violently or makes grinding noises
- There’s water leaking from the unit
These aren’t DIY fixes. A burnt-out motor, faulty capacitor, or damaged wiring needs professional attention. Trying to repair it yourself could be dangerous-or cost you more in the long run.
Prevention Tips to Keep It Running Longer
Once you’ve cleaned it, make maintenance easy:
- Run the fan for at least 20 minutes after every shower. This pulls out moisture before it settles.
- Check the vent cap every spring and fall. Clear leaves, spiderwebs, and snow buildup.
- Replace the grille filter if your model has one (some do). They’re cheap and last 6 to 12 months.
- Use a timer switch. It turns the fan off automatically after 15 or 30 minutes. Saves energy and ensures it runs long enough.
- Keep the bathroom door closed while showering. This helps the fan pull air from the right place.
Most people wait until the fan fails before doing anything. But servicing it every 6 months takes 20 minutes and saves you hundreds in repairs or mold remediation later.
What Happens If You Ignore It?
Ignoring your extractor fan doesn’t just mean a smelly bathroom. Over time:
- Mold spreads behind tiles and under flooring-expensive to remove
- Wood framing rots from constant dampness
- Paint bubbles and peels, requiring full repainting
- Insulation gets wet and loses its R-value, raising heating bills
- Insurance may deny claims for water damage if they find you neglected maintenance
This isn’t alarmist. In New Zealand, 1 in 5 home insurance claims for water damage trace back to poor ventilation. A $10 cleaning job prevents a $5,000 repair.
Final Thoughts
Your extractor fan is one of the least glamorous but most important parts of your bathroom. It doesn’t need fancy gadgets or expensive tools. Just regular attention. Do it yourself once or twice a year, and you’ll never have to deal with a moldy ceiling or a screaming fan again. It’s simple, cheap, and makes your home safer. Start now-before the next rainy season hits.
How often should I clean my bathroom extractor fan?
Clean it every 6 to 12 months. If you use the bathroom a lot, have pets, or live in a humid climate like Wellington, clean it every 6 months. If you rarely use the bathroom, once a year is enough. Don’t wait until it’s noisy or smelly-by then, it’s already clogged.
Can I use a vacuum to clean the fan blades?
Yes, but only for loose dust. Use the vacuum nozzle to suck up debris before you wipe the blades. Don’t rely on the vacuum alone. Sticky grime and soap residue need a cloth and soapy water to remove properly. A vacuum won’t clean the edges or grooves where gunk hides.
Why is my extractor fan so loud after cleaning?
If it’s louder after cleaning, the fan blade might not be seated right. Check that it’s centered and the retaining screw is tight. If the motor shaft feels gritty or stiff when you spin it by hand, the bearings are worn out. Lubricating won’t help if the bearings are damaged-you’ll need a new motor or fan unit.
Is it safe to spray water on the fan motor?
Never spray water directly on the motor or wiring. Only clean the removable parts like the grille and blades. Use a damp cloth to wipe the housing, but avoid soaking it. Moisture inside the motor can cause corrosion or electrical shorts. Always disconnect power and let everything dry fully before turning it back on.
Should I replace my extractor fan instead of servicing it?
If your fan is over 10 years old, noisy even after cleaning, or uses outdated technology, replacement is smarter. Newer models are quieter, use 40% less energy, and have better moisture sensors. A $100-$150 fan lasts 15+ years with minimal maintenance. Paying $50 to clean a 15-year-old unit is a waste if it’s about to fail.
Next time you notice your mirror stays foggy or the air feels thick after a shower, don’t just open the window. Check your extractor fan. It’s the quiet hero keeping your bathroom dry and healthy.
I am an expert in the services industry with a focus on appliance repair. My passion lies in understanding how things work and educating others in simple, engaging ways. This enthusiasm fuels my writing, where I delve into topics around appliance maintenance and troubleshooting. I aim to make these subjects clear and accessible to all readers.