Refrigerator Problem Diagnosis Tool
Identify Your Refrigerator Issue
Select symptoms you're experiencing to get recommended troubleshooting steps
Diagnosis Results
Select symptoms to see diagnosis results here.
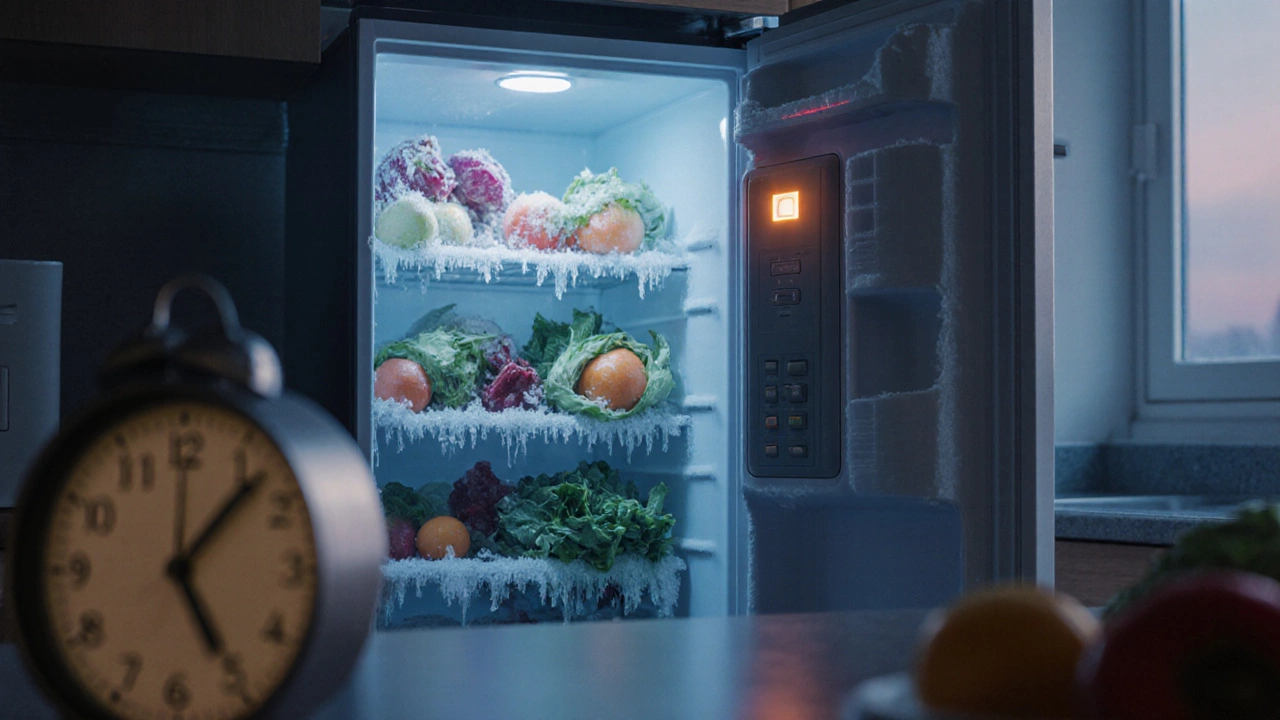
When your fridge starts acting up, the kitchen can feel like a ticking time bomb. Ice builds up, food spoils faster, and you’re left wondering if it’s a simple fix or a sign of a bigger issue. Below is a practical, no‑fluff walk‑through that helps you pinpoint the culprit, test the key components, and decide whether you can roll up your sleeves or call in a pro.
Refrigerator is a household appliance that removes heat from an insulated compartment to keep food and drinks cold. It relies on a series of interconnected parts-compressor, thermostat, coils, and more-to maintain a steady temperature. Understanding how those parts work together is the first step in effective refrigerator troubleshooting.
Know the Core Components
- Compressor the heart of the cooling system; it compresses refrigerant gas and circulates it through the coils
- Thermostat senses the internal temperature and tells the compressor when to start or stop
- Defrost timer automatically switches the unit from cooling to defrost mode to melt frost on the evaporator
- Evaporator coil located inside the freezer; it absorbs heat from the air as refrigerant evaporates
- Condenser coil sits at the back or bottom; it releases heat from the hot refrigerant back into the room
- Door seal rubber gasket that prevents warm air from entering the cavity
- Temperature sensor electronic probe that works with the thermostat to fine‑tune cooling cycles
Step‑by‑Step Diagnostic Checklist
- Listen for the compressor. A humming, low‑pitch sound means it’s running. No sound? Check the power cord, breaker, and start relay.
- Feel the condenser coils. They should be warm, not hot. If they’re icy, the defrost system may have failed.
- Inspect the evaporator. Open the freezer door, remove any food, and look for a thick layer of frost (over ¼ inch). Excessive frost points to a faulty defrost timer or heater.
- Test the thermostat. Set it to the coldest setting and listen for a click. No click suggests the thermostat or its wiring is dead.
- Check the door seal. Close a dollar bill against the gasket; if it slides out easily, the seal is compromised and warm air is leaking in.
- Run a temperature probe test. Place a digital thermometer in the fridge and freezer. Ideal fridge temp: 35‑38°F (2‑3°C); freezer: 0°F (‑18°C). Large deviations indicate a control issue.
- Examine the fan. Both the evaporator fan (inside) and condenser fan (outside) should spin freely. A squeaky or stalled fan disrupts airflow.
- Look for error codes. Modern units display codes on the panel. Refer to the user manual to decode them; common ones include “E1” (sensor fault) and “E2” (defrost timer).

Symptom‑to‑Cause Table
| Symptom | Probable Cause | Quick Test |
|---|---|---|
| Not cooling at all | Compressor failure or power issue | Listen for compressor hum; check breaker |
| Freezer ice buildup | Defrost timer or heater malfunction | Open freezer, look for thick frost |
| Frost on interior walls | Door seal leak | Dollar‑bill test on gasket |
| Loud buzzing or rattling | Fan motor or loose components | Inspect fan blades for obstruction |
| Water pooling at bottom | Clogged drain tube or defrost drain | Flush drain with warm water |
When to DIY and When to Call a Pro
Most of the checks above involve visual inspection, basic tools (screwdriver, multimeter), and a thermometer-tasks a confident homeowner can handle. However, certain components require specialized knowledge or safety precautions:
- Compressor replacement. Involves high‑pressure refrigerant; only certified technicians should touch it.
- Sealed‑system leaks. Detecting and repairing leaks needs a refrigerant recovery unit and EPA‑approved certification.
- Electronic control board failure. Diagnosing PCB issues often demands a service manual and diagnostic scanner.
If any of these red flags appear, pause the DIY effort and schedule a qualified repair service.

Preventive Maintenance Tips
- Clean condenser coils every 6‑12 months. A vacuum brush works wonders.
- Check door seals quarterly and replace if they show cracks or loss of flexibility.
- Leave a few inches of space around the fridge for proper airflow.
- Set temperature controls to manufacturer‑recommended levels; avoid “extra‑cold” settings that strain the compressor.
- Defrost manually if you notice a thick ice layer building up faster than usual.
Quick Reference Cheat Sheet
- Compressor silent? Power → breaker → start relay.
- Ice too thick? Defrost timer or heater broken.
- Warm fridge, cold freezer? Thermostat or temperature sensor error.
- Water on floor? Drain tube clogged; flush with warm water.
- Noise from back? Condenser fan obstructed or motor failing.
Frequently Asked Questions
Why does my fridge make a humming noise but not cool?
A humming sound usually means the compressor is trying to start. If the cooling isn’t happening, the compressor may have seized, the start relay could be defective, or there might be a refrigerant leak. Check the power supply first, then listen closely to see if the compressor actually turns on. If it stays silent, it’s time to call a technician.
How can I tell if the defrost timer is faulty?
Open the freezer and look for a thick layer of frost on the evaporator coils. If frost exceeds ¼ inch, the timer may not be advancing to defrost mode. You can manually advance the timer with a screwdriver (most timers have a tiny hole for this). If the ice melts after you force a defrost, the timer is the likely culprit.
My fridge’s interior is warm but the freezer is fine. What’s wrong?
This pattern points to a temperature sensor or thermostat that’s sending incorrect data for the fridge compartment. Verify the sensor wires for corrosion, and use a multimeter to check resistance at the recommended temperature. Replacing the sensor is usually inexpensive.
Can I clean the condenser coils without unplugging the fridge?
It’s safest to unplug the unit before you start cleaning, especially if you’ll be using a brush or vacuum that could contact the fan blades. Turning off the power eliminates the risk of the fan spinning while you work.
Why is there water pooling at the bottom of my fridge?
A clogged or frozen defrost drain is the usual suspect. During the defrost cycle, melted water should flow through a drain tube to a pan underneath the fridge. If the tube is blocked, water backs up and leaks inside. Clear the tube with warm water or a thin flexible brush.
I am an expert in the services industry with a focus on appliance repair. My passion lies in understanding how things work and educating others in simple, engaging ways. This enthusiasm fuels my writing, where I delve into topics around appliance maintenance and troubleshooting. I aim to make these subjects clear and accessible to all readers.