Water Heater Replacement Timeline Simulator
Job Details
Estimated Process Breakdown
-- hours
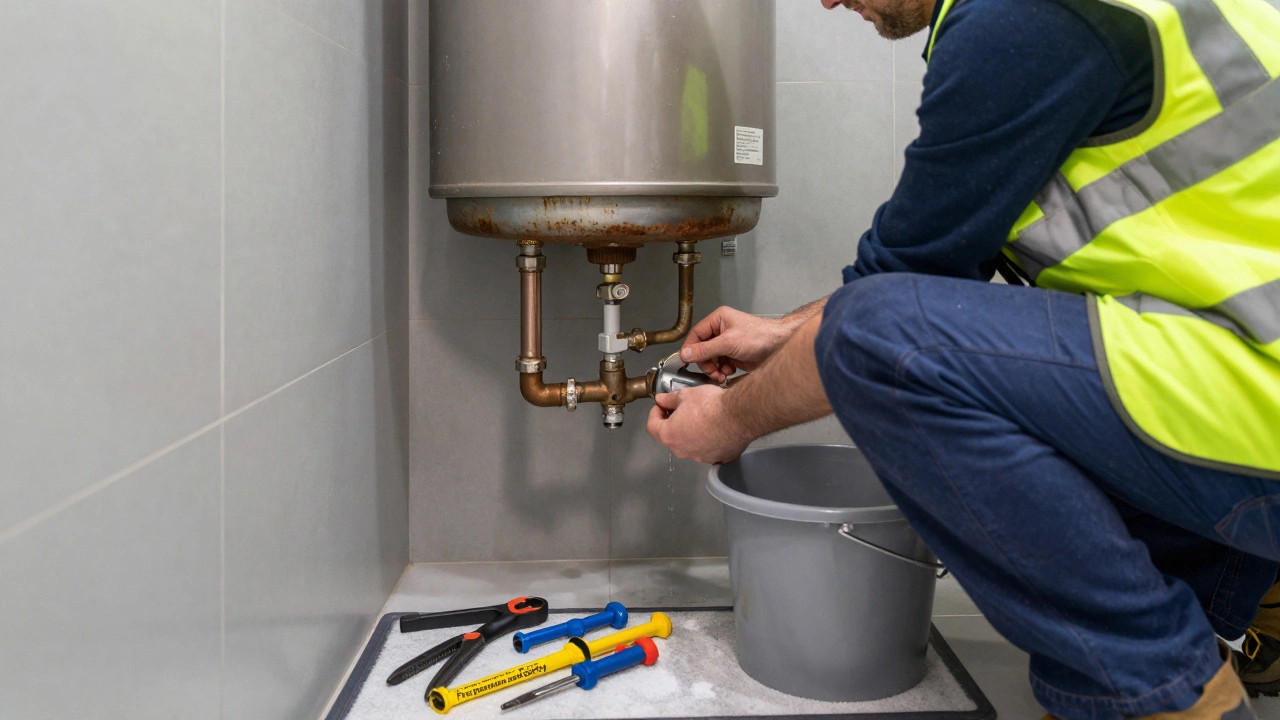
1. Preparation & Safety
30-60 minShutting off power/gas, closing valves, draining tank.
2. Removal of Old Unit
1-2 hrsDisconnecting lines, cutting straps, hauling out heavy tank.
3. Site Prep & Code Upgrades
30-60 minChecking floor stability, installing new vents/seismic straps.
4. New Unit Installation
1-2 hrsPlacing new tank, connecting pipes, wiring/gas line.
5. Testing & Flushing
30-60 minFilling tank, leak check, lighting pilot/electricity.
You turn on the shower, and instead of warm relief, you get a bucket of ice-cold water. It’s the worst start to your morning. You call a plumber, they diagnose a dead unit, and you ask the million-dollar question: "How long will this take?" The short answer is usually four to eight hours for a standard swap. But if you want to plan your day-or your week-you need to know why that number varies so wildly.
Replacing a hot water heater is a process of removing an old storage tank and installing a new one to restore hot water supply isn't just about unscrewing pipes. It involves safety checks, potential code updates, and sometimes dealing with rusted fittings that refuse to budge. In Wellington, where our weather keeps us indoors and reliant on consistent heating, downtime matters. Let’s break down exactly what happens during those hours and how to keep the timeline tight.
The Standard Swap: 4 to 8 Hours
If you have a standard residential setup-say, a 50-gallon electric or gas tank in a garage or utility closet-and the new unit is the same type as the old one, you are looking at a half-day job. This assumes the plumber arrives with the right equipment and the site is accessible.
Here is how that time breaks down:
- Preparation and Safety (30-60 minutes): Shutting off power or gas, closing water valves, draining the tank, and disconnecting lines.
- Removal (1-2 hours): Cutting away old straps, lifting the heavy tank (which can weigh over 400kg when full), and hauling it out. If the space is tight, this takes longer.
- Installation Prep (30-60 minutes): Checking the floor for stability, installing new seismic straps (required by building codes here), and preparing connections.
- New Unit Setup (1-2 hours): Placing the new tank, connecting cold water inlet, hot water outlet, and venting (for gas units).
- Testing and Flushing (30-60 minutes): Filling the tank, checking for leaks, lighting the pilot or turning on electricity, and flushing sediment from the new unit.
In most cases, you’ll have hot water again before dinner. However, this "standard" scenario relies on everything going smoothly. Life rarely works that way.
Why Your Timeline Might Stretch to Two Days
So, what turns a 5-hour job into a 24-hour ordeal? Usually, it’s not the plumbing itself but the infrastructure surrounding it. Here are the common culprits that add time to your water heater replacement is the procedure of upgrading or fixing domestic hot water systems.
1. Code Upgrades and Permits
New Zealand Building Code has strict rules about energy efficiency and safety. If your old unit was installed decades ago, it likely doesn’t meet current standards. For example, modern gas water heaters require specific ventilation clearances and condensate drainage if they are high-efficiency condensing models. If your home lacks the necessary vent pipe or drain line, the plumber must install them. This might require drilling through walls or ceilings, which adds labor and potentially requires a permit inspection. That alone can push the job to the next day.
2. Rusted or Corroded Connections
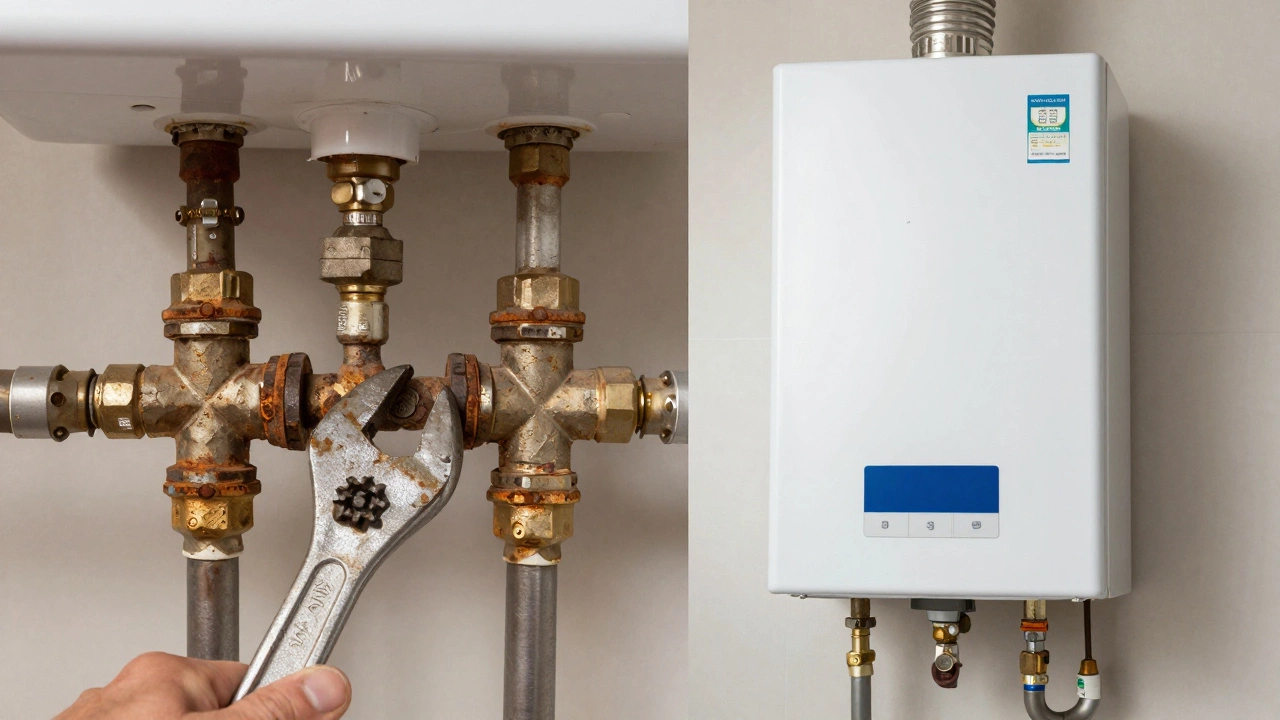
We all know New Zealand soil can be corrosive, and older copper pipes don’t age gracefully. When a plumber tries to disconnect the old tank, they might find that the dielectric unions or valve threads are seized solid. Breaking these without damaging the existing house piping takes patience and specialized tools. In worst-case scenarios, they may need to cut out a section of pipe and replace it, adding another hour or two.
3. Accessibility Issues
Where is your water heater? If it’s in a spacious basement, great. If it’s tucked under stairs, inside a narrow cupboard, or located in an attic with low clearance, removal becomes a puzzle. Some tanks are too wide to fit through the doorway. In these cases, the plumber might need to remove drywall or disassemble parts of the structure to get the old unit out and the new one in. This is no longer just a plumbing job; it’s a renovation project.
4. Switching Fuel Types
Want to switch from electric to gas (or vice versa) to save on bills? That changes the game entirely. An electric-to-gas conversion requires running a new gas line from the meter to the heater location. A gas-to-electric switch might require upgrading your electrical panel to handle the higher amperage draw. These are separate trades (gasfitter and electrician) and separate permits. Expect this to take 2-3 days minimum.
Gas vs. Electric: Does It Matter?
Many homeowners wonder if the fuel type affects the speed of installation. Generally, yes-but not always in the way you think.
| Factor | Electric Tank | Gas Tank |
|---|---|---|
| Complexity | Lower (no venting) | Higher (requires flue/venting) |
| Average Time | 3-5 hours | 4-7 hours |
| Safety Checks | Electrical grounding | Gas leak test + CO detection |
| Permit Likelihood | Low (if circuit exists) | Medium (ventilation compliance) |
Electric units are often faster because they don’t require complex venting systems. You simply connect the wires and the pipes. Gas units, however, need proper exhaust pathways to prevent carbon monoxide buildup. If your existing vent pipe is damaged or incorrectly sized for the new high-efficiency model, you’ll spend extra time fabricating new vents. Also, gas installations require a pressure test and a leak check, which adds mandatory downtime.
The Hidden Factor: Waiting for Parts
One of the biggest delays isn’t labor-it’s logistics. If you call a plumber on a Monday morning and they don’t have the exact model you want in their truck, you’re waiting. Standard 50-gallon tanks are common stock items. But if you need a specific brand, a compact unit for a small apartment, or a hybrid heat-pump model, they might need to order it.
Pro tip: Before you book the appointment, confirm the make, model, and size of your current unit. If you’re keeping the same specs, ask the plumber to bring the unit with them. If you’re upgrading, decide beforehand. Don’t leave the choice to the last minute unless you’re okay with a generic option.
What Happens After Installation?
Once the new water heater is an appliance that heats and stores water for domestic use is connected, the job isn’t quite done. The plumber will flush the tank to remove manufacturing debris. This is crucial for longevity. They will also set the thermostat. The recommended setting is 60°C (140°F). This is hot enough to kill bacteria like Legionella but cool enough to prevent scalding and reduce energy waste.
You should expect to wait about 30-60 minutes after the fill process begins before you have usable hot water. The tank needs to heat up from ambient temperature. During this time, run your hottest tap for a few seconds to purge any air pockets in the lines. You might hear gurgling-that’s normal.
DIY vs. Professional: Is It Worth the Risk?
I get it. Labor costs in Wellington are high. Can you do it yourself? Technically, yes, if you’re handy. Legally and safely? Probably not.
In New Zealand, working on gas appliances requires a licensed gasfitter. Doing it yourself is illegal and dangerous. For electric units, you can technically wire them, but if you mess up the grounding or amperage, you risk fire or electrocution. Plus, if your insurance company finds out an unlicensed person installed the heater and it causes a flood or fire, they will deny your claim. That $500 saved on labor could turn into a $50,000 loss.
Stick to professionals. They carry liability insurance, know the local council codes, and can guarantee their work. Most reputable plumbers offer a warranty on both parts and labor, giving you peace of mind for years.
Signs You Need a Replacement, Not a Repair
Sometimes, you think you need a quick fix, but the unit is dying. Knowing when to pull the trigger on a replacement saves you from repeated service calls. Look for these signs:
- Rust-colored water: If your hot water looks tea-stained, the internal tank is corroding. No amount of cleaning will fix this. The tank is essentially a bomb waiting to burst.
- Age: Most tank-style heaters last 8-12 years. If yours is older than 10, start saving for a replacement. Efficiency drops significantly after year 10.
- Frequent repairs: If you’ve replaced the heating element, thermostat, and anode rod in the last two years, the unit is failing. It’s cheaper to replace it now than to pay for another emergency callout next month.
- Leaks: Small drips from the bottom of the tank mean the inner liner has breached. This is not repairable. You need a new unit immediately to avoid flooding your home.
Preparing Your Home for the Installer
You can speed up the process by being ready. Here’s a quick checklist:
- Clear the area: Move boxes, bikes, and laundry baskets away from the water heater. Give the plumber at least 1 meter of workspace around the unit.
- Check access: Ensure doors leading to the heater are unlocked and pets are secured elsewhere.
- Know your shut-offs: Locate your main water valve and electrical/gas shut-off switches. Tell the plumber where they are.
- Decide on upgrades: Do you want a timer? A larger tank? Better insulation? Decide this before they arrive to avoid change-order delays.
By handling these prep steps, you help the plumber focus on the technical work, which keeps the clock ticking in your favor.
Cost Considerations in 2026
While time is money, the actual cost of replacement varies. In Wellington, expect to pay between NZD $1,200 and $2,500 for a standard tank replacement, including labor and materials. High-efficiency condensing gas units or heat pump hybrids can push that price to $3,500+. Remember, while the upfront cost is higher, these units use significantly less energy, paying for themselves over 5-7 years through lower power bills.
Don’t just look at the hourly rate. Look at the total package. A cheap quote might exclude disposal fees for the old tank, permit costs, or necessary code upgrades. Always ask for a detailed written estimate before the work begins.
Can I use my shower while the water heater is being replaced?
No. The water supply to your entire house will be shut off during the drain and installation process. You won’t have any water for showers, toilets, or washing machines until the new unit is filled and tested. Plan accordingly by stocking up on bottled water if needed.
How long does it take for the new water heater to heat up?
After installation, a standard 50-gallon tank takes approximately 60 to 90 minutes to reach its first full temperature cycle. Electric units may take slightly longer than gas units depending on the wattage of the elements. You will have some warm water sooner, but full capacity takes an hour or more.
Do I need a permit to replace my water heater in New Zealand?
For simple like-for-like replacements, a permit is often not required if no structural changes or new gas/electrical lines are added. However, if you are changing fuel types, moving the unit, or upgrading ventilation, a permit is mandatory. Your licensed plumber or gasfitter will handle this paperwork, but it may add time to the project.
What should I do if my water heater leaks during the night?
Immediately shut off the water supply valve above the heater. If it’s an electric unit, turn off the breaker. If it’s gas, turn the gas valve to "off." Then call an emergency plumber. Do not try to patch a leaking tank; it indicates internal failure and will likely burst completely.
Is it better to replace the water heater myself to save money?
It is generally not recommended. Gas installations require a licensed gasfitter by law. Electric work carries shock risks. Improper installation can void the manufacturer’s warranty and lead to serious safety hazards like carbon monoxide leaks or fires. Professional installation ensures compliance with the NZ Building Code and provides liability coverage.
I am an expert in the services industry with a focus on appliance repair. My passion lies in understanding how things work and educating others in simple, engaging ways. This enthusiasm fuels my writing, where I delve into topics around appliance maintenance and troubleshooting. I aim to make these subjects clear and accessible to all readers.