Step‑by‑step guide to pinpoint why a fridge isn't cooling, covering key components, diagnostic checks, common symptoms, DIY tips, and when to call a professional.
When working with fridge diagnostic steps, a systematic process to locate and fix problems in a refrigerator. Also known as fridge troubleshooting, it lets you save time and money by pinpointing the fault before calling a technician.
Every fridge diagnostic step starts with the basics: power supply, temperature settings, and visible signs of wear. Checking that the unit is plugged in, the breaker is on, and the control knob is set correctly eliminates the simplest causes. From there you move onto the compressor, the motor that circulates refrigerant to create cooling. A humming compressor that never kicks on usually signals a start relay or overload problem, while a noisy, rattling one often points to internal wear.
Next, examine the door seal, the rubber gasket that keeps cold air inside. A broken or dirty seal lets warm air in, forcing the fridge to work harder and causing temperature spikes. Run a simple hand‑paper test: close the door on a piece of paper, then try to pull it out. If it slides out easily, the seal needs cleaning or replacement.
The temperature sensor, or thermistor, is another critical component. It tells the control board how cold the interior is, and a faulty sensor can make the fridge think it’s too warm, turning the compressor on constantly. Use a multimeter to check resistance; the reading should change as the sensor warms up. If it stays flat, swap the sensor and watch the cooling cycle normalize.
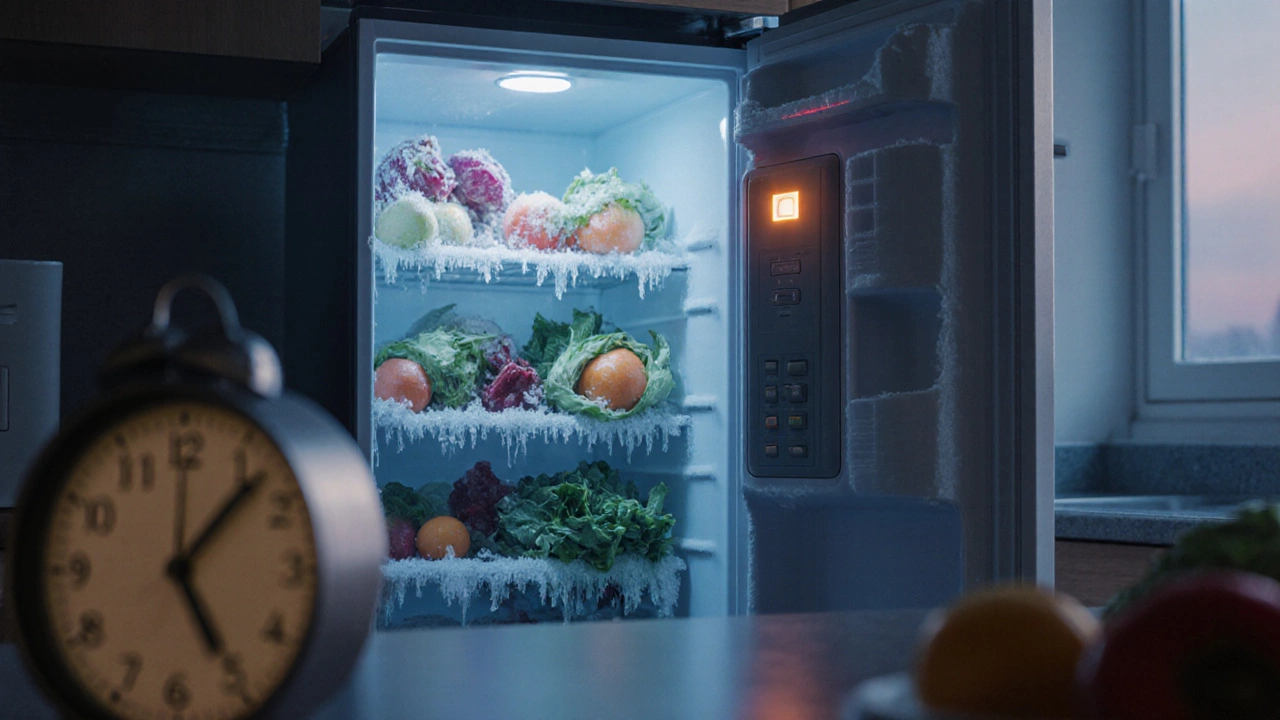
fridge diagnostic steps also include a quick look at the defrost system. Most modern fridges have an automatic defrost timer, heater, and drainage tube. If frost builds up on the evaporator coils, the heater might be stuck off, or the drain could be clogged. Ice buildup reduces airflow, leading to uneven cooling.
Don’t forget the condenser coils at the back or underneath the unit. Dust and pet hair act like a blanket, reducing heat exchange and making the compressor run hotter. A simple vacuum or brush cleaning once a year can restore efficiency and prevent overheating failures.
Another frequent issue is the evaporator fan. If the fan motor fails, cold air never circulates inside, and you’ll notice a warm spot near the freezer or a strange buzzing sound. Spin the fan blades by hand; resistance means the motor needs replacement.
Water leakage often signals a blocked or frozen defrost drain. Remove the drain tube, flush it with hot water, and check for cracks. A clear drain lets melt water flow to the pan instead of pooling on the floor.
When you’ve walked through power, seal, sensor, coil, and fan checks, you’ll have a clear picture of which component is at fault. This knowledge helps you decide whether a DIY fix is safe or if a certified technician is needed. Remember, working with refrigerants requires certification; never attempt to open the sealed system yourself.
In practice, the sequence of checks follows a logical chain: power → thermostat setting → door seal → condenser coils → compressor → fan → sensor → defrost system. This chain reflects the semantic triple “fridge diagnostic steps encompass checking the thermostat, inspecting the compressor, and testing the door seal.” It also shows how “a faulty compressor influences cooling performance” and “effective refrigerator troubleshooting requires a functional temperature sensor.”
By mastering these steps, you’ll handle most common fridge hiccups without a service call. The collection below dives deeper into each area, from detailed compressor tests to cleaning guide for condenser coils, giving you step‑by‑step instructions you can follow at home.
Ready to see the full range of troubleshooting tips, cost‑benefit analyses, and expert advice? Scroll down to explore the articles that break down every part of the diagnostic process, so you can keep your fridge running smoothly all year round.

Step‑by‑step guide to pinpoint why a fridge isn't cooling, covering key components, diagnostic checks, common symptoms, DIY tips, and when to call a professional.