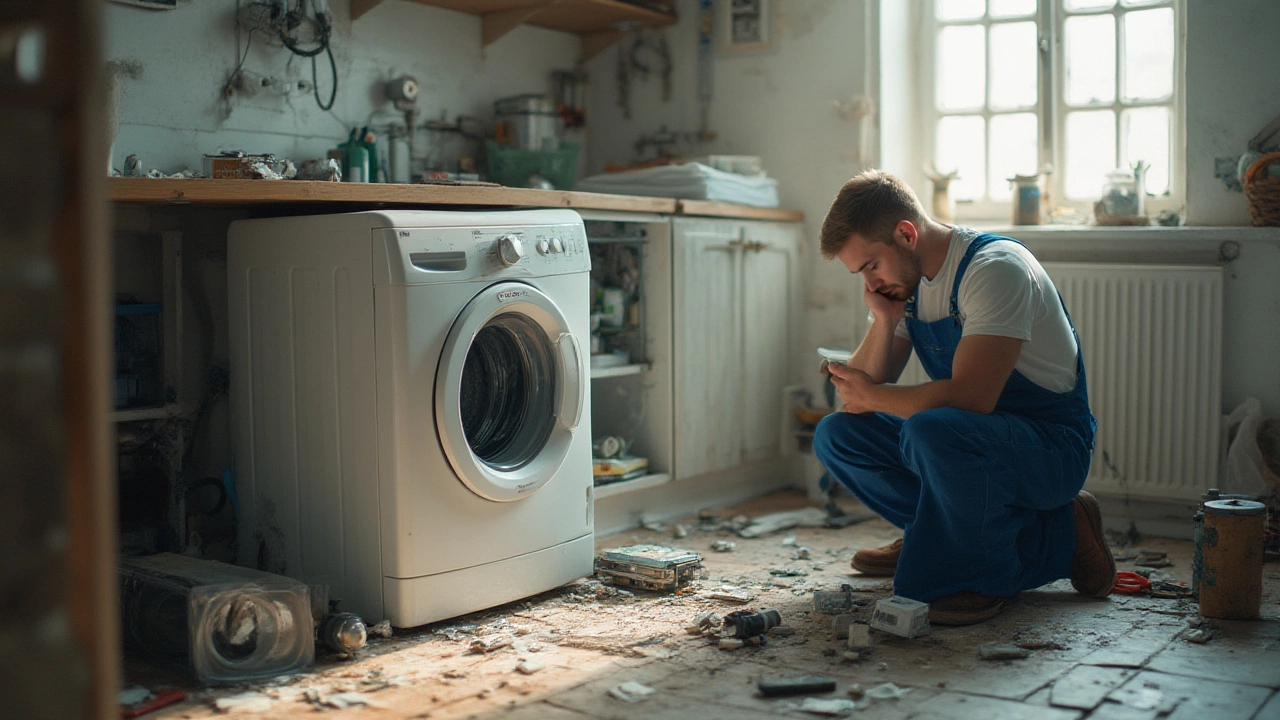
Discover the real costliest washing machine replacement parts and why they matter. Learn how to identify failing parts, repair tips, and cost-saving advice.
When your washing machine starts shaking wildly or your dryer makes a grinding noise, the drum is probably the culprit. A bad drum can ruin clothes, waste energy and leave you with a noisy appliance. Knowing the signs, the costs and the basics of fixing it can save you time and money.
First, listen. If the washer rattles during the spin cycle or the dryer hums but doesn’t tumble, the drum may be out of balance, have worn bearings, or the drum support is broken. Second, look inside. A drum that’s dented, has a rust spot, or shows cracks is a clear sign you need a swap. Third, feel the movement. When you gently push the drum and it wobbles a lot, the suspension or rollers are likely worn out.
Doing it yourself is doable if you’re comfortable with basic tools and have a tidy workspace. You’ll need a screwdriver set, a socket wrench, possibly a putty knife, and the correct replacement drum for your model. The biggest hurdle is removing the metal housing without scratching other parts. If you’re not sure about the bolt pattern or you notice rusty bolts, call a local South Shields repair service. A professional can finish the job in under an hour and will have the right drum on hand.
Cost is another factor. A new drum for a standard front‑load washer runs between £80 and £150, while a dryer drum is usually £60‑£120. Add about £40‑£70 for labor if you hire a tech. DIY saves that labor fee but you may spend a little more on tools or a mistake‑proof guide.
Here’s a simple step‑by‑step if you decide to go DIY:
Safety tip: always wear gloves and keep a bucket nearby for any stray water. If the drum is stuck because of rusted bolts, a little penetrating oil and gentle taps with a hammer can loosen them without breaking anything.
When you’re unsure whether a drum swap is worth it, compare the appliance’s age to its typical lifespan. A washer that’s over 10 years old may be cheaper to replace entirely, especially if multiple parts are failing. A dryer under 7 years old usually benefits from a drum fix, extending its life by another 5‑7 years.
South Shields Appliance Repair Services offers a free diagnosis and can source the exact drum you need. Their technicians know the common models in the area and can get the job done quickly, so you don’t have to live with a noisy machine for weeks.
Bottom line: a noisy or wobbling drum isn’t a sentence for a new appliance. Spot the signs early, weigh DIY against a pro, and you’ll have your washer or dryer running smooth again without breaking the bank.

Discover the real costliest washing machine replacement parts and why they matter. Learn how to identify failing parts, repair tips, and cost-saving advice.