Oven Control Board Cost-Benefit Calculator
- Repair Cost:
- Age Factor:
- Warranty Status:
- Energy Savings:
When an oven control board is the electronic circuit that controls temperature, timer and safety functions in an electric oven starts acting up, the whole appliance can become useless. Homeowners often wonder whether swapping the board out makes financial sense or if it’s better to call a pro-or even retire the oven altogether.
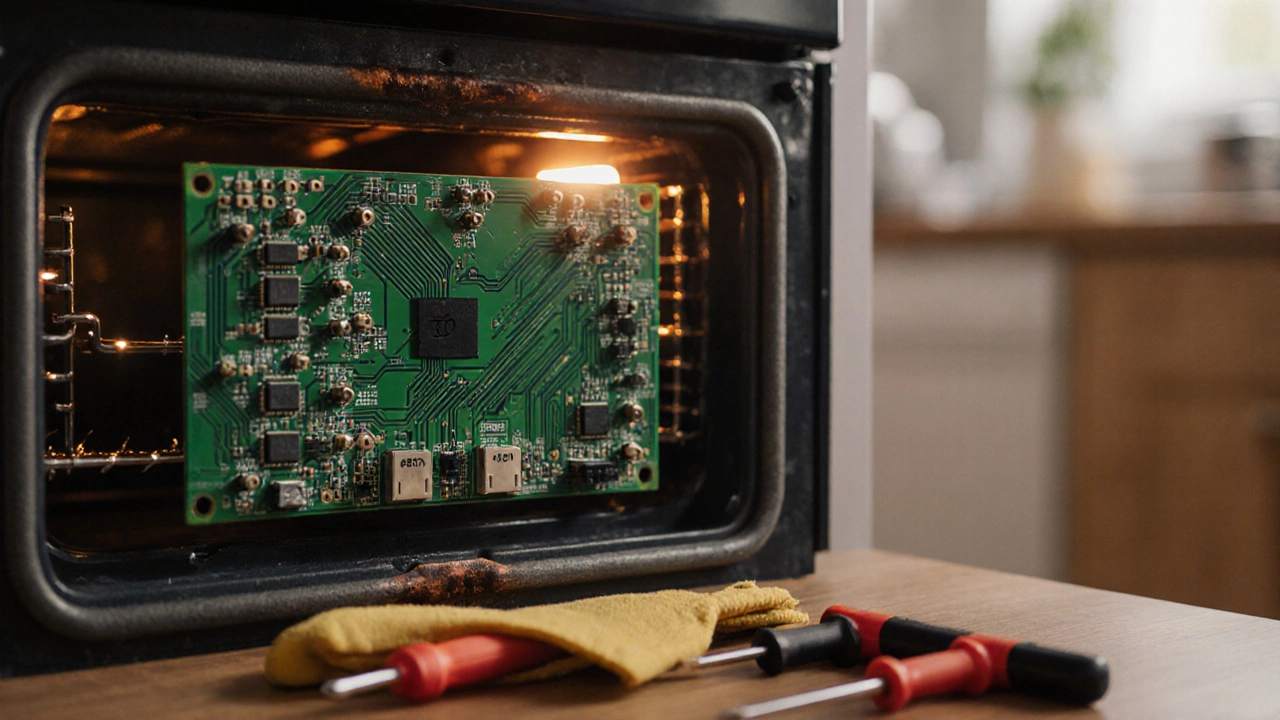
What Exactly Is an Oven Control Board?
An electric oven is a kitchen appliance that uses electric heating elements to bake and roast food. Inside that box sits the control board, sometimes called an electronic control module (ECM) or console board. It receives inputs from the temperature sensor, timer knobs, and safety switches, then tells the heating elements when to turn on or off. In modern ovens the board also runs self‑diagnostic codes that show up on digital displays.
Typical Signs That the Board Has Gone Bad
- Unexplained temperature spikes or drops - the oven stays cold or overheats.
- Erratic error codes on the screen (e.g., ‘E01’, ‘F04’).
- Buttons or dials that don’t respond.
- Random shutdowns after a few minutes of baking.
- Visible scorch marks or a burnt smell coming from the back panel.
If you see two or more of these symptoms, the control board is a prime suspect.
How Much Does a New Board Cost?
Prices vary by brand, model year, and where you buy the part. In New Zealand the typical range in 2025 looks like this:
| Brand | Model Range | Board Price | Typical Lead Time |
|---|---|---|---|
| Fisher & Paykel | 2000‑2025 | $220‑$340 | 2‑4 days |
| Electrolux | E1‑E5 | $180‑$300 | 1‑3 days |
| Samsung | NV70N / NV80N | $250‑$380 | 3‑5 days |
| LG | LWC3030 | $210‑$330 | 2‑4 days |
Don’t forget to add labor if you’re not doing the swap yourself. A qualified appliance technician in Wellington typically charges $80‑$120 per hour, and most jobs take 1‑2 hours.
DIY vs. Professional Replacement
Replacing the board yourself can save $100‑$200 in labor, but it comes with risks:
- Safety: The oven must be unplugged and capacitors can hold charge even after power is cut.
- Warranty: Many manufacturers void the warranty if an untrained person opens the unit.
- Complexity: You’ll need to label wires, remove the back panel, and sometimes replace connectors that are prone to breaking.
If you have basic electrical experience, the steps are fairly straightforward (see the "Step‑by‑Step Replacement" section below). Otherwise, hiring a pro is the safer bet.
Factors to Weigh Before You Decide
- Age of the oven: If the appliance is over 10‑12 years old, other components (heating elements, door seals) may also be nearing the end of life.
- Warranty status: A still‑valid manufacturer warranty could cover the board replacement at no cost.
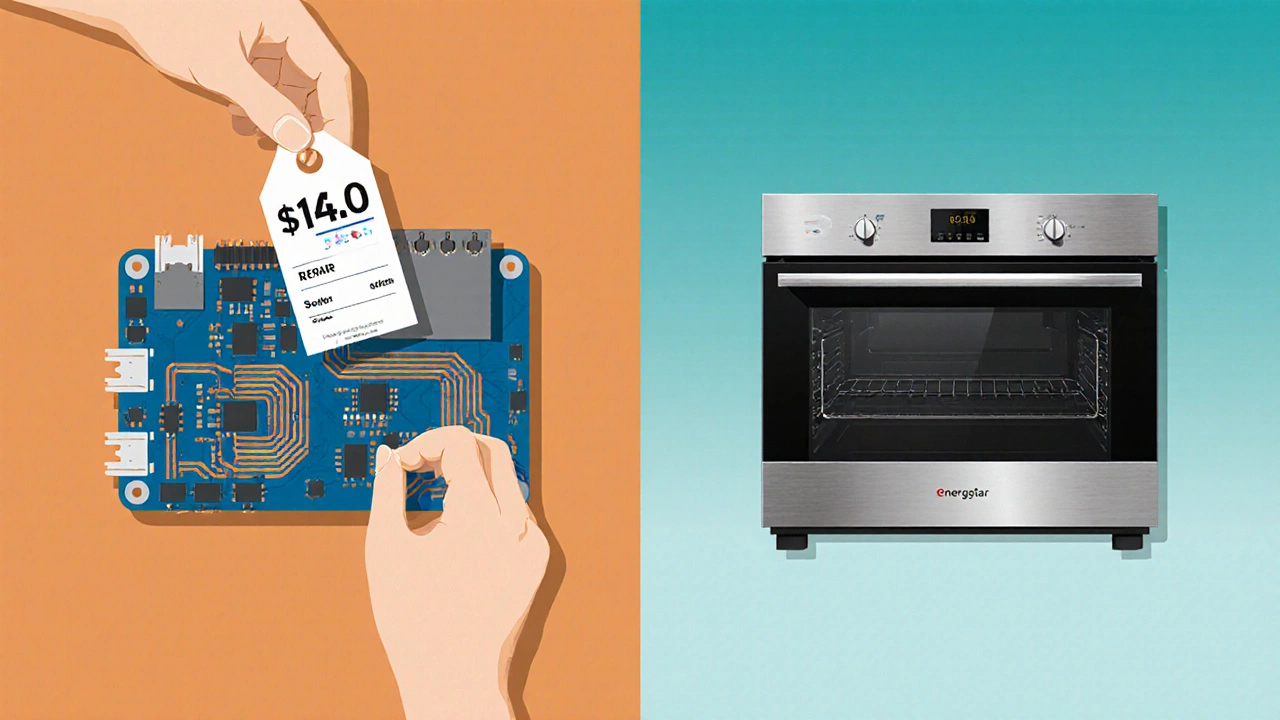
- Overall repair cost vs. new oven: A full‑size electric oven in NZ costs $1,200‑$2,500 new. If total repair (board + labor + any extra parts) tops 50% of that, buying new may be smarter.
- Energy efficiency: Newer models meet stricter NZ Energy Rating standards and can shave a few dollars off your electricity bill each year.
- Availability of the part: Some legacy models have discontinued boards, forcing you to buy a refurbished or a universal replacement that may not integrate perfectly.
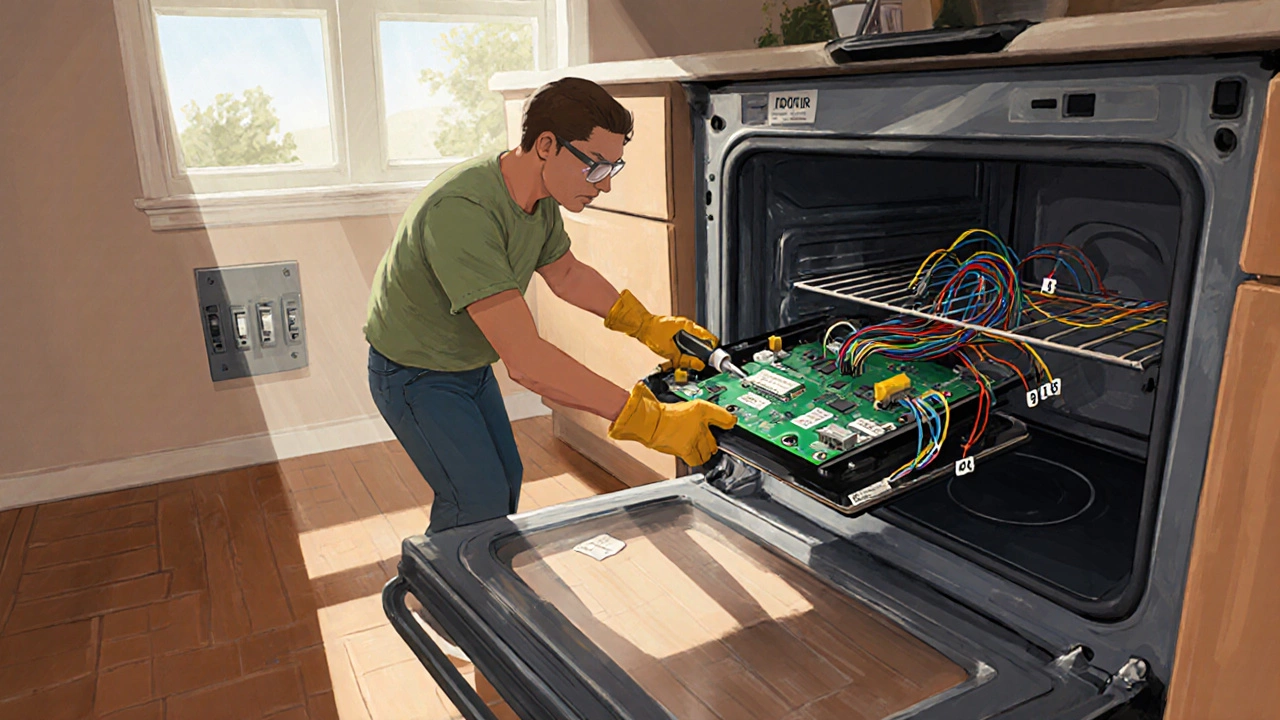
Step‑by‑Step: How to Replace an Oven Control Board
- Turn off the oven at the main breaker. Wait 15 minutes for capacitors to discharge.
- Remove the rear access panel. Most ovens use four Phillips screws.
- Locate the control board-usually a rectangular plastic module with a cable harness.
- Unplug the harness connectors. Take a photo or label each plug to avoid confusion later.
- Unscrew the board mounting brackets and lift the board out.
- Insert the new board, re‑secure the brackets, and reconnect the harnesses exactly as before.
- Replace the rear panel, restore power, and run a quick test (set 180 °C for 5 min). The oven should heat evenly and any error codes should clear.
After the test, wipe any condensation and double‑check that the door seal is intact. If the oven still misbehaves, the fault may lie elsewhere-perhaps the temperature sensor or heating element.
When It’s Better to Skip the Repair
Even a perfectly functional board won’t rescue an oven that’s plagued by multiple failing parts. Consider scrapping the repair if:
- Multiple components (heating elements, thermostat, door gasket) are showing wear.
- You’ve already spent more than $500 on parts and labor.
- The oven lacks modern safety features like automatic shut‑off or child locks.
In those scenarios a new, Energy‑Star‑rated oven not only restores reliability but also reduces long‑term energy costs.
Quick Decision Checklist
- Is the oven under warranty? If yes, contact the manufacturer first.
- Is the control board the only known fault?
- Does the total estimated repair cost exceed half the price of a comparable new oven?
- Are you comfortable handling high‑voltage components?
- Will the new board be compatible with your existing model?
Answering ‘yes’ to most of these points usually signals that replacement is worthwhile.
Bottom Line
Replacing an oven control board can bring an otherwise dead kitchen workhorse back to life for a fraction of the cost of a brand‑new unit. The key is to gauge the oven’s overall health, factor in labor, and compare the total spend against the price of a modern, energy‑efficient model. If the numbers line up and you’ve ruled out other looming failures, a fresh board is a smart, budget‑friendly fix.
Frequently Asked Questions
How long does a control board usually last?
A quality board can survive 8‑12 years under normal use. Heat spikes, power surges, or frequent DIY tinkering tend to shorten that lifespan.
Can I use a generic board instead of a brand‑specific one?
Generic replacements exist, but they may lack firmware integration for error‑code displays or specialized safety interlocks. For most New Zealand homes, a brand‑matched board is the safest bet.
Will fixing the board affect my home insurance?
If you hire a licensed appliance technician and keep receipts, insurers generally view the repair as a standard maintenance activity. DIY work without professional oversight could raise questions if a claim arises later.
What safety gear should I wear when replacing the board?
Insulated gloves, safety glasses, and a non‑conductive screwdriver are essential. Always double‑check that the circuit breaker is off before touching any wires.
How can I prevent future board failures?
Install a surge protector for your kitchen, avoid slamming the oven door, and schedule an annual professional check‑up to catch wear on sensors and heating elements early.
I am an expert in the services industry with a focus on appliance repair. My passion lies in understanding how things work and educating others in simple, engaging ways. This enthusiasm fuels my writing, where I delve into topics around appliance maintenance and troubleshooting. I aim to make these subjects clear and accessible to all readers.