Water Heater Failure Risk Calculator
Input Your Water Heater Details
Estimated Risk Summary
Tank Corrosion & Leaks
Heating Element
Thermostat & Sensor
Anode Rod
Dip Tube
Gas Valve & Igniter
Pressure Relief Valve
When a water heater stops delivering hot water, the frustration is immediate. Knowing where most water heater failure occurs can save you time, money, and a cold shower. Below you’ll learn the inner workings of a typical unit, the components that give up most often, why they break, and how you can spot trouble before it forces a call to the plumber.
Key Takeaways
- The tank and its lining are the most common source of leaks.
- Heating elements, thermostats, and anode rods account for the bulk of non‑leak failures.
- Regular flushing, a‑rod inspection, and thermostat checks dramatically extend lifespan.
- Early signs include strange noises, temperature fluctuations, and reduced hot‑water output.
- DIY fixes are safe for most component swaps; gas valve or vent issues require a certified technician.
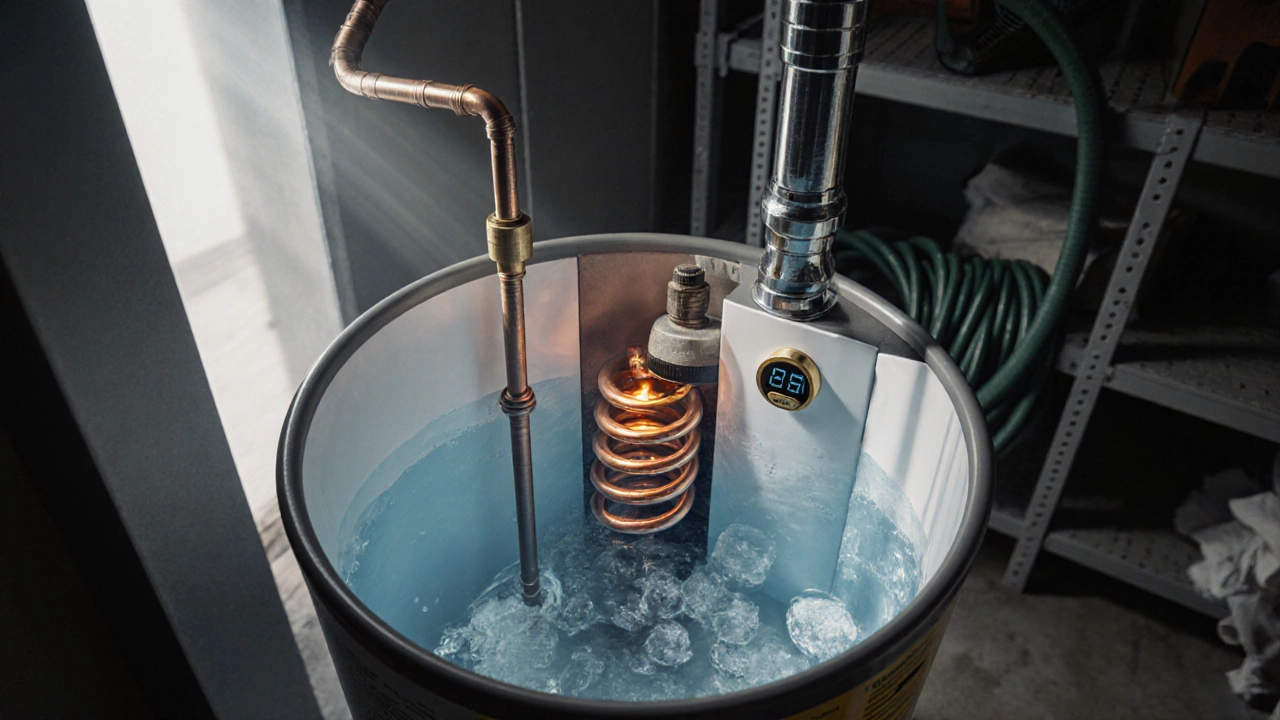
How a Standard Water Heater Works
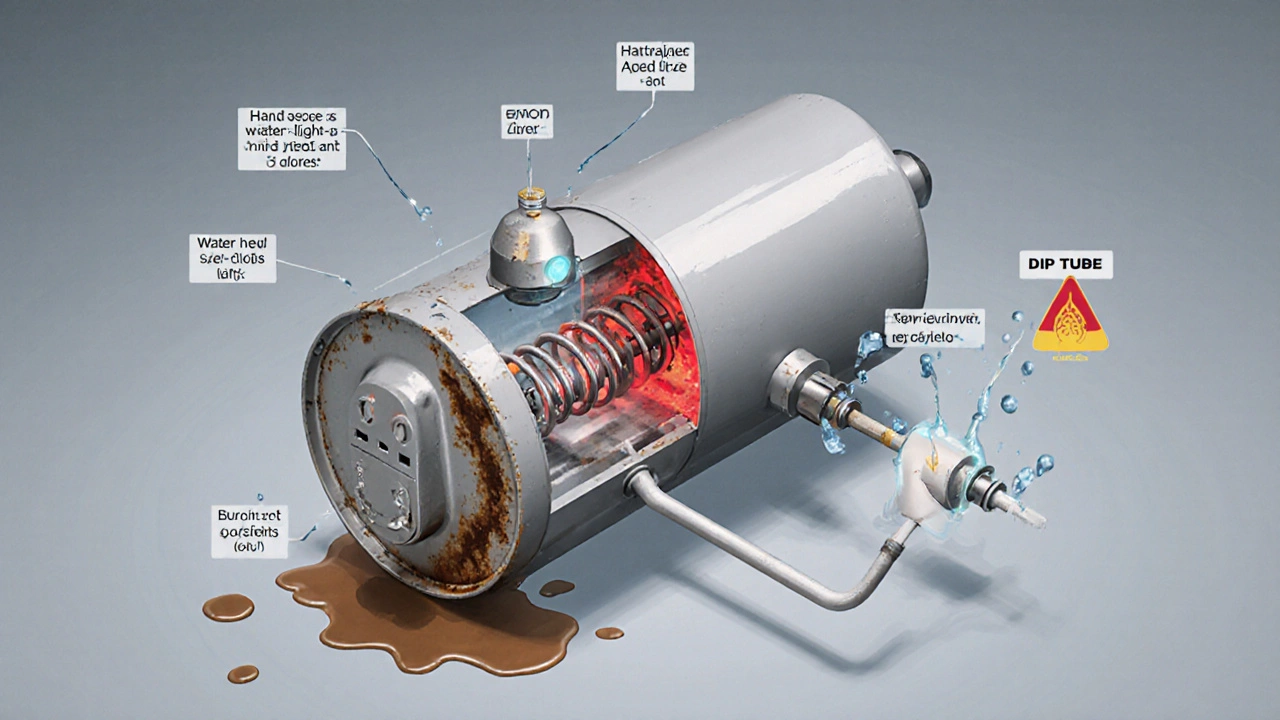
Water heater is a home appliance that heats and stores water for domestic use. Inside, a steel tank holds a few hundred gallons of water and is lined with a protective enamel. A heating element converts electricity into heat (or a gas burner does the same with natural gas) warms the water, while a thermostat monitors temperature and tells the heater when to turn on or off. Safety is provided by a pressure‑relief valve which opens if pressure gets too high, preventing explosions. The system recirculates water through the tank via a dip tube delivering cold water to the bottom of the tank for efficient heating while hot water rises to the top for delivery.
Top Failure Points and What Triggers Them
Based on thousands of service calls across New Zealand and Australia, the following components fail most often.
1. Tank Corrosion and Leaks
The steel shell can rust when the interior lining wears away. Water constantly contacts the metal, and once the protective coating erodes, rust pits appear, eventually leading to leaks at the bottom or around the inlet/outlet connections.
2. Heating Element Burnout
Electric units use two (or more) sealed heating elements resistive coils that generate heat when electricity passes through. Scale buildup acts like an insulator, forcing the element to work harder and overheat, which weakens the coil and causes it to break.
3. Faulty Thermostat or Sensor
The thermostat regulates water temperature by turning the heating element on and off can drift low, sending the heater into a continuous‑on state that overheats the tank. In gas units, a separate temperature sensor linked to the gas valve can fail, delivering the wrong signal and shutting off the flame prematurely.
4. Depleted Anode Rod
Every tank contains an anode rod a sacrificial metal rod that attracts corrosion away from the tank walls. When the rod is consumed, the tank itself becomes the primary corrosion target, accelerating leaks.
5. Clogged or Broken Dip Tube
The dip tube guides incoming cold water to the bottom of the tank can crack or melt over time, especially in high‑temperature settings. A broken dip tube sends cold water to the top, resulting in lukewarm showers and longer heating cycles.
6. Gas Valve or Ignition Issues (for Gas Heaters)
Gas models rely on an electronic gas valve that opens to allow fuel when the thermostat calls for heat and an igniter that lights the burner. Valve failure leaves the burner dead; a faulty igniter creates a clicking sound but no flame.
7. Faulty Pressure‑Relief Valve
When the pressure‑relief valve fails to open at high pressure, the tank can over‑pressurize, risking a burst or serious water damage. Leaks around the valve often mimic a tank leak but are actually a safety device discharge.
Why Those Parts Fail: Root Causes
- Hard water mineral buildup: Calcium and magnesium crystals coat heating elements, anode rods, and the interior tank surface, creating hot spots and corrosion points.
- Temperature set too high: Most manufacturers recommend 120°F (49°C). Higher settings accelerate scale growth and shorten element life.
- Infrequent flushing: Sediment settles at the tank bottom, hiding the dip tube and causing the heating element to overheat.
- Age: After 8-10years, most tanks show liner wear, anode depletion, and component fatigue.
- Improper installation: Incorrect gas pressure, poor venting, or wrong electrical connections can stress valves and igniters.
Early Warning Signs to Watch For
Spotting trouble early can prevent a full‑scale failure.
- Water pooling around the base: Indicates a leak in the tank, inlet, or pressure‑relief valve.
- Strange noises: Rumbling or popping usually signals sediment crunching during heating cycles.
- Inconsistent temperatures: A sudden drop to lukewarm water often points to a dip tube issue or a failing thermostat.
- Reset button trips frequently: On electric heaters, a tripping reset suggests a burned‑out element or a shorted thermostat.
- Visible rust or corrosion: Check the top of the tank and connections for orange‑brown deposits.
Maintenance Checklist to Extend Lifespan
Regular care tackles the root causes listed above.
- Flush the tank every 6‑12 months: Connect a garden hose to the drain valve, open the cold‑water inlet, and let sediment wash out.
- Inspect and replace the anode rod every 2‑3 years: A simple screwdriver can unscrew the rod; if it’s more than 50% corroded, swap it out.
- Test the temperature setting: Keep it at 120°F to balance comfort and component wear.
- Check heating elements with a multimeter: Look for infinite resistance, indicating a break.
- Examine the pressure‑relief valve: Lift the test lever; water should flow freely. If it sticks, replace the valve.
- For gas heaters, verify the flame: A steady blue flame shows proper combustion; yellow tips mean dirty burners.
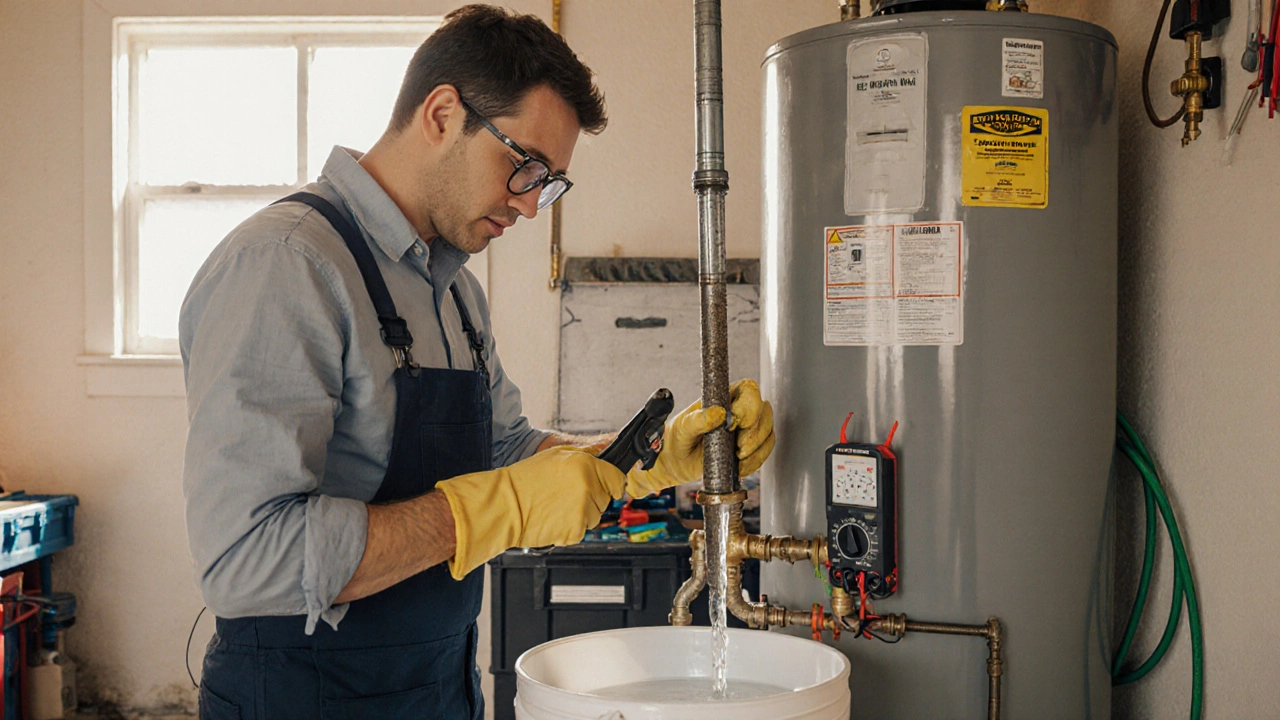
DIY vs. When to Call a Professional
Most component swaps-anode rod, heating element, thermostat, dip tube-are straightforward with a few tools. Follow these safety rules:
- Turn off power at the breaker for electric units; shut off gas and water supply for gas units.
- Drain the tank before removing any internal part.
- Label connections to avoid re‑assembly errors.
If you encounter any of the following, schedule a licensed plumber:
- Gas valve, igniter, or vent issues-these involve fuel handling and require certification.
- Repeated pressure‑relief valve leaks despite replacement.
- Severe corrosion that has eaten through the tank wall.
- Uncertainty about wiring or lack of proper tools.
Failure Frequency Comparison
| Component | Typical Failure Rate (%) | Primary Cause |
|---|---|---|
| Tank (corrosion/leak) | 35 | liner wear, anode depletion |
| Heating element | 25 | scale buildup, overheating |
| Thermostat / sensor | 15 | electrical wear, mis‑calibration |
| Anode rod | 12 | corrosion consumption |
| Dip tube | 8 | heat melt, material fatigue |
| Gas valve / igniter | 5 | fuel delivery failure |
| Pressure‑relief valve | 3 | spring fatigue, blockage |
Frequently Asked Questions
How often should I flush my water heater?
A complete drain every 6 to 12 months removes sediment that causes overheating and reduces efficiency.
Can I replace the anode rod myself?
Yes, most anode rods are accessible through a hex‑head fitting on the top of the tank. Turn off power/gas, drain a few gallons, then unscrew the rod with a pipe wrench.
Why does my water heater make popping sounds?
The noise is usually sediment burning off as the element heats. It’s a sign you need to flush the tank.
What temperature setting is safest for a water heater?
Set the thermostat to 120°F (49°C). This prevents scalding, reduces energy use, and slows down mineral buildup.
When should I replace the whole water heater instead of fixing parts?
If the tank is over 10‑12years old, shows extensive rust, or you’ve already replaced multiple major components, a full replacement is usually more cost‑effective.
I am an expert in the services industry with a focus on appliance repair. My passion lies in understanding how things work and educating others in simple, engaging ways. This enthusiasm fuels my writing, where I delve into topics around appliance maintenance and troubleshooting. I aim to make these subjects clear and accessible to all readers.