Learn how to spot a burned‑out oven heating element, test it with a multimeter, replace it safely, and avoid common pitfalls.
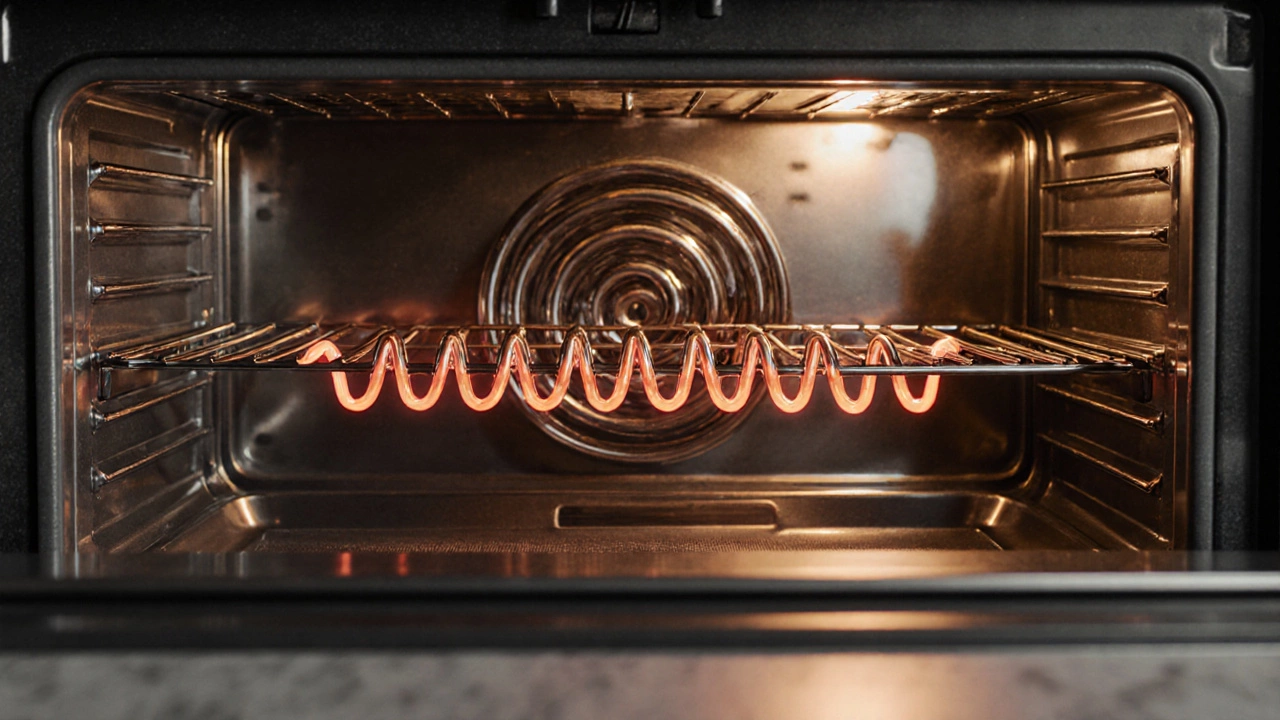
If your oven heats unevenly, takes forever to warm up, or just won’t get hot at all, the heating element is probably the culprit. The element is the metal coil that glows when electricity flows through it, turning cold air into the hot oven you need for baking, roasting, or reheating leftovers. Replacing it isn’t rocket science, but knowing when to DIY and when to call an expert can save you time, money, and a ruined meal.
First signs are obvious: the temperature you set never matches what the oven actually reaches. If you set 180°C and the oven feels barely warm, the element may be burnt out or cracked. Look inside the oven cavity after it’s cool – a broken element often has visible black spots, a thin line of rust, or a broken coil. Another clue is a strange buzzing or popping sound when you turn the oven on; the element could be short‑circuiting. Finally, if the broiler works but the main oven doesn’t (or vice‑versa), you likely have a dual‑element setup where one side has failed.
Before you order a new part, run a quick continuity test with a multimeter. Unplug the oven, remove the back panel (usually a couple of screws), and locate the element’s wiring connectors. Set the meter to the ohms setting and touch the probes to the element’s terminals – a reading of infinite resistance means the element is dead. If the meter shows a low, steady resistance, the element is still good and the issue may be a faulty thermostat or wiring.
When the element is confirmed bad, replacing it is straightforward. Make sure you have the exact model number (found on a sticker inside the oven door) and buy the matching replacement. Turn off power at the breaker, disconnect the old element’s wires, unscrew the mounting brackets, and slide the new coil into place. Re‑attach the connectors, tighten the screws, and restore power. Most South Shields households can finish this in under an hour.
Safety first: never work on a live oven and always wear insulated gloves. If the wiring looks melted, corroded, or you spot damage beyond the element itself, stop and call a professional. A damaged wire can cause short circuits, fire hazards, or further appliance damage.
Even with a new element, you might still face temperature inaccuracies. Check the oven’s temperature sensor with a multimeter; a faulty sensor can make a brand‑new element seem like it’s not working. Also, give the oven a proper “calibration” by placing an oven‑proof thermometer inside, setting the oven to a known temperature, and adjusting the thermostat if there’s a significant gap.
When you’re unsure, or the oven is still under warranty, South Shields Appliance Repair Services can step in. Our certified technicians carry a full stock of OEM oven elements, run thorough diagnostics, and guarantee the job. We’re local, fast, and price‑transparent, so you won’t be left guessing about hidden fees.
Bottom line: a faulty oven element is a common, fixable problem. Quick visual checks, a continuity test, and a simple swap can get your oven back in action. But if you hit any electrical quirks, corrosion, or just don’t feel confident, our team is just a call away – ready to bring heat back to your kitchen without hassle.
Learn how to spot a burned‑out oven heating element, test it with a multimeter, replace it safely, and avoid common pitfalls.

An oven not heating up properly is a common issue faced by many, and it can be tricky to pinpoint whether the element or the thermostat is the culprit. This article explains the differences between the two components, highlights signs that could indicate which part might be broken, and offers practical tips for troubleshooting and potentially fixing the problem. Understanding these parts' roles can save time and prevent unnecessary expenses.