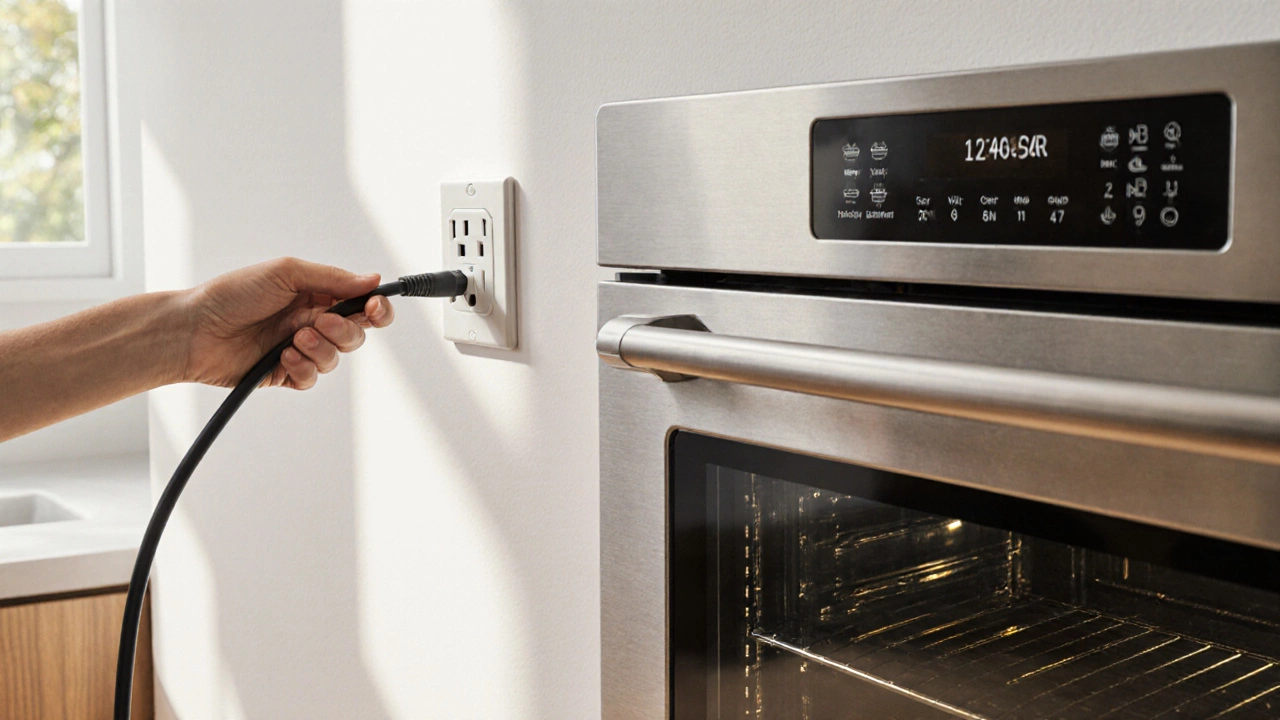
Learn if you can simply plug in a new electric oven, what power requirements and safety steps are needed, and get a step‑by‑step replacement guide.
When dealing with electric oven wiring, the system of cables and connections that power an oven’s heating components. Also known as oven electrical harness, it links the mains supply to the heating element, thermostat, and safety devices. Electric oven wiring encompasses the connection of power cords, internal wires, and control modules, ensuring the oven reaches the set temperature safely.
The three main players are the heating element, a resistive coil that converts electricity into heat, the thermostat, a temperature sensor that tells the oven when to turn the element on or off, and the circuit breaker, a safety device that cuts power if the circuit overloads. Together they form the core of electric oven wiring, and each must be wired correctly for the oven to function.
Understanding how these parts interact helps you spot problems fast. For example, if the heating element glows but the oven never reaches the set temperature, the thermostat might be reading wrong or the wiring to it could be loose. Conversely, if the oven never heats at all, the circuit breaker may have tripped or the power cord could be damaged. Knowing the relationship – "heating element requires thermostat signal, thermostat relies on proper wiring, circuit breaker protects the whole system" – speeds up diagnosis.
Safety always comes first. Before you touch any wires, turn off the main supply and verify there’s no voltage with a multimeter, a handheld tool that measures voltage, resistance, and continuity. A multimeter lets you confirm whether a wire is live, whether a connection is continuous, or if a component has failed. Using it correctly is essential: test the outlet first, then check continuity across the element leads and thermostat wires. If you find a broken split or a short, you’ve identified the exact fault line in the wiring.
Common wiring faults include loose terminal screws, frayed cords, and burnt insulation. These issues often show up as intermittent heating, flickering displays, or a complete loss of power. When you spot a loose screw, tighten it and re‑test with the multimeter; when you see burnt insulation, replace the affected wire segment rather than trying to patch it. Replacing a faulty heating element or thermostat is straightforward if you follow the wiring diagram that usually lives behind the oven’s rear panel.
Repairing electric oven wiring isn’t just about swapping parts; it’s about respecting the wiring diagram. The diagram shows where each wire runs, its colour code, and which terminal it connects to. For most UK ovens, live (brown) and neutral (blue) wires feed the main board, while a separate earth wire (green/yellow) grounds the metal chassis. The heating element typically connects to the live wire through a relay controlled by the thermostat. Keeping this flow in mind – "power source → relay → heating element → thermostat feedback → circuit breaker" – guides you through safe re‑assembly.
If you’re unsure about any step, it’s wiser to call a professional. Electric oven wiring involves mains voltage, and a mistake can cause shocks or fire. A qualified technician will have the tools, the knowledge of local wiring regulations, and the insurance to fix the problem safely. However, for homeowners comfortable with basic electrical work, many minor issues – like replacing a blown fuse or tightening a terminal – can be tackled with a few tools and the right guidance.
Below you’ll find a curated set of articles that dive deeper into each of these areas. Whether you need to test a heating element, understand thermostat calibration, or learn how to safely replace a damaged cord, the posts ahead cover practical steps, common pitfalls, and cost‑effective solutions. Use them as a roadmap to get your oven back to baking, roasting, and broiling without a hitch.
Learn if you can simply plug in a new electric oven, what power requirements and safety steps are needed, and get a step‑by‑step replacement guide.