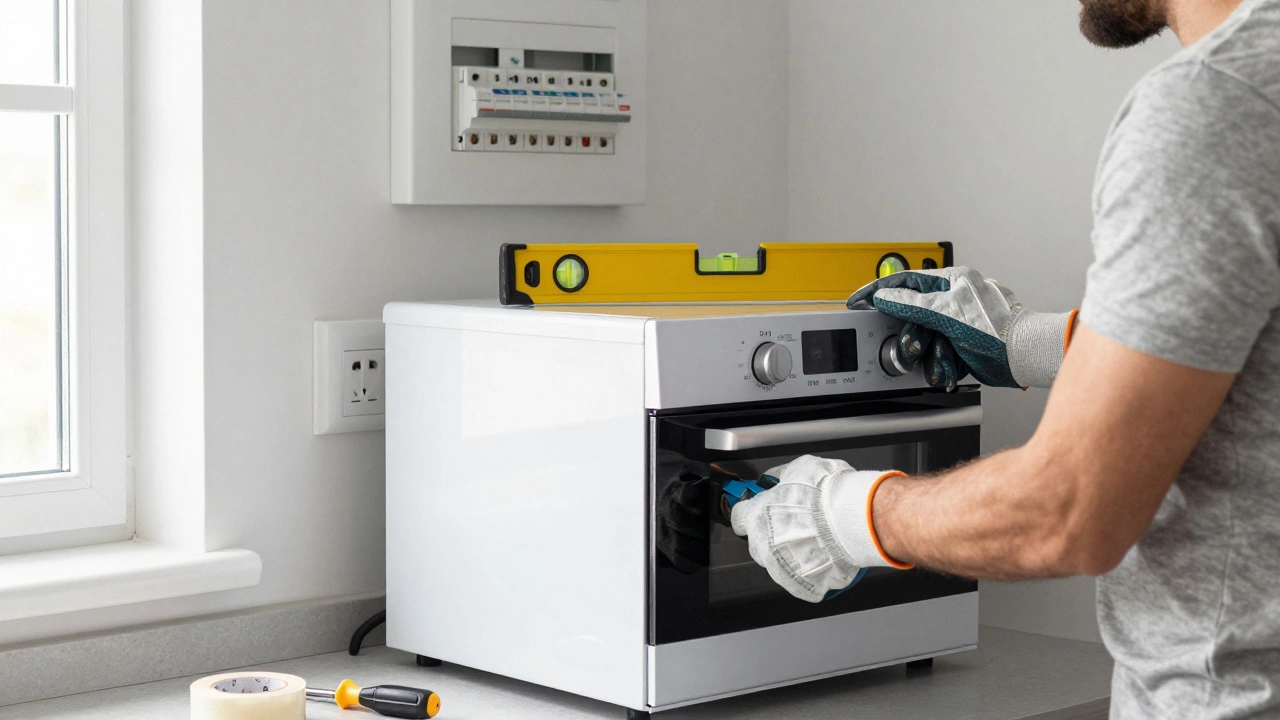
Replacing an electric oven yourself is possible if you follow safety steps and have a plug-in model. Learn how to remove the old unit, install the new one, avoid common mistakes, and know when to call an electrician.
If your oven isn’t heating, the timer won’t start, or you see strange smells, you don’t have to panic. Most everyday oven issues can be solved with a few tools, a bit of patience, and the right guidance. Below are the steps to diagnose and repair the most frequent faults, plus safety pointers to keep you safe.
Start by noting exactly what’s wrong. Does the oven stay cold? Does it overheat? Is the display flickering? Write down the symptom – it’ll help you pick the right fix.
Before opening any panel, always unplug the oven or switch off the circuit breaker. A short shock can happen even when the appliance looks turned off.
Next, check the power supply. Make sure the plug is secure and the socket works by testing another device. If the outlet is fine, move on to the oven’s internal components.
1. Heating Element Failure
Most ovens use a metal coil (electric) or a metal tube (gas igniter) to generate heat. A broken element will show visible cracks or a burnt smell. Remove the element according to the manual, test it with a multimeter for continuity, and replace it if there’s no reading. New elements are cheap and usually come with simple instructions.
2. Faulty Thermostat or Temperature Sensor
The thermostat tells the oven when to turn on and off. If food is consistently over‑cooked or under‑cooked, the sensor may be off. Test the sensor with a multimeter; a reading outside the 1000‑2000 Ω range at room temperature means it’s bad. Swapping it with a new sensor often restores proper temperature control.
3. Bad Door Seal
A cracked or warped door gasket lets heat escape, making the oven work harder and sometimes not heat at all. Inspect the seal for tears. If you spot damage, order a replacement gasket that matches your model and snap it into place.
4. Loose Wiring or Connections
Vibrations over time can loosen terminal screws. With the oven unplugged, open the back or bottom panel and look for any loose wires. Tighten screws, re‑seat connectors, and you may solve intermittent power issues.
5. Igniter Problems (Gas Ovens)
Gas ovens rely on a glowing igniter to light the burner. If the igniter glows dimly or not at all, the gas won’t ignite. Test it with a multimeter; a reading under 300 Ω usually means it’s gone. Replacing the igniter is straightforward – just clip the old one out and snap the new one in.
After any repair, re‑assemble the oven, plug it back in, and run a short test cycle. If the oven heats up and the temperature seems right, you’ve saved a call to the technician.
Some issues are best left to the experts. If you find fault with the control board, gas valve, or wiring that looks damaged beyond a simple loose screw, hiring a certified South Shields appliance repair technician is the safest move. Also, any gas‑related work should be handled by a Gas Safe registered professional to avoid leaks.
Finally, keep the oven clean. Grease buildup can cause overheating and strange odors. A quick weekly wipe‑down of the interior and the door seal goes a long way in preventing future breakdowns.
DIY oven repair doesn’t have to be intimidating. By following these steps, you can tackle most common problems, keep your kitchen running, and save money. If you hit a snag, remember that South Shields Appliance Repair Services is just a call away for reliable, local help.
Replacing an electric oven yourself is possible if you follow safety steps and have a plug-in model. Learn how to remove the old unit, install the new one, avoid common mistakes, and know when to call an electrician.

Not sure if you should fix your electric oven yourself or call a pro? This article breaks down what makes an oven repair simple or complicated, what you can tackle with basic tools, and what’s usually best left to a technician. You’ll get real tips and common pitfalls, plus some surprising facts about oven problems. By the end, you’ll know whether grabbing a screwdriver or the phone is the smarter move. Don’t get burned by a quick fix gone wrong.