
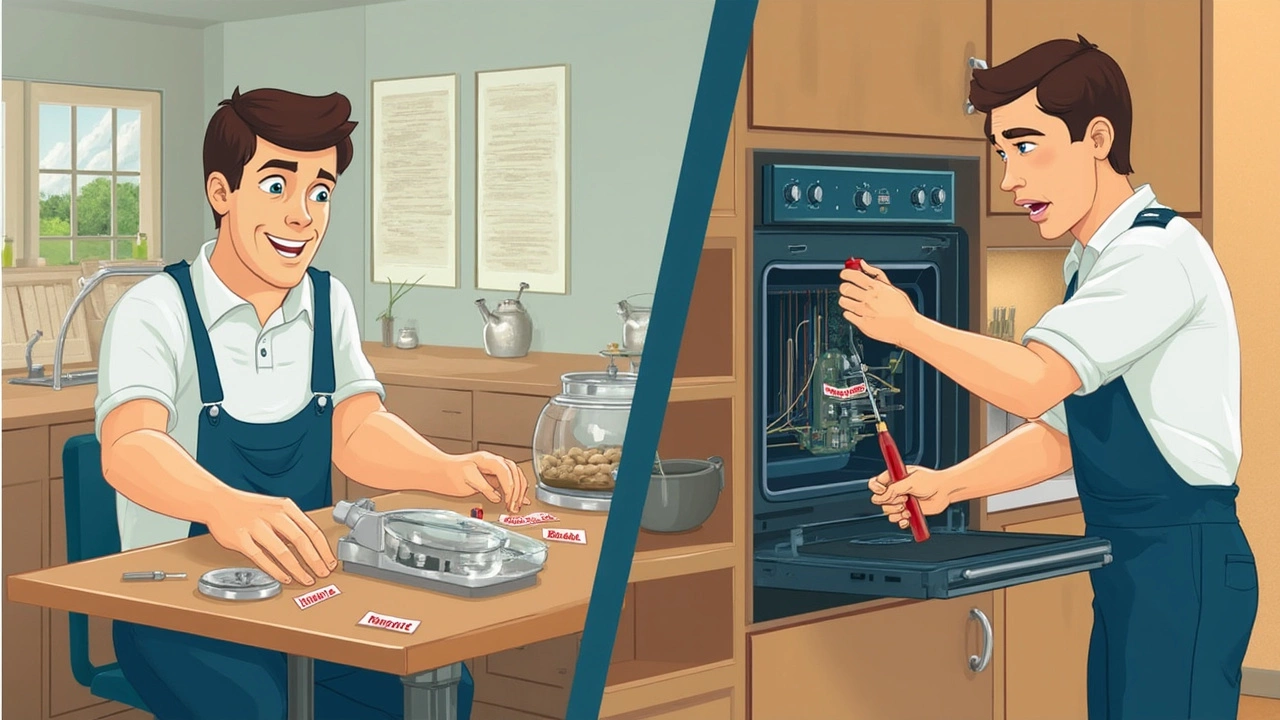
Ever stood in front of a dead oven, wondering if you can fix it with what you've got lying around the house? You’re not alone—broken ovens are one of the top reasons families end up splurging on takeout. The thing is, some oven fixes are totally doable without a call to a repair tech, but others are trickier than they seem.
If your oven suddenly won’t heat, you might just need to reset a tripped breaker or swap out a burned-out heating element. These jobs can be as simple as changing a light bulb if you know where to look and have a screwdriver handy. But, here’s a fact that trips up a lot of folks: almost half the time, an electric oven’s problem is something small like a faulty thermostat or a loose wire—not a total failure. Spotting those simple issues can save you time, money, and a whole lot of frustration.
Still, poking around inside an electric appliance isn’t for everyone. The trick is knowing which repairs are safe and realistic to tackle yourself, and when it’s smarter (and safer) to call someone who does this stuff for a living. So before you yank your oven out from the wall or start watching random DIY videos, it pays to know what you’re really up against.
- Common Oven Problems (and How to Spot Them)
- What Repairs Are Actually Easy?
- When It’s Not Worth the Risk
- Tools and Safety Must-Knows
- Tips to Keep Your Oven Humming
Common Oven Problems (and How to Spot Them)
Before you dive into oven repair, it helps to know what you’re actually dealing with. Here’s a run-down of the most common electric oven problems and a few solid tricks for figuring out what’s going wrong.
- Oven not heating up: This is hands-down the most common headache. If your oven light turns on but nothing gets hot, it could be a blown heating element, a bad temperature sensor, or even a tripped circuit breaker. Try switching the oven to ‘broil’—if the broil element heats but bake doesn’t, you’ve pinpointed the busted part.
- Uneven cooking or hot spots: Pies burned on one side? Cakes raw in the middle? This usually means a faulty or worn-out bake or broil element. Sometimes it’s as simple as a rack placed too high or low, but often the culprit is a weak element or a broken convection fan (if your oven has one).
- Oven door won’t shut tight: This seems small, but a loose door lets heat escape, ruining your cooking and wasting power. Check the door gasket for cracks or flat spots. Broken hinges or springs are common in well-used ovens.
- Display or controls not working: If the clock or timer is dead, you might have a blown fuse or a control board issue. For many users, unplugging the oven for ten minutes and plugging it back in gives the board a reset—if it still won’t power up, it’s time to dig deeper.
- Weird smells or smoke: Smelling burning when you turn on the oven could mean leftover food bits charring or electrical wires frying. If there’s smoke with no obvious food spills, unplug the oven and check for damaged wiring or melted parts immediately.
| Problem | % of Cases |
|---|---|
| Heating Element Failure | 36% |
| Malfunctioning Thermostat | 19% |
| Broken Door Seal or Hinge | 14% |
| Control Panel Failures | 12% |
| Other | 19% |
It always helps to use all your senses—look, listen, and sniff. Ovens often give hints before totally quitting. If you spot sparks, hear loud buzzing, or smell burnt insulation, definitely don’t ignore it—those are safety red flags.
Troubleshooting early saves headaches. Write down anything unusual, like error codes or patterns in when the problem happens. This helps a ton, whether you decide on DIY oven repair or call in a pro.
What Repairs Are Actually Easy?
Surprisingly, there are a handful of electric oven repair tasks most people can handle with just a Phillips screwdriver and a bit of patience. You don’t need years of experience for these—just some common sense and a willingness to unplug the oven before you start. Here’s where you can jump in:
- Changing the heating element: If your oven isn’t heating up but everything else works, that coil or rod might be toast. Unplug it, unscrew a couple of fasteners at the back, pull the old element out, and pop in a new one. No soldering or special tools needed—just pay attention to how you take the old one out so you can slot the new one in the same way.
- Replacing oven bulbs: If the inside of your oven is dark as a closet, this is probably the easiest fix. Most bulbs twist out, and you can swap them with a standard oven bulb from any hardware store. Always do this when the oven is cold so you don’t fry your fingers.
- Switching out door seals (gaskets): Crusty, cracked, or torn oven gaskets let heat escape, making baking uneven. These peel off with a little tug and a new one presses right in. You don’t want to lose heat if you can help it—an easy job that pays off fast.
- Resetting a tripped circuit breaker: Seriously, sometimes the fix is just a trip to your breaker box. Ovens pull a lot of power and can trip breakers more often than you’d think. Just flip the switch back on and see if your oven comes to life.
If you’re not sure which bits to start with, most ovens have a sticker around the door frame or behind a drawer that lists the model number. Look up your oven’s manual online and you’ll spot diagrams showing where the easy-access parts are.
| DIY Oven Repair Success Rate | Common Repairs |
|---|---|
| About 60-70% | Heating element, bulb, gasket, breaker reset |
| Less than 20% | Complex wiring, control board replacement |
Keep in mind: stay away from anything that means touching wiring, the control board, or the thermostat until you know exactly what you’re doing. The easy fixes stick to swapping out parts that aren’t buried deep in the oven or tied to electrical work. Following this rule keeps you safe and saves money—two wins in my book.
When It’s Not Worth the Risk
There are repairs that look easy in a quick video but can ruin your day (and your oven) if you get them wrong. Some parts of oven repair are best left to professionals for safety and money reasons.
Start with anything involving the main power wiring. If you see melted wires, burned outlets, or smell something weird around your oven, don’t mess around—electricity can bite hard. According to the Consumer Product Safety Commission, faulty kitchen appliances are behind nearly 150,000 house fires each year, and ovens are a top offender.
Also, if you have to open up the control panel, that’s another red flag. Modern ovens often have circuit boards and digital displays that can be ruined by static electricity from your hands or a screwdriver touching the wrong spot. Replacement control boards usually cost more than a hundred bucks, and if you accidentally fry one, there’s no easy undo.
- Gas ovens, even if they use electricity for ignition, bring extra risk. If you smell gas, call a pro and leave the house. Don’t try to patch or tighten fittings yourself.
- If your oven’s still under warranty, don’t open it up. Most companies void coverage if you open the panels or swap out certain parts—even something simple like a heating element.
- Never try to fix broken glass in a door by yourself. Those panels are made to handle heat and pressure. Using the wrong glass (or method) can set you up for injury later, not to mention an insurance headache.
Here’s a quick look at repairs that usually mean it’s time to let a tech handle it:
| Issue | Why You Shouldn't DIY |
|---|---|
| Burned or melted wiring | Shock hazard and fire risk |
| Malfunctioning control board | Easy to damage, expensive to replace |
| Gas leaks or connections | Explosion and poisoning risk |
| Broken oven glass | Injury risk, complex replacement |
The bottom line: if your electric oven troubleshooting leads you to anything with live wires, digital guts, or pressurized gas, it’s just not worth the gamble. There’s no shame in handing off dangerous or complicated oven repair jobs to an expert, especially if it keeps you—and your kitchen—safe.
Tools and Safety Must-Knows
Before you start poking around your oven, grab the basics: you need more than just a butter knife and hope. For most oven repair jobs, you’ll want these tools:
- Phillips and flathead screwdrivers
- A multimeter to check for electricity (saves you from guessing if wires are live)
- Needle-nose pliers
- Work gloves (trust me, oven parts are sharp)
- A flashlight or headlamp
- Replacement parts like heating elements or fuses if you already know what’s shot
Safety isn’t optional with electric oven troubleshooting. Electricity from an oven can pack a dangerous punch, even when it looks turned off. Here’s what you can’t skip:
- Unplug the oven. Not just turning it off. Full unplug. If it's hardwired, shut off the breaker and double check with your multimeter.
- Let parts cool down. Heating elements and even the back panel can burn you minutes after the oven is turned off.
- Use insulated tools. Metal conducts electricity. If your screwdriver has a cracked handle, toss it.
- No water near repairs. Ovens and water mix badly. Dry your hands and space first.
- Stay organized. Snap a quick picture before you pull wires or unscrew panels. This saves you from the classic, “Where did this go again?”
Here’s a quick reality check from a recent troubleshooting survey:
| Common Accident | How Often It Happens |
|---|---|
| Minor electric shock | 1 in 8 DIY repairs |
| Getting cut by sharp panel | 1 in 5 DIY repairs |
| Parts reinstalled wrong way | 1 in 4 DIY repairs |
If you feel unsure at any point, stop. Sometimes spending a few bucks on a pro is way better than saving a little money and having to eat cold cereal for dinner because you fried your oven (or yourself). No shame in playing it safe.

Tips to Keep Your Oven Humming
If you want to dodge surprise breakdowns and keep those homemade pizzas coming, taking care of your oven is way easier than dealing with a cold dinner. Here’s what actually works, backed by real results—not old wives’ tales.
- Clean up spills right away. Spilled cheese or sauce baked onto your oven floor? Letting gunk sit not only stinks up your kitchen, but can also harm the heating element over time. Wipe the mess while your oven is still slightly warm, but always off and unplugged.
- Check the door seal regularly. A bad seal lets out heat, which makes the oven work overtime. Gently press on the rubber gasket and look for cracks or flattening. Swap it if it’s worn—it’s a cheap fix that seriously improves performance.
- Use the self-cleaning function right (and not too often). Self-cleaning cycles go up to about 900°F. Doing this once or twice a year is fine, but running it every month can fry sensitive parts like the thermostat or control board and leave you hunting for oven repair tips.
- Don’t slam the door. Yanking or slamming the oven door is one of the top ways home cooks mess up hinges and damage wiring near the controls. Just be gentle.
- Take a look behind the oven every few months. Dust and lint build up fast, especially around back vents. Extra dust makes the oven’s fan and electronics run hot. A quick vacuum or dust wipe goes a long way for smooth operation.
You might be surprised how much just these basics can help. According to recent appliance repair data from 2024, about 30% of electric oven troubleshooting calls come from small things that regular cleaning and quick checks could have prevented.
| Common Preventable Oven Issues | % of Service Calls |
|---|---|
| Door won’t close fully (seal problem) | 14% |
| Uneven heating (blocked or dirty element) | 11% |
| Control problems after self-cleaning | 8% |
Keep these oven repair tips in mind and you’ll probably spend less time searching for fixes and more time actually enjoying your food. If something still feels off after this, that’s when it’s smart to look up DIY oven repair resources—or just call in a technician before making it worse.
I am an expert in the services industry with a focus on appliance repair. My passion lies in understanding how things work and educating others in simple, engaging ways. This enthusiasm fuels my writing, where I delve into topics around appliance maintenance and troubleshooting. I aim to make these subjects clear and accessible to all readers.