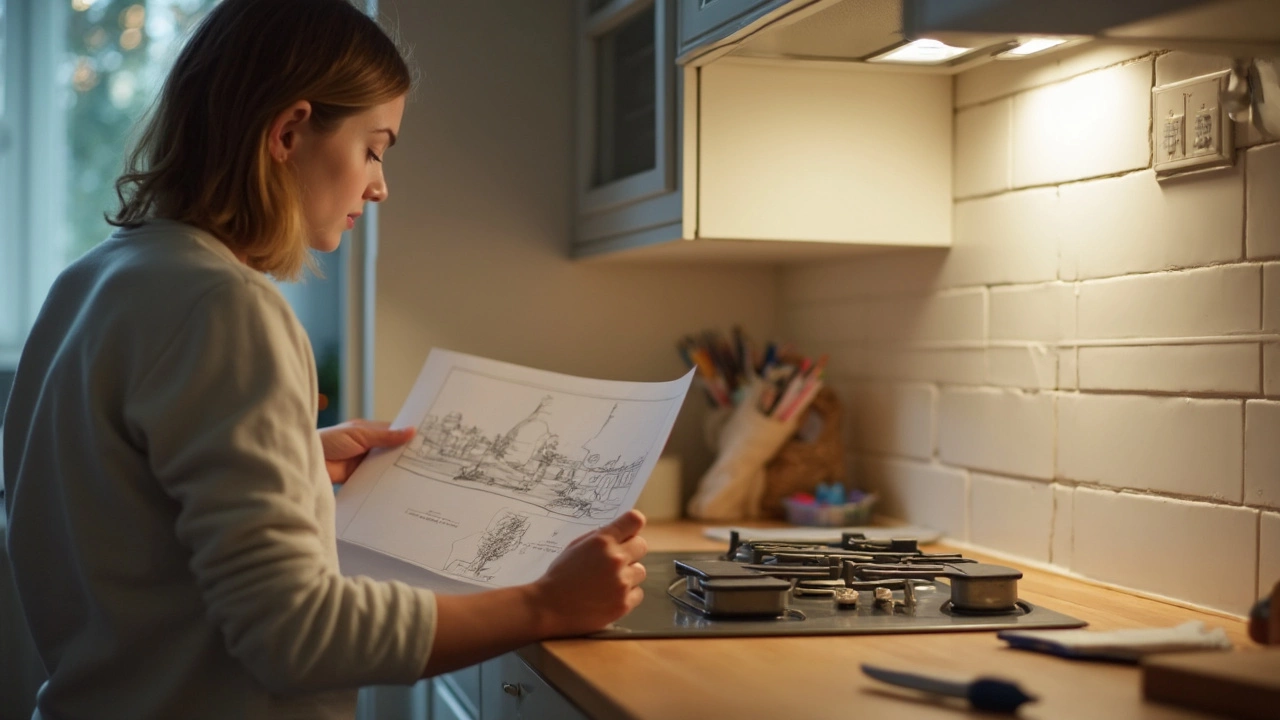
DIY Hob Repair: Simple Steps to Get Your Cooktop Working Again
If your hob’s not heating, blinking, or making weird noises, you don’t have to wait for a technician. Most problems are caused by a few easy‑to‑spot issues that you can check and fix yourself. Grab a screwdriver, a multimeter, and a bit of patience – you’ll have your stove back in action in under an hour.
Identify the Common Culprits
First thing’s first: figure out what type of hob you have. Electric smooth‑top hobs have heating elements hidden beneath glass, while gas hobs rely on burners and igniters. The most frequent faults are:
- Faulty heating element or coil – the element may be cracked or burned out.
- Tripped safety switch – many hobs have a built‑in circuit breaker that shuts off power after overload.
- Loose connection – wires can loosen over time, especially if the hob has been moved.
- Burnt burner or igniter (gas) – the spark may not fire, or the burner may be clogged with food debris.
Turn off the power at the consumer unit before you start any inspection. For gas hobs, shut the gas valve too. Safety first.
Step‑by‑Step Fixes
1. Reset the safety switch
Locate the reset button, usually a small black disc on the back of the hob. Press it firmly; you should hear a click. If the hob lights up, the problem was a temporary overload.
2. Test the heating element
Remove the hob’s glass top (if it’s an electric model) by loosening the screws underneath. Use a multimeter set to ohms (Ω) and touch the probes to the element’s terminals. A healthy element reads around 10‑30 Ω. Anything “infinite” or very high means the element is dead and needs replacement.
3. Check wiring connections
While the hob is open, inspect the terminal block for loose or corroded wires. Tighten any loose screws and wipe away corrosion with a clean cloth. Re‑secure the glass top, restore power, and test.
4. Clean or replace a gas burner
Unscrew the burner cap and remove the burner body. Soak both in warm, soapy water for 15 minutes, then scrub off food residue with a soft brush. Dry thoroughly, re‑assemble, and test the igniter. If the spark still won’t fire, the igniter may need replacement.
5. Replace a faulty part
When you’ve pinpointed a broken element, igniter, or control board, order the exact model number from the manufacturer. Swapping parts is usually a matter of unplugging the old part, plugging in the new one, and securing it with the original screws.
After any repair, run the hob on low heat for a few minutes to make sure everything stays stable. If the problem persists, the fault could be deeper in the control board or wiring – that’s when a professional’s expertise saves you time and prevents safety hazards.
DIY hob repair isn’t rocket science, but it does require attention to safety and a bit of handy work. By following these steps you’ll avoid costly service calls and keep your kitchen humming. Got a stubborn issue? Remember, when in doubt, call a qualified appliance technician – it’s better to be safe than sorry.