Find out if fixing a gas oven makes sense by comparing repair costs, safety risks, and energy savings. Get a clear checklist, cost matrix, and tips for choosing a licensed technician.
Got a gas oven that’s been acting up for months? Maybe the burners sputter, the temperature never hits the mark, or the door won’t shut properly. Before you throw money at endless repairs, it’s worth asking yourself if it’s time for a full replacement. In this guide we’ll walk through the tell‑tale signs, the basics of swapping out a gas oven, and how to keep safety front‑and‑center.
Not every glitch means a new oven. Here are the most common red flags that usually point to replacement rather than repair:
If you tick more than one of these boxes, start looking at replacement options.
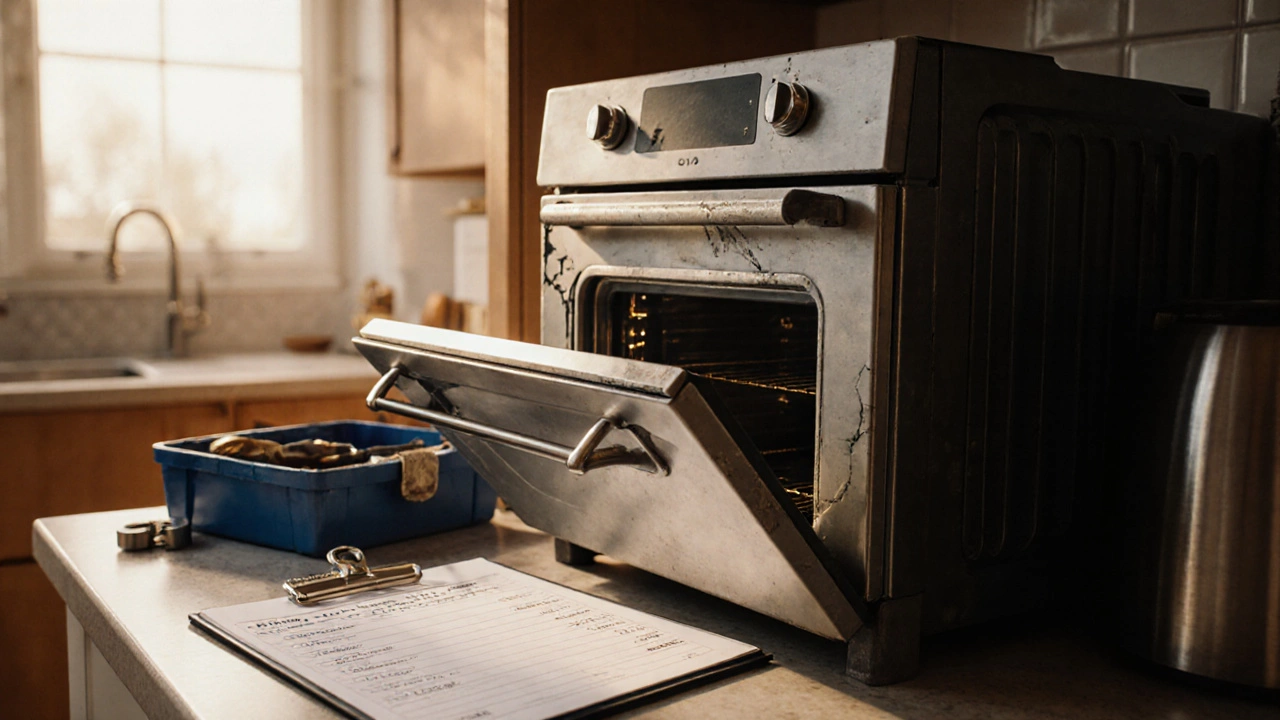
Swapping a gas oven isn’t a DIY job for most people because you’re dealing with a live gas line. However, knowing the steps helps you communicate with a qualified engineer and avoid surprise costs.
1. Turn off the gas. Locate the shut‑off valve behind the stove or at the main supply and close it. Never attempt to disconnect the line without turning the gas off.
2. Disconnect power. Even gas ovens have electric components. Unplug the unit or switch off the dedicated circuit at the fuse box.
3. Remove the old oven. Unscrew the mounting brackets, detach the gas hose, and slide the oven out. Have a helper because these units can be heavy.
4. Check the outlet and gas pipe. Make sure the cabinet cut‑out matches the dimensions of the new oven. Inspect the gas pipe for corrosion – replace if needed.
5. Install the new oven. Position it in the cut‑out, secure the brackets, reconnect the gas hose using a certified gas‑rated connector, and plug in the power cord.
6. Test for leaks. Apply a soap‑water solution to the gas connections and watch for bubbles. If you see any, tighten the fittings and test again.
7. Run a full cycle. Turn the oven on, set it to a high temperature, and let it run for 15‑20 minutes. Check that the flame is steady and the temperature is accurate.
Even if you follow these steps, you should always have a Gas Safe registered engineer give the final inspection. In South Shields, our certified technicians can do the whole job – from removing the old unit to registering the new one with the local gas board.
Replacing a gas oven can cost anywhere from £800 to £1,500, depending on size, brand, and installation complexity. Ask for a detailed quote that breaks down parts, labour, and any ancillary work (like cabinet adjustments). Most reputable services will also offer a warranty on the new appliance and the installation.
Bottom line: If your oven shows repeated heating issues, leaks, or is far beyond its typical life span, replacement is likely the smarter move. Trust a qualified professional, follow safety basics, and you’ll have a reliable oven cooking up meals in no time.
Find out if fixing a gas oven makes sense by comparing repair costs, safety risks, and energy savings. Get a clear checklist, cost matrix, and tips for choosing a licensed technician.